background image

102-A00     page 6/16


OPERATION

HEATING HEADS / JACKETS (HXLJ8G) 

NOTICE: 

Maximum  recommended  heating  jacket  steam  pressure 
is 150 PSI (10.3 bar). 

Jacketed heads are recommended for heating highly viscous 
liquids, or to “thaw out” liquids that have congealed in the 
pumping chamber and packing area. 
Hot oil or steam can be circulated through the jacketed heads 
by 1” NPT connections above and below the shaft.   


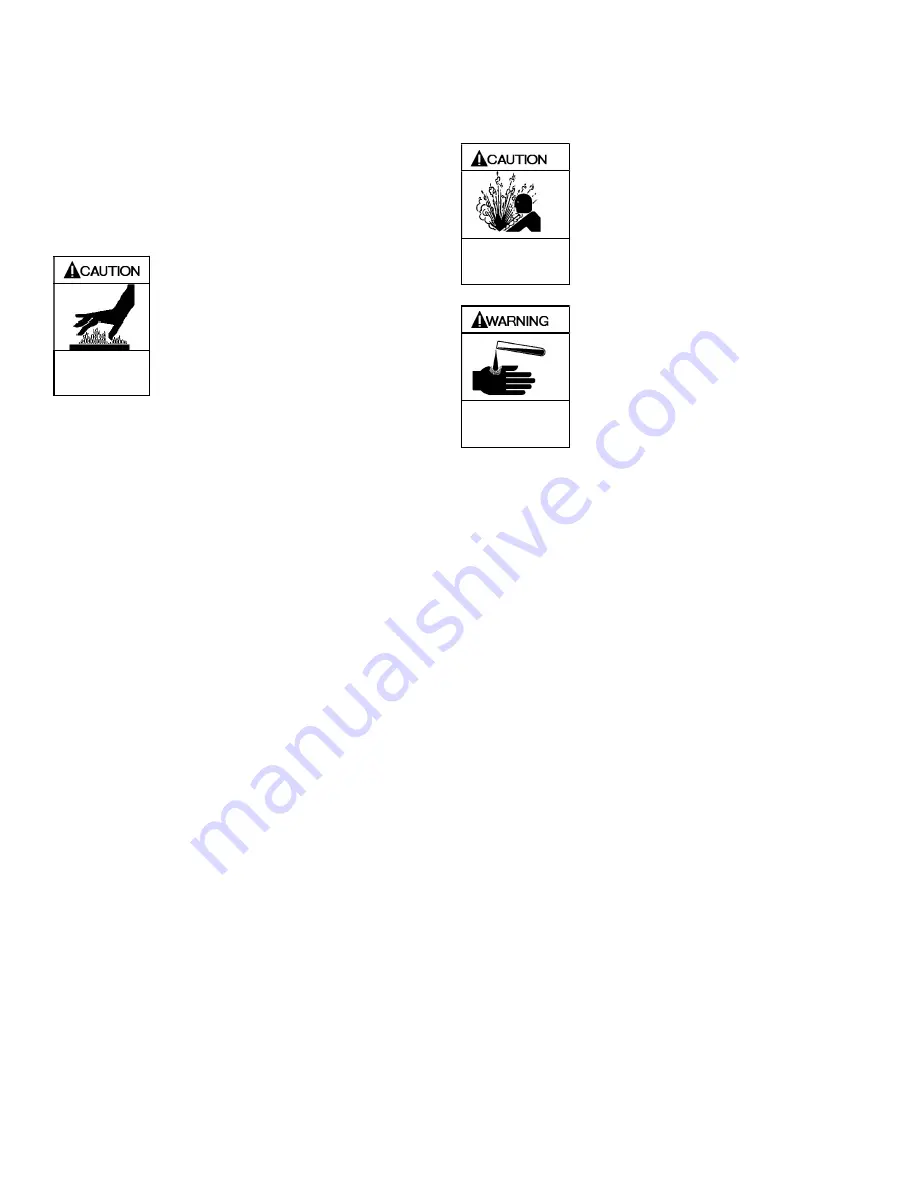
Pumps fitted with heating devices have 
hot surfaces that can cause serious 
personal injury. 


Extreme heat can 

cause injury or 

property damage. 

 
FLUSHING THE PUMP 

NOTICE: 

If flushing fluid is to be left in the pump for an extended 
time,  it  must  be  a  lubricating,  non-corrosive  fluid.    If  a 
corrosive  or  non-lubricating  fluid  is  used,  it  must  be 
flushed from the pump immediately.


1.  To flush the pump, run the pump with the discharge 

valve open and the intake valve closed.  Bleed air into 
the pump through the intake gauge plug hole or through 
a larger auxiliary fitting in the intake piping.  Pump air for 
30 second intervals to clean out most of the pumpage. 

2.  Run a system compatible flushing fluid through the pump 

for one minute to clear out the remainder of the original 
pumpage. 

3.  To remove the flushing fluid, follow step 1 above. 

NOTICE: 

After flushing the pump some residual fluid will remain in 
the pump and piping. 

NOTICE: 

Properly  dispose  of  all  waste  fluids  in  accordance  with 
the appropriate codes and regulations. 


PUMP RELIEF VALVE 

NOTICE: 

The pump internal relief valve is designed to protect the 
pump from excessive pressure and must not be used as 
a system pressure control valve. 

HXL pump models are offered with an optional relief valve 
assembly bolted onto the pump casing.  Pumping volatile 
liquids under suction lift may cause cavitation.  Partial closing 
of the discharge valve WILL result in internal relief valve 
chatter and is NOT recommended.  For these applications, 
Install an external system pressure control valve, and any 
necessary bypass piping, back to the storage tank. 
A system pressure control valve is also recommended when 
operating for extended periods (more than 15 seconds) 
against a closed discharge valve. 

RELIEF VALVE SETTING AND 
ADJUSTMENT 


Incorrect settings of the pressure 
relief valve can cause pump 
component failure, personal injury, 
and property damage. 


Hazardous pressure can 

cause personal injury or 

property damage 


Relief valve cap is exposed to 
pumpage and will contain some fluid 


Hazardous or toxic 

fluids can cause 

serious injury. 

 
The factory relief valve pressure setting is marked on a metal 
tag attached to the valve cover.  The relief valve must be set 
at least 10 - 20 psi (0.7-1.4 bar) higher than the maximum 
system operating pressure or the system pressure control 
valve setting. 

DO NOT remove the R /V Cap OR adjust the relief valve 
pressure setting while the pump is in operation.  

1. 

To INCREASE the pressure setting,

 remove the relief 

valve cap, loosen the locknut, and turn the adjusting 
screw 

inwar

d, or clockwise. Replace the valve cap. 

2. 

To DECREASE the pressure settin

g, remove the relief 

valve cap, loosen the locknut, and turn the adjusting 
screw 

outwar

d, or counterclockwise. Replace the valve 

cap.  

Refer to the individual Blackmer pump parts lists for various 
spring pressure ranges. Unless specified otherwise, pumps 
are supplied from the factory with the relief valve adjusted to 
the mid-point of the spring range. 


Summary of Contents for HXL10E

Page 1: ...y be obtained from Blackmer s website www blackmer com or by contacting Blackmer Customer Service SAFETY DATA This is a SAFETY ALERT SYMBOL When you see this symbol on the product or in the manual loo...

Page 2: ...use a lifting device capable of supporting the full weight of the pump assemblies Heavy assemblies can cause personal injury or porperty damage PUMP DATA PUMP IDENTIFICATION A pump Identification tag...

Page 3: ...intake pipe For viscosities greater than1000 SSU consult the strainer manufacturer instructions 5 Strainers must be cleaned regularly to avoid pump starvation 6 Intake and discharge piping MUST be fre...

Page 4: ...is manual for parts removal and replacement instructions Figure 4 Reversing the Relief Valve CHECK VALVES If a check valve is used install it at the pump discharge The use of check valves or foot valv...

Page 5: ...culties during start up are experienced 1 Start the motor Priming should occur within one minute 2 Check the inlet and discharge pressure gauges to ensure the system is operating within expected param...

Page 6: ...alve HXL pump models are offered with an optional relief valve assembly bolted onto the pump casing Pumping volatile liquids under suction lift may cause cavitation Partial closing of the discharge va...

Page 7: ...68 Nm HXLJ8 178 lbs ft 241 Nm 50 lbs ft 68 Nm HXL10 178 lbs ft 241 Nm 100 lbs ft 136 Nm 50 lbs ft 68 Nm SCHEDULED MAINTENANCE STRAINERS Strainers must be cleaned regularly to avoid pump starvation Sch...

Page 8: ...he head assembly from the outboard nondriven side of the pump according to steps 4 8 in the Pump Disassembly section of this manual 4 Turn the shaft by hand until a vane comes to the top 12 o clock po...

Page 9: ...5 Remove the head O ring 72 and disc 71 If needed threaded holes are provided in the disc to break it free 6 Remove the top vane then rotate the shaft by hand to bring the next vane to the top until...

Page 10: ...se Refer to the Lubrication section for the recommended grease Install the bearing into the recess of the head g Inspect the grease seal 104 for wear or damage and replace as required Grease the outsi...

Page 11: ...ary O ring of the mechanical seal 153B 153D will come off with the hub a Pull the bearing 24 from the housing in the hub b To remove the mechanical seal stationary seat 153B remove the seal retaining...

Page 12: ...mp Install the six 6 disc retaining screws 71A and lockwashers 71B 7 Install a new head O ring 72 8 Using a hoist carefully attach the head 20 to the casing with the head drain hole towards the bottom...

Page 13: ...ckwasher tang into the slot in the locknut The pump should continue to turn freely when rotated by hand 16 Inspect the grease seal 104 for wear or damage and replace as required Grease the outside dia...

Page 14: ...vanes discs liner or rotor 6 Excessive restriction in discharge line causing partial flow through the relief valve 7 Relief Valve worn set too low or not seating properly 8 Vanes installed incorrectly...

Page 15: ...y too high for the pump speed 3 Relief valve not opening 4 Hydraulic hammer pressure spikes 5 Pump driver driveline drive shaft misalignment 6 Excessively worn vanes or vane slots 7 Settled or solidif...

Page 16: ...102 A00 page 16 16 1809 Century Avenue Grand Rapids Michigan 49503 1530 U S A Telephone 616 241 1611 Fax 616 241 3752 E mail blackmer blackmer com Internet Address www blackmer com...

Reviews: