


105-A00 Page 5/12
OPERATION
START UP PROCEDURES
NOTICE:
CONSULT THE "GENERAL PUMP TROUBLESHOOTING"
SECTION OF THIS MANUAL IF DIFFICULTIES DURING
START UP ARE EXPERIENCED.
1. Start the pump. Priming should occur within one minute.
2. Check the suction and discharge pressure gauges to see
if the pump is operating within the expected conditions.
3. Check for leakage from the piping and equipment.
4. Check for excessive noise, vibration or overheating of the
pump, reducer, and motor.
5. If possible, check the flow rate.
6. Check the pressure setting of the relief valve by briefly
closing a valve in the discharge line and reading the
pressure gauge. This pressure should be 20 psi (1.4 bar)
higher than the maximum operating pressure.
CAUTION: Do not run the pump for more than 10-15
seconds with the discharge valve completely closed.
If adjustments need to be made, refer to "Relief Valve
Setting & Adjustment."
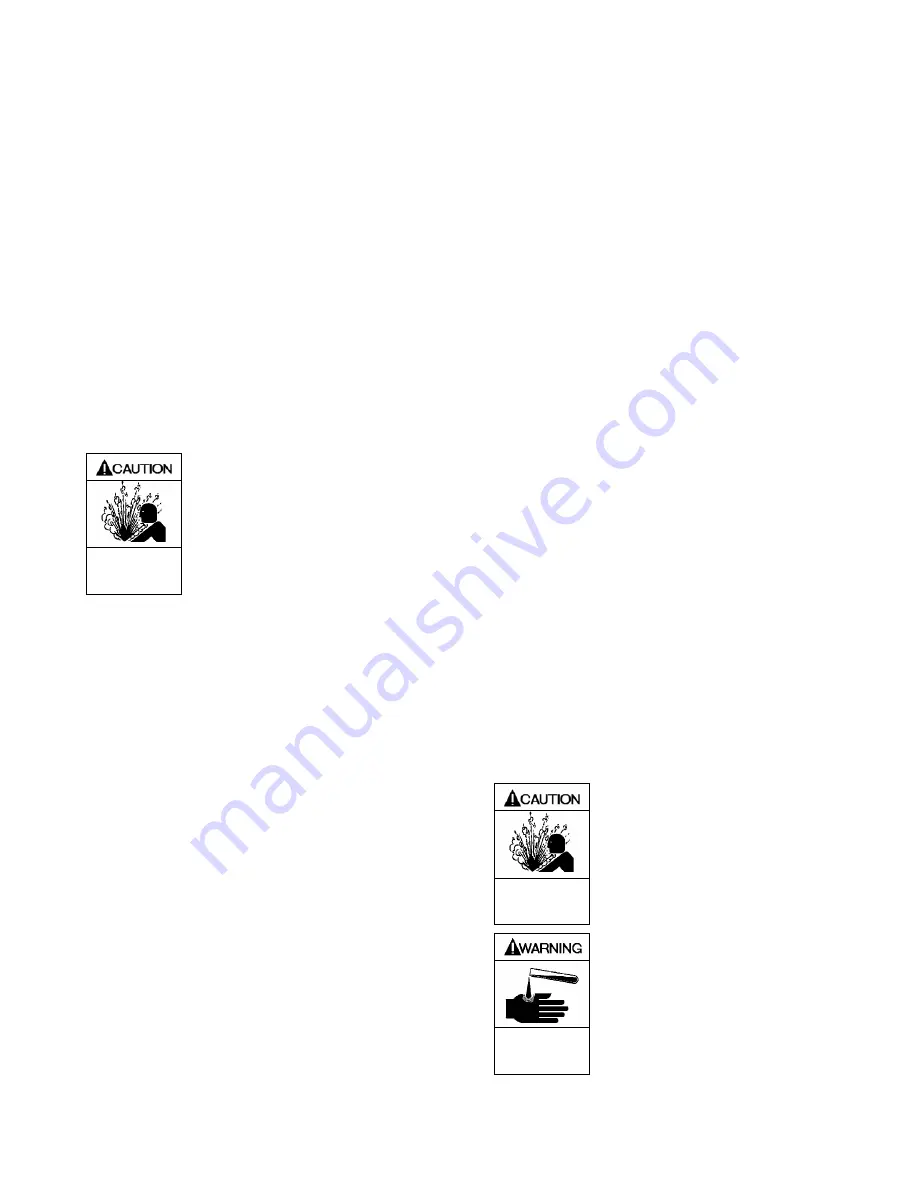
Hazardous pressure
can cause personal
injury or property
damage
INCORRECT SETTINGS OF THE
PRESSURE RELIEF VALVE CAN CAUSE
PUMP COMPONENT FAILURE,
PERSONAL INJURY, AND PROPERTY
DAMAGE.
FLUSHING THE PUMP
NOTICE:
IF FLUSHING FLUID IS TO BE LEFT IN THE PUMP FOR
AN EXTENDED TIME, IT MUST BE A LUBRICATING, NON-
CORROSIVE FLUID. IF A CORROSIVE OR NON-
LUBRICATING FLUID IS USED, IT MUST BE FLUSHED
FROM THE PUMP IMMEDIATELY.
1. To flush the pump, run the pump with the discharge valve
open and the intake valve closed. Bleed air into the
pump through the intake gauge plug hole or through a
larger auxiliary fitting in the intake piping. Pump air for 30
second intervals to clean out most of the pumpage.
2. Run a system compatible flushing fluid through the pump
for one minute to clear out the remainder of the original
pumpage. The valve in the discharge line should be
restricted to build up 10 psi (0.7 bar) to force flushing
liquid through the bearing seal chamber.
3. To remove the flushing fluid, follow step 1 above.
NOTICE:
AFTER FLUSHING THE PUMP SOME RESIDUAL FLUID
WILL REMAIN IN THE PUMP AND PIPING.
NOTICE:
PROPERLY DISPOSE OF ALL WASTE FLUIDS IN
ACCORDANCE WITH THE APPROPRIATE CODES AND
REGULATIONS.
PUMP RELIEF VALVE
NOTICE:
THE PUMP INTERNAL RELIEF VALVE IS DESIGNED TO
PROTECT THE PUMP FROM EXCESSIVE PRESSURE
AND MUST NOT BE USED AS A SYSTEM PRESSURE
CONTROL VALVE.
XLW series pumps are fitted with an internal pressure relief
valve that bypasses back to the suction side of the pump.
Pumping volatile liquids under suction lift may cause
cavitation. Partial closing of the discharge valve WILL result in
internal relief valve chatter and is NOT recommended. For
these applications, install an external system pressure control
valve, and any necessary bypass piping, back to the storage
tank.
A system pressure control valve is also recommended when
operating for extended periods (more than 15 seconds)
against a closed discharge valve.
RELIEF VALVE SETTING AND
ADJUSTMENT
The relief valve pressure setting is marked on a metal tag
attached to the valve cover. Generally, the relief valve should
be set at least 15 - 20 psi (1.0 - 1.4 Bar) higher than the
operating pressure, or the external bypass valve setting.
DO NOT remove the R /V Cap OR adjust the relief valve
pressure setting while the pump is in operation.
1.
To INCREASE the pressure setting,
remove the relief
valve cap, loosen the locknut, and turn the adjusting
screw
inwar
d, or clockwise. Replace the valve cap.
2.
To DECREASE the pressure settin
g, remove the relief
valve cap, loosen the locknut, and turn the adjusting
screw
outwar
d, or counterclockwise. Replace the valve
cap.
Refer to the individual Blackmer pump parts lists for various
spring pressure ranges. Unless specified otherwise, pumps
are supplied from the factory with the relief valve adjusted to
the mid-point of the spring range.
Hazardous pressure
can cause personal
injury or property
damage
INCORRECT SETTINGS OF THE
PRESSURE RELIEF VALVE CAN CAUSE
PUMP COMPONENT FAILURE,
PERSONAL INJURY, AND PROPERTY
DAMAGE.
Hazardous or toxic
fluids can cause
serious injury.
RELIEF VALVE CAP IS EXPOSED TO
PUMPAGE AND WILL CONTAIN SOME
FLUID
Summary of Contents for XLW1 1/2
Page 11: ...105 A00 Page 11 12 NOTES...


