


105-B00 Page 5/16
OPERATION
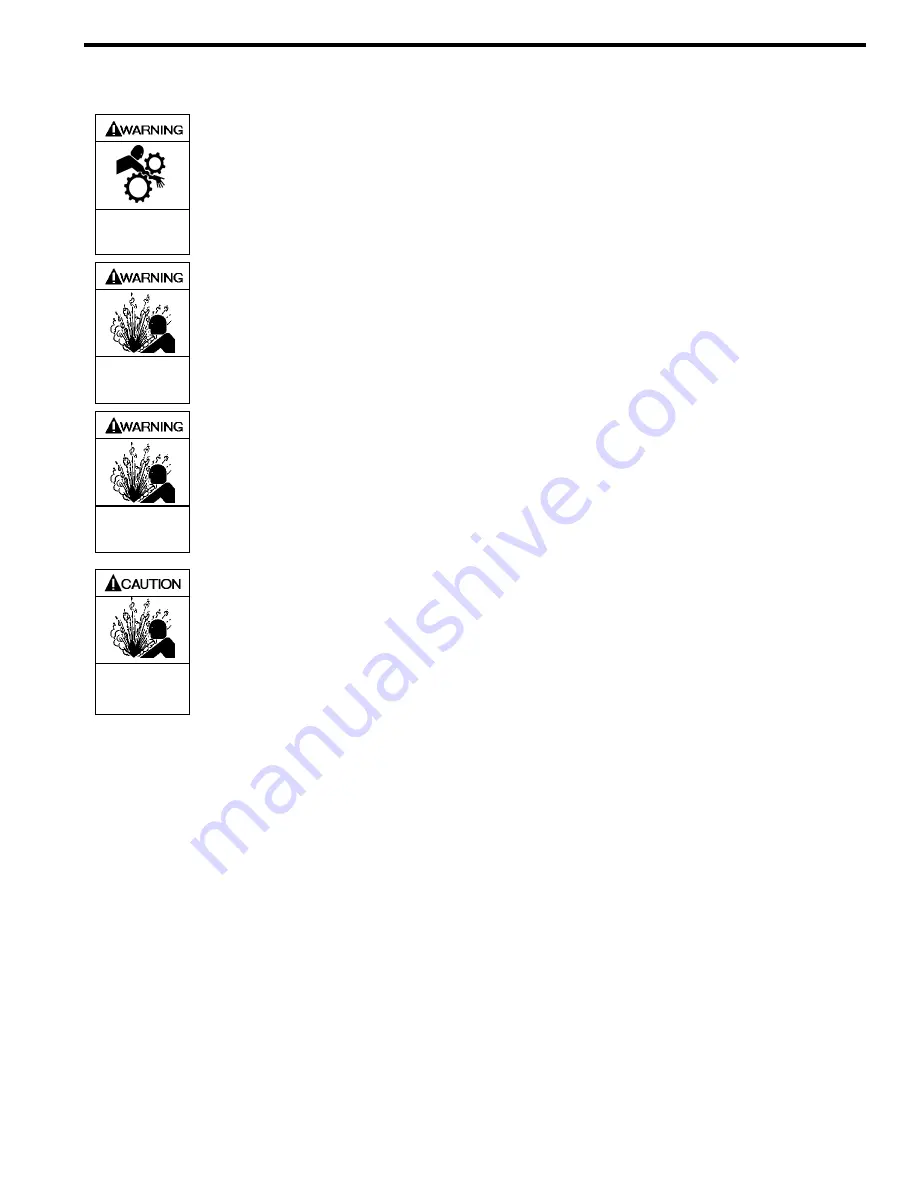
Operation without guards in place can
cause serious personal injury, major
property damage, or death.
Do not operate
without guard
in place
Disconnecting fluid or pressure
containment components during pump
operation can cause serious personal
injury, death or major property damage
Hazardous pressure
can cause personal
injury or property
damage
Failure to relieve system pressure prior
to performing pump service or
maintenance can cause personal injury
or property damage.
Hazardous pressure
can cause personal
injury or property
damage
Pumps operating against a closed valve
can cause system failure, personal injury
and property damage
Hazardous pressure
can cause personal
injury or property
damage
PRE-START UP CHECK LIST
1. Check the alignment of the pipes to the pump. Pipes
should be supported so that they do not spring away or
drop down when pump flanges or union joints are
disconnected.
2. Verify proper coupling alignment on long coupled units.
3. For units assembled with a Blackmer Flange Mounted
Gearbox:
3a. Bolt down the pump foot, while supporting the motor
with an appropriate lifting device (e.g. crane)
3b. Place a .125” thick shim under each of the motor
mounting
holes
3c. Slowly lower the motor until it is unsupported
3d. Try pulling out each of the shims, while noticing the
the pull tension
3e. If the shims closest to the motor shaft easily pull out,
increase the shim thickness the same at all
locations and recheck
3f.
If the shims furthest from the motor shaft easily pull
out, decrease the shim thickness the same at all
locations and recheck
3g. The unit is properly shimmed when all 4 motor
shims have the same amount of tension when
pulled
3h. Bolt down the motor with the appropriate fastener.
4. Blackmer Flange Mounted Gearboxes will be shipped
with Mobil SHC630 synthetic oil. If replacing the oil,
refer to the
FLANGE MOUNTED GEAR REDUCER
MAINTENANCE
section.
5. Blackmer helical gear reducers (if supplied) are shipped
from the factory without oil in the gearcase. Fill with the
grade of oil indicated on the reducer tag. For more
specific instructions on Blackmer gear reducers, refer to
the appropriate Gear reducer Installation, Operation
and Instruction Manual.
6. Check the entire pumping system to verify that the
proper inlet and discharge valves are fully open, and
that the drain valves and other auxiliary valves are
closed.
7. Install vacuum and pressure gauges on the pump in the
1/4” NPT connections provided to check suction and
discharge conditions after pump start-up.
8. Check the wiring of the motor, and briefly turn on the
power to make sure that the pump rotates in the
direction of the rotation arrow.


