AODDAMPENER™
6
2. Close isolation valve (if installed) on dampener inlet. Dampener can be repaired in place however, the preferred method is to
remove dampener from the system.
3. Remove and clean any thread sealant at the connection to the piping system.
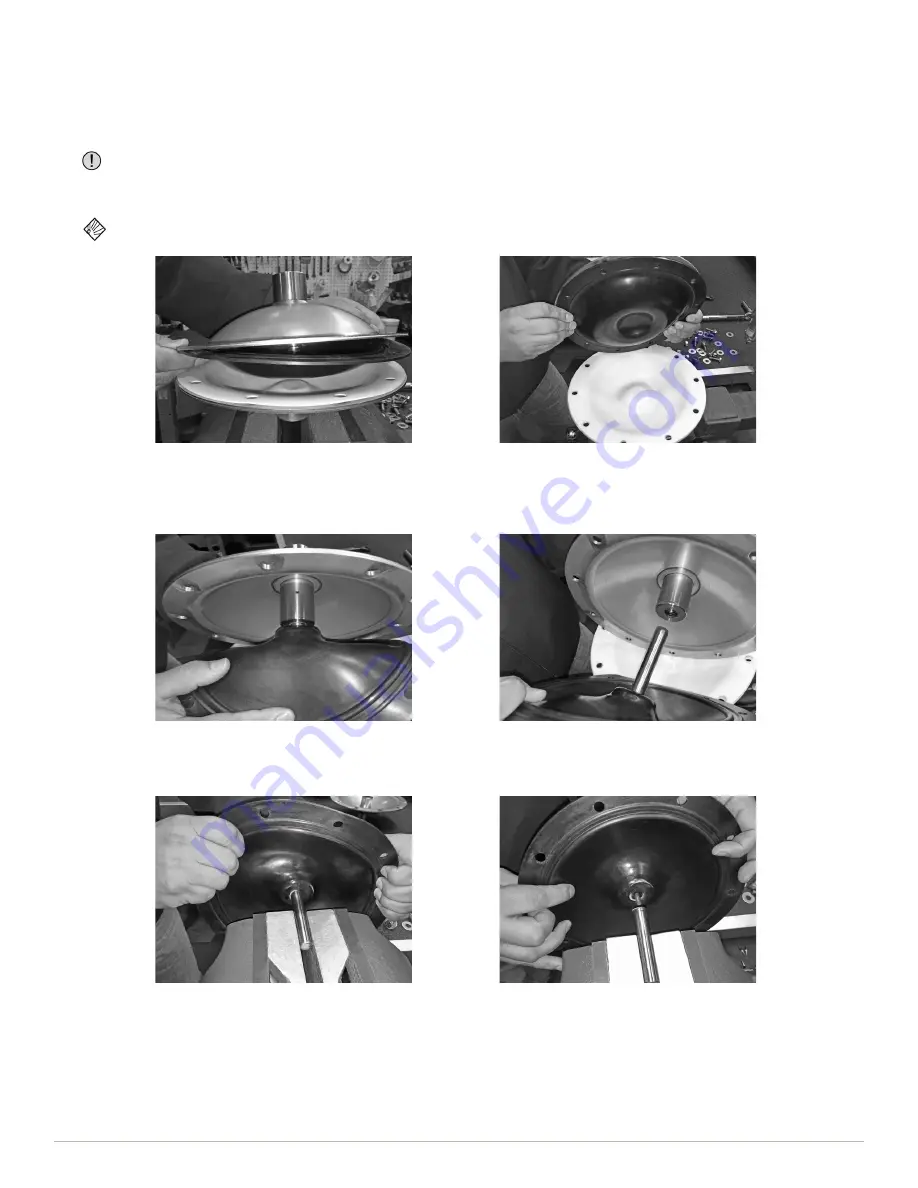
4. There should be no residual pressure in dampener, however; slowly loosen all fasteners first to slowly release any remaining
pressure before removing fasteners. Discard used fasteners. New fasteners are included in Diaphragm Replacement Kits.
5. Remove the non-wetted housing and discard used PTFE diaphragm.
Replace nut and bolt fasteners at each reassembly with fasteners of equal/greater strength value. DO NOT reuse old
nuts and bolts.
Process liquid may be present if diaphragm failure has occurred. Always wear safety glasses and other appropriate safety
equipment when disassembling dampener.
6. The backup diaphragm is attached to the air control shaft. Gently pull down on the diaphragm to slide the shaft out from the
automatic valve in the non-wetted housing.
If the shaft does not slide out easily, remove the muffler, insert a small screwdriver
through the hole and push the top end of the shaft down. Take necessary precautions not to scratch or damage the shaft,
otherwise, the automatic valve may not function properly.
7. To remove the shaft from the backup diaphragm, secure the shaft in a vise with soft jaws to protect the shaft from nicks and
scratches. Hold the used backup diaphragm with two hands and gently turn it counterclockwise to unscrew it from the shaft.
Discard used backup diaphragm.


