6
EN
CAUTION:
When using a Futaba
®
transmitter with a
Spektrum
™
DSM2
®
/DSMX
®
module, you must reverse the
throttle channel and re-bind. Refer to your
Spektrum
module manual for binding and failsafe instructions.
Refer to your Futaba transmitter manual for instructions on reversing the throttle channel.
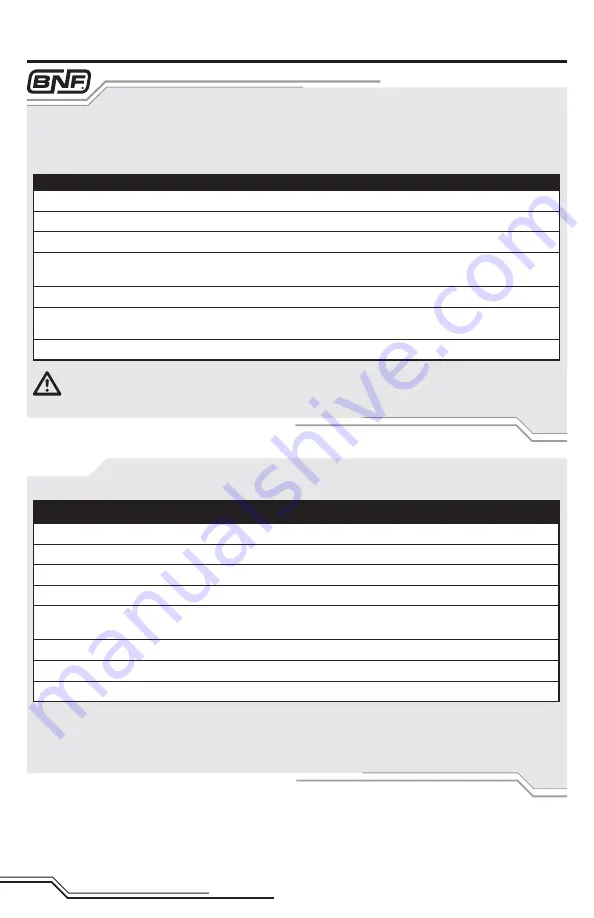
MLP4DSM Binding Procedure
1. Disconnect the fl ight battery from the quadcopter.
2. Center all trims on your transmitter.
3. Power off the transmitter and move the throttle stick to the down/off position.
4. Connect the fl ight battery in the quadcopter. The LED on the control unit fl ashes after 5 seconds.
5. When the blue light is fl ashing, push in and hold down the left stick* while powering on the transmitter
(you will hear a ‘click’).
6. Release the left stick. The transmitter will beep and the power LED will blink.
7. The quadcopter is bound when all of the LEDs on the aircraft turn solid.
8. Disconnect the fl ight battery and power the transmitter off.
* The trigger switch may also be used for the binding procedure.
If you encounter problems, obey binding instructions and refer to the troubleshooting guide for other instructions.
If needed, contact the appropriate Horizon Product Support offi ce. For a list of compatible DSM
®
transmitters, please
visit
www.bindnfl y.com
.
RTF
Your RTF transmitter comes prebound to the model. If you need to re-bind, follow the directions below.
Transmitter and Receiver Binding
If you are using a computer transmitter, set the model type to “Acro” or “Airplane” mode. In the channel input menu, set
channel 6 (Aux1) to a momentary switch such as the bind button ( I ) and channel 5 (Gear) to a 3-position switch (switch
B). In the Servo Setup menu, reverse channel 6 (Aux1).
Bind the quadcopter to your transmitter following the Transmitter and Receiver Binding directions below.
General Binding Procedure
1. Disconnect the fl ight battery from the quadcopter.
2. Center all trims on your transmitter.
3. Power off the transmitter and fully lower the throttle.
4. Connect the fl ight battery in the quadcopter. All of the LEDs on the aircraft will fl ash rapidly, indicating the aircraft has
entered bind mode.
5. Put the transmitter into bind mode while powering on the transmitter.
6. Release the bind button/switch after 2–3 seconds. The quadcopter is bound when all of the LEDs on the aircraft
turn solid.
7. Disconnect the fl ight battery and power the transmitter off.


