14
EN
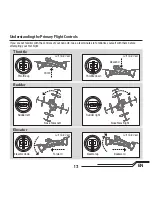
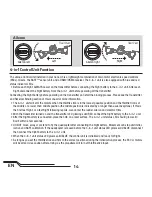
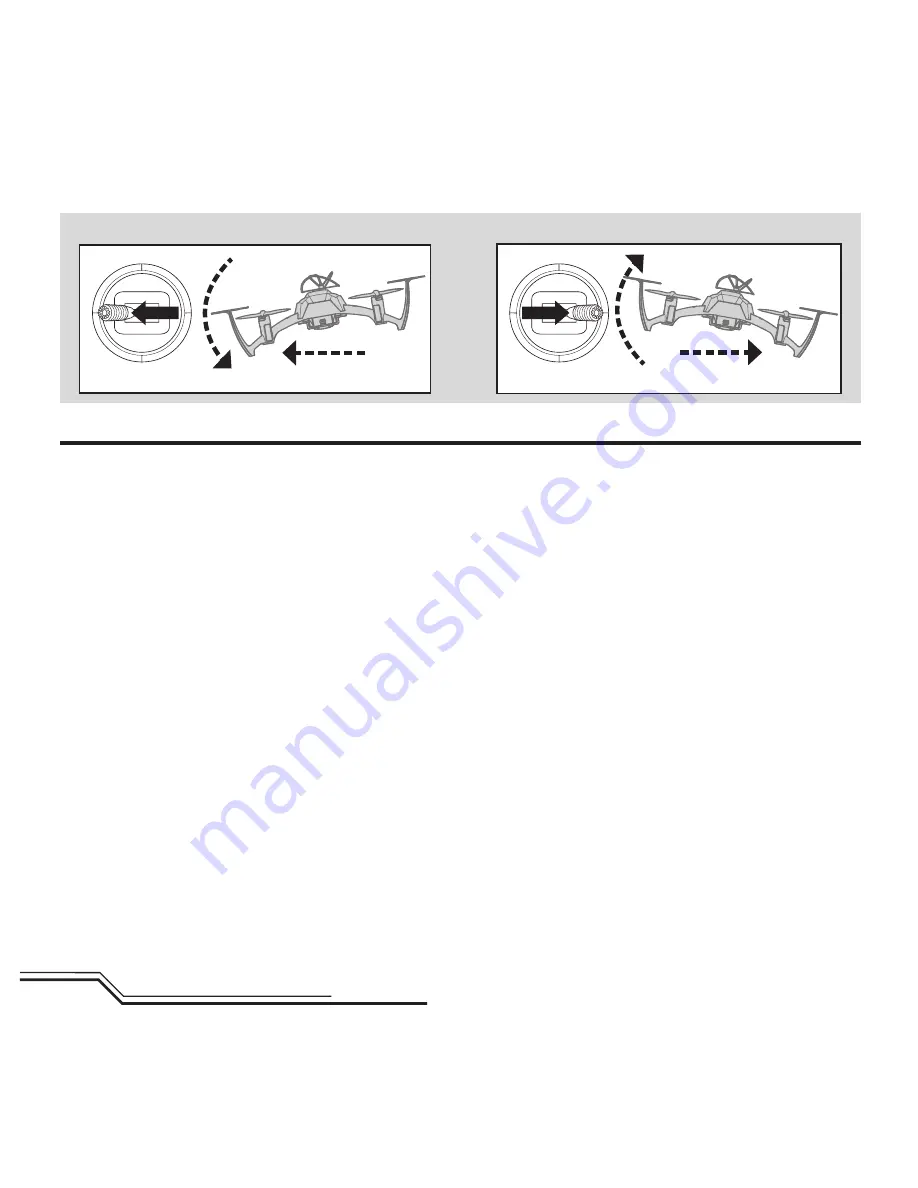
Aileron
Aileron left
Left
Aileron right
Right
Rear View
Rear View
4-in-1 Control Unit Function
The unique Control Unit installed in your nano QX is a lightweight combination of main motor electronic speed controls
(ESCs), mixers, the SAFE™ sensor unit, and a DSM2/DSMX receiver. The 4-in-1 unit is also equipped with blue and red
status indicator LEDs.
• Before each fl ight, ALWAYS power on the transmitter before connecting the fl ight battery to the 4-in-1 unit. After each
fl ight, disconnect the fl ight battery from the 4-in-1 unit before powering off the transmitter.
Connecting the fl ight battery before powering on the transmitter can start the binding process. Please see the Transmitter
and Receiver Binding section of this manual for more information.
• The 4-in-1 unit will arm the motors when the throttle stick is in the lowest possible position and the throttle trim is at
the middle or a lower than middle position (the middle position is indicated by a longer than usual beep/tone). If this is
the fi rst test fl ight, or a test fl ight following repairs, also center the rudder, aileron and elevator trims.
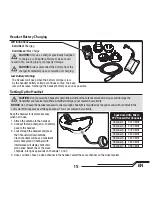
• With the transmitter turned on and the transmitter LED glowing solid RED, connect the fl ight battery to the 4-in-1 unit.
• After the fl ight battery is connected, place the nQX on a level surface. The 4-in-1 unit status LED should glow solid
BLUE within a few seconds.
• DO NOT move, sway or pretend to fl y the quadcopter after connecting the fl ight battery. Movement can stop unit initial-
ization and SAFE calibration. If the quadcopter is moved before the 4-in-1 unit status LED glows solid BLUE, disconnect
then connect the fl ight battery to the 4-in-1 unit.
• When the 4-in-1 unit status LED glows solid BLUE, the control unit is initialized and ready for fl ight.
• As long as you set the throttle stick and trim to the correct positions during the initialization process, the ESC or motors
will be armed. Use caution after arming, as the propellers will turn at throttle stick input.


