Preparation for Operation
5.
Operation
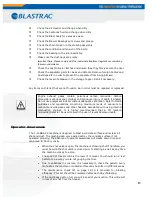
Check the surface to be treated for loose parts (stones, screws, etc.). The surface
must be swept, if necessary. Make sure that the machine can travel over all
inequalities on the surface. Small inequalities like weld seams or floor joints are no
barriers for the machine.
Before start up, make sure that all existing protective housings are mounted and
properly tightened.
Carry out the following checks before any start-up. A printable checklist is provided in
the back of this manual for your convenience.
Check whether all machine parts are assembled safely and correctly.
Verify that all bolted connections are secure and tight.
Check the abrasive storage hopper and the blast wheel parts for foreign
materials and remove them.
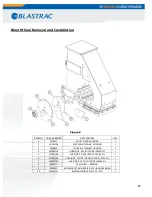
Check the blast wheel blades, liners and fastening screws for damage and
wear.
Important Note: The blades should be changed before they wear past the vanes
on the blast drum.
Check the brush seals for wear.
Check the pinch bar for clearance and uneven wear.
Verify for proper gap between the pinch bar and the blades. See page 25 on
adjustment instructions.
Check the Blast Wheel bearings set screws and grease.
Check the shot valve for leaks.
Make sure the filters are not clogged or torn.
Check the wheels/tires for damage.
Check the engine oil and change when dirty.
12
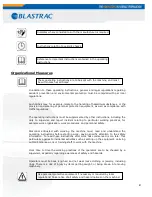
Whenever the machine is not used for blast cleaning, the abrasive valve
must always be closed!
All persons in the proximity of the machine must wear safety glasses with
side shields, as well as safety shoes. The operator must wear close-fitting
protective clothing!
Regular inspection is important in order to avoid unplanned downtime.
Summary of Contents for 1-16DB4-V2
Page 1: ...SERVICE MANUAL 1 16 DB4 V2 VERSION 1 1 www blastrac com 1 800 256 3440...
Page 36: ...Check for leaks after starting theengine...
Page 38: ...35...
Page 40: ...36...
Page 42: ...37...
Page 44: ...38...
Page 46: ...39...
Page 50: ...BLASTRAC RS IN SURFACE PREPARATION Figure 12 43...
Page 57: ...BLASTRAC VATORS IN SURFACE PREPARATION Blast Head Assembly Figure 14 48...

