,,..
THE
INNOVATORS
IN
SURFACE PREPARATION
.BLASTRAC
Suction system
Care and maintenance work
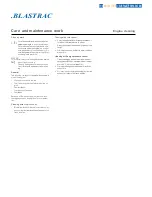
Regulations for working on
the intake
system
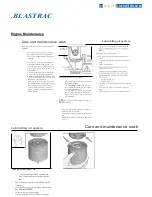
Renewing the safety cartridge of the dry air filter
I
/I\
I
Do
not work
when
the engine
is
running!
I
!
E}
]
,
Never
clean the safety cartridge
(4).
Ii@
Pay
attention
to
utmost cleanliness when
LJ2j
worki_ng
on
the intake
system
,
close
intake
openings 1f
n
ecessary
.
Dispose of old
filter
elements properly
.
Maintaining
the
dry air
filter
1A7
Do
not clean the filter
element
(3)
with
pet-
eJ
rol or
hot
liquids!
Renew damaged filter elements
.
•
Maintain
t
he filter
element (3)
according to
the
in
-
terval
in
the maintenance
schedule
•
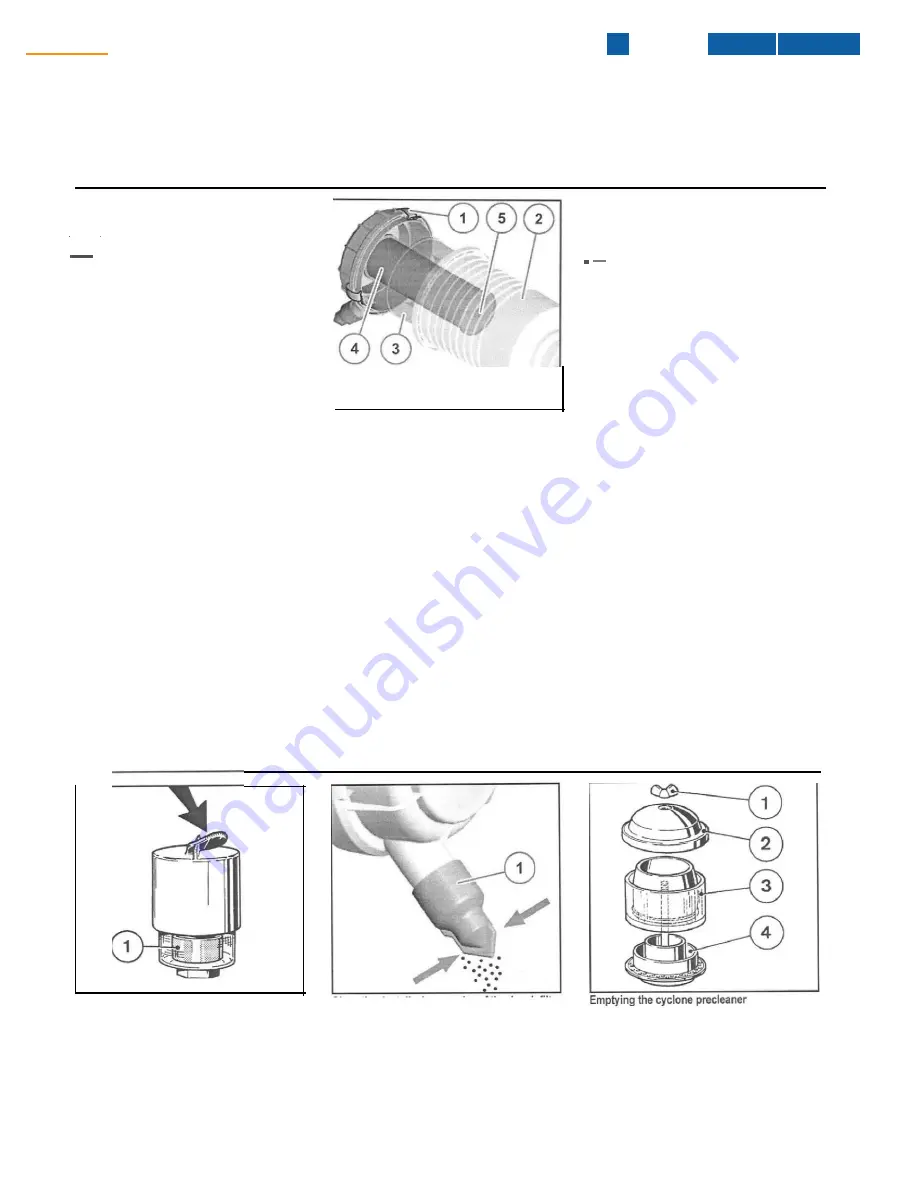
Lift
up the clamping
yoke
(1).
•
Remove the filter
hood
(2)
and pull
out the filter
e
l
eme
n
t
(3).
•
Filter element (3)
:
- blow out with
dry compressed air
(max
.
5
bar) from the
inside to
the
outside
if soiling
is
only
slight
,
-
re
new
if heavily
soiled.
• Renew safety cartridge
(4)
according
to the inter-
val
in
the maintenance sc
h
edule
•
To
do this:
-
Unscrew
hexagon
nut
(5),
pull out safety car-
tridge (4).
- Insert
new safety
cartridge
,
screw on
hexag-
onal nut.
•
Insert filter element
(3), mount
hood
(2)
and fix
with clamping yoke
(1).
Care and maintenance work
Suction system
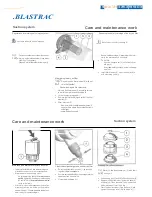
Maintena
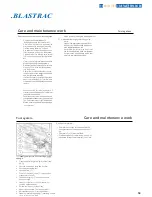
nee indicators for dry air filter
•
Th
e
dry air filter
i
s ma
int
ained acc
ordi
ng
to a
maintenance switch or
maintena
nce
indicator.
•
Maintenance
i
s necessary
when:
-
the
ye
ll
ow warning
li
ght
of
the
maintenance
switch
ligh
t
s
u
p when the eng
i
ne
is runn
in
g
.
-
the red field
(1)
of
the
maintenance indica-
tor
is fully
v
i
s
i
b
le.
•
After carry
in
g out
main
tenance
work,
reset t
he
s
i
gnal
b
y
pressing the button on the mainte-
nance
indicator.
The
ma
int
enance indicator
is
now
ready fo
r
opera
t
ion
aga
in
.
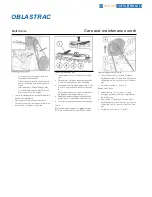
Clean the dust
d
i
scharge
valve
of
the dry air filter
•
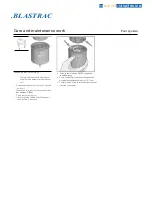
Empty
the
dust discharge valve
(1)
by
pressing
together
the d
is
charge slit.
•
Remove any
caked dust by
pressing
together
the
upper section
of
t
he
va
l
ve
.
•
C
le
an the discharge
s
lit.
Ii@
Never
fill
the dust conta
in
er
(3)
with lub
ri
-
LJ2j
eating oil!
•
Loos
en
w
in
g nut
(1)
and
l
ift off
hou
s
ing
cover
(
2
)
.
•
Remove
the dust container
(3)
from the
base
(4)
and empty
it.
Clean
the
conta
in
er using a brush
and clean diesel fuel.
Then
dry
.
•
Place the dust container
(3)
on the base (4
)
a
nd
tighten the housing cover
(
2
)
with wing nut
(1)
.
Summary of Contents for 1-16DB4-V2
Page 1: ...SERVICE MANUAL 1 16 DB4 V2 VERSION 1 1 www blastrac com 1 800 256 3440...
Page 36: ...Check for leaks after starting theengine...
Page 38: ...35...
Page 40: ...36...
Page 42: ...37...
Page 44: ...38...
Page 46: ...39...
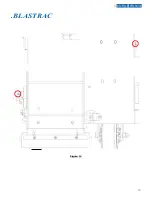
Page 50: ...BLASTRAC RS IN SURFACE PREPARATION Figure 12 43...
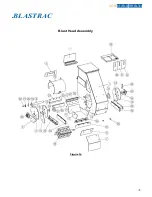
Page 57: ...BLASTRAC VATORS IN SURFACE PREPARATION Blast Head Assembly Figure 14 48...

