Clutch Maintenance
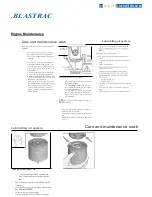
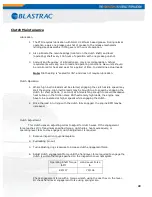
Lubrication
1.
The PTO requires lubrication with NGLI #2 lithium based grease. During normal
operation, apply one grease gun shot of grease to the release mechanism
(sliding sleeve assembly) fitting every 20 hours of operation.
2.
Also lubricate the main bearings (located on the clutch shaft) and lever
(operating) shaft every 100 hours of operation with one grease gun shot.
3.
Amount and frequency of lubrication are only a recommendation. Actual
requirements will vary, due to load and operating conditions. New units should
be monitored for heat and wear for a period of time, to determine actual needs.
Note:
Pilot bearing is “sealed for life” and does not require lubrication.
Clutch Operation
1.
Where high inertia loads must be started, engaging the clutch at idle speed may
stall the engine. High inertia loads may be brought up to speed by engaging the
clutch for short periods, (1 second) at intervals long enough to prevent excessive
heat buildup in the friction discs. With extremely high loads, the engine may
have to be operated at higher speeds while engaging the clutch.
2.
Once the load in turning with the clutch fully engaged, the engine RPM may be
increased.
Clutch Adjustment
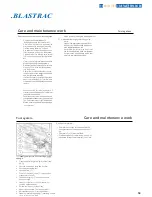
This clutch uses an adjusting collar to adjust for clutch wear. If the engagement
force reaches 2/3 of maximum specified torque, clutch slips, heats excessively, or
operating lever fails to stay engaged, clutch adjustment is required.
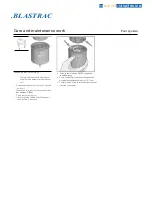
1.
Remove inspection cover nameplate.
2.
Pull locking pin out.
3.
Turn adjusting ring clockwise to increase clutch engagement force.
4.
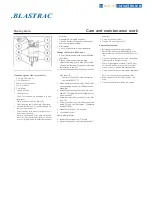
Adjust clutch engagement force until the hand lever force required to engage the
clutch is within the range specified on the inspection cover nameplate.
Operating Shaft Torque
lbf-ft
Hand Lever Force
lb.
88/117
79/106
Check engagement force with a torque wrench using the cast hex on the lever.
Or check hand lever engagement force using spring scale.
40
Summary of Contents for 1-16DB4-V2
Page 1: ...SERVICE MANUAL 1 16 DB4 V2 VERSION 1 1 www blastrac com 1 800 256 3440...
Page 36: ...Check for leaks after starting theengine...
Page 38: ...35...
Page 40: ...36...
Page 42: ...37...
Page 44: ...38...
Page 46: ...39...
Page 50: ...BLASTRAC RS IN SURFACE PREPARATION Figure 12 43...
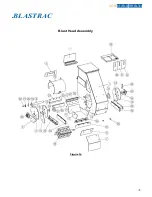
Page 57: ...BLASTRAC VATORS IN SURFACE PREPARATION Blast Head Assembly Figure 14 48...

