1. Lid
2. Internal removable water tank
3. Heater
4. Sponge disc
5. Steam tunnel
6. Acoustic overlay
7. Housing
8. Drawer with aromatherapy attachment
9. Control panel buttons
a) power switch
b) humidification intensity
c) timer / ionization
d) auto / night mode
e) humidistat
f ) cleaning
PREPARING THE APPLIANCE FOR OPERATION
Before starting the appliance, it is recommended to familiarise yourself with its components.
Ensure that the sponge disc is placed on the heater. Make sure that the acoustic overlay is positioned
and closed (by turning the element). Check whether the steam tunnel is fitted.
Remove all foils, cartons and protective tapes from the appliance.
FILLING THE WATER TANK
There are two methods of filling the tank.
1. After removing the tank lid (1), pour water into the tank using a bottle or other vessel.
2. After removing the lid (1), you can take out the tank (2). Lift the tank with the handle. Fill the tank
under the tap. Put the tank in the appliance body noting the position of the internal components.
USING THE APPLIANCE
Press the power switch (9a) to turn on the appliance. After pressing the power switch, the humidifier
will start to warm up. The water will start to evaporate under the influence of temperature. The
evaporation intensity depends on the selected level of humidification intensity. Pressing the button
again will make the appliance return to standby mode.
The display shows the humidity level and the ambient temperature. Due to the heating of the body,
while not maintaining sufficient air flow, the temperature indications may differ from the actual ones.
In addition, the display indicates the humidification intensity (one, two or three bars) and whether
the ionization function is active.
The humidification intensity can be adjusted using 3 intensity levels. Set the intensity by pressing the
humidification intensity selection button (9b). At higher humidification intensity, the heater uses
more power, a larger part of the water volume boils (the lower the efficiency, the quieter the
appliance works).
Press the humidistat setting button (9e) to enable the Humidistat mode. Each press will change the
target ambient humidity value by 5%. The air humidifier will turn on and off to maintain humidity
within the selected humidity level.
Press the auto button (9d) to enable the auto mode. The humidifier will try to maintain the air
humidity in the range of 50%-60% by choosing the appropriate humidification intensity.
To turn off the air humidifier lighting and enable the night mode, press and hold the night mode
button (9d). Pressing any button will restore the display.
In order to set the appliance turn-off timer, press the timer button (9c) to start the timer; each press
sets the time to the appliance turn-off from 1 to 10 hours. A long press of the button (3 seconds)
activates or deactivates the ionization function.
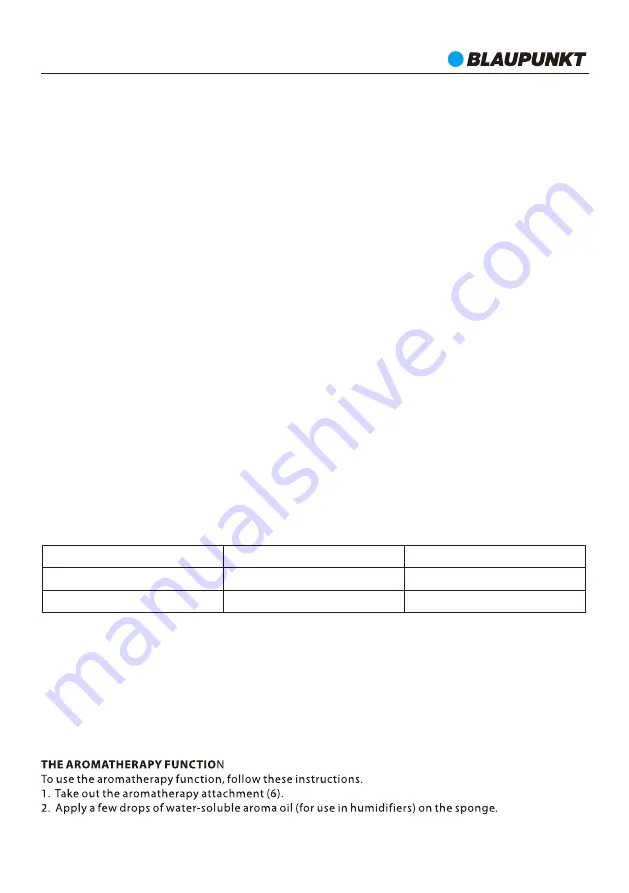
High efficiency
Average efficiency
Low efficiency
400 W
300 W
150 W
500 ml/h
300 ml/h
150 ml/h
AHM701
6
Summary of Contents for AHM701
Page 1: ...AHM701 ...
Page 2: ......
Page 3: ...AHM701 1 ...
Page 4: ...AHM701 2 ...
Page 5: ...AHM701 3 ...
Page 6: ...AHM701 4 ...
Page 7: ...AHM701 5 ...
Page 10: ...AHM701 8 ...
Page 12: ...AHM701 10 ...
Page 13: ...AHM701 11 ...
Page 14: ...AHM701 12 ...
Page 16: ...AHM701 14 ...
Page 20: ...AHM701 18 ...
Page 21: ...AHM701 19 ...
Page 22: ...AHM701 20 ...
Page 24: ...AHM701 22 ...
Page 28: ...AHM701 26 ...
Page 29: ...AHM701 27 ...
Page 31: ...AHM701 29 ...
Page 34: ...AHM701 32 ...
Page 36: ...AHM701 34 ...
Page 37: ...AHM701 35 ...
Page 39: ...AHM701 37 ...
Page 42: ...AHM701 40 ...
Page 44: ...AHM701 42 ...
Page 45: ...AHM701 43 ...
Page 47: ...AHM701 45 ...
Page 50: ...AHM701 48 ...
Page 52: ...AHM701 50 ...
Page 53: ...AHM701 51 ...
Page 55: ...AHM701 53 ...
Page 58: ...AHM701 56 ...
Page 60: ...AHM701 58 ...
Page 61: ...AHM701 59 ...
Page 63: ...AHM701 61 ...
Page 66: ...AHM701 64 ...
Page 68: ...AHM701 66 ...
Page 69: ...AHM701 67 ...
Page 70: ...AHM701 68 ...
Page 74: ...AHM701 72 ...
Page 76: ...AHM701 74 ...
Page 77: ...AHM701 75 ...
Page 78: ...AHM701 76 ...
Page 82: ...AHM701 80 ...
Page 84: ...AHM701 82 ...
Page 85: ...AHM701 83 ...
Page 87: ...AHM701 85 ...
Page 90: ...AHM701 88 ...
Page 92: ...AHM701 90 ...
Page 93: ...AHM701 91 ...
Page 98: ...AHM701 96 ...
Page 99: ...AHM701 97 ...
Page 101: ...AHM701 99 ...
Page 104: ......


