19
9.1.2 Pause recording
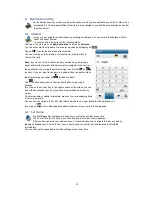
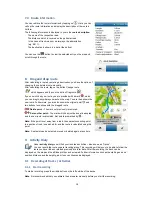
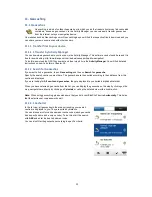
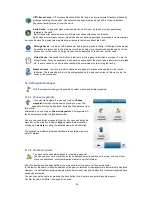
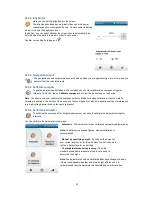
The recording can be interrupted at any time if, for example, you take a break. To do this, tap again on the
middle button and then on the Pause button.
9.1.3 Resume recording
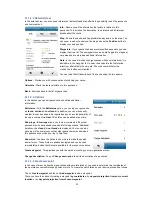
To resume the recording, tap on the middle button and then on the Pause button again.
9.1.4 End recording
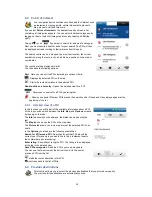
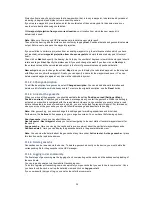
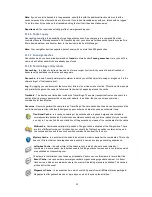
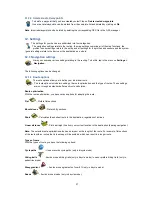
To end the recording, tap on the middle button for a while or first tap on the middle button and then on the Stop
button.
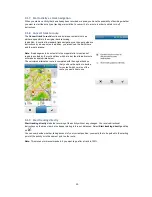
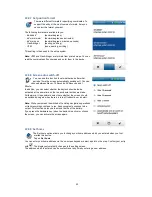
You will then be asked to specify a name for the activity. In the line for the name, initially the date and the time
of the recording are displayed. The route can be saved under this designation. Or you can delete the name line
via the back button
and enter your own name for the activity.
You can also discard the recording by tapping on the rubbish bin icon
.
Note:
It is advisable to enter a recognisable name so that you can find the recording again more easily at a later
date if several units are saved on the device.
9.1.5 Detailed view of an activity
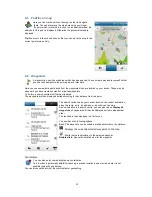
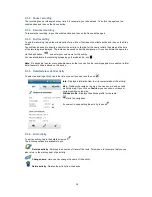
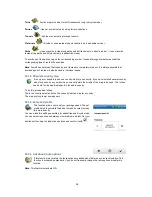
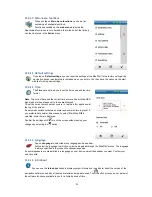
To select an existing activity, tap in the list on the unit you want and then on
.
Info
- Displays information from the trip computer about this activity.
Map
- Displays the route on the map. You can zoom in and out and
move the map. If you click on
Position
, you can show or hide your
current position on the map.
Altitude profile
- Displays the altitude profile for the route.
starts the navigation.
If you want to keep editing the activity, tap on
.
9.1.6 Edit activity
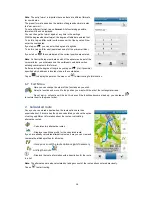
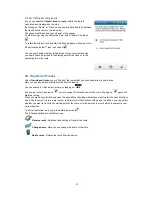
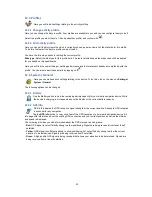
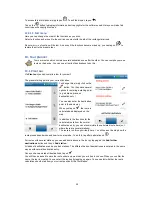
To edit an activity, tap in the detailed view on
.
The following options are available to you:
Reverse activity
- Switches the direction of travel of the route. This means, for example, that you can
also return to the starting point of an activity.
Change name
- Here you can change the name of the activity.
Delete activity
- Deletes the activity from the device.

