8
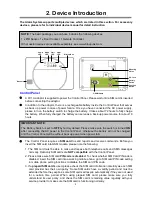
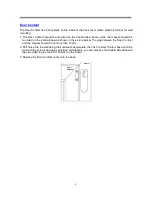
1. Put the Control Panel into Learning mode by pressing the Function button once.
2. Find a location where a device is to be mounted, put the device at the location and press learn/test
button on the device, refer to each device manual for detail.
3. If the device is within range of the Control Panel, the Control Panel will emit a
“Ding Dong” sound
to indicate the device is wirelessly connected to the Control Panel. When you are certain the
device can function properly at the chosen location, proceed to mount the device.
4. When mounting devices, make sure the device tamper is fully depressed, please refer to device
manual for tamper location.
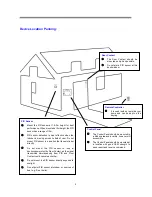
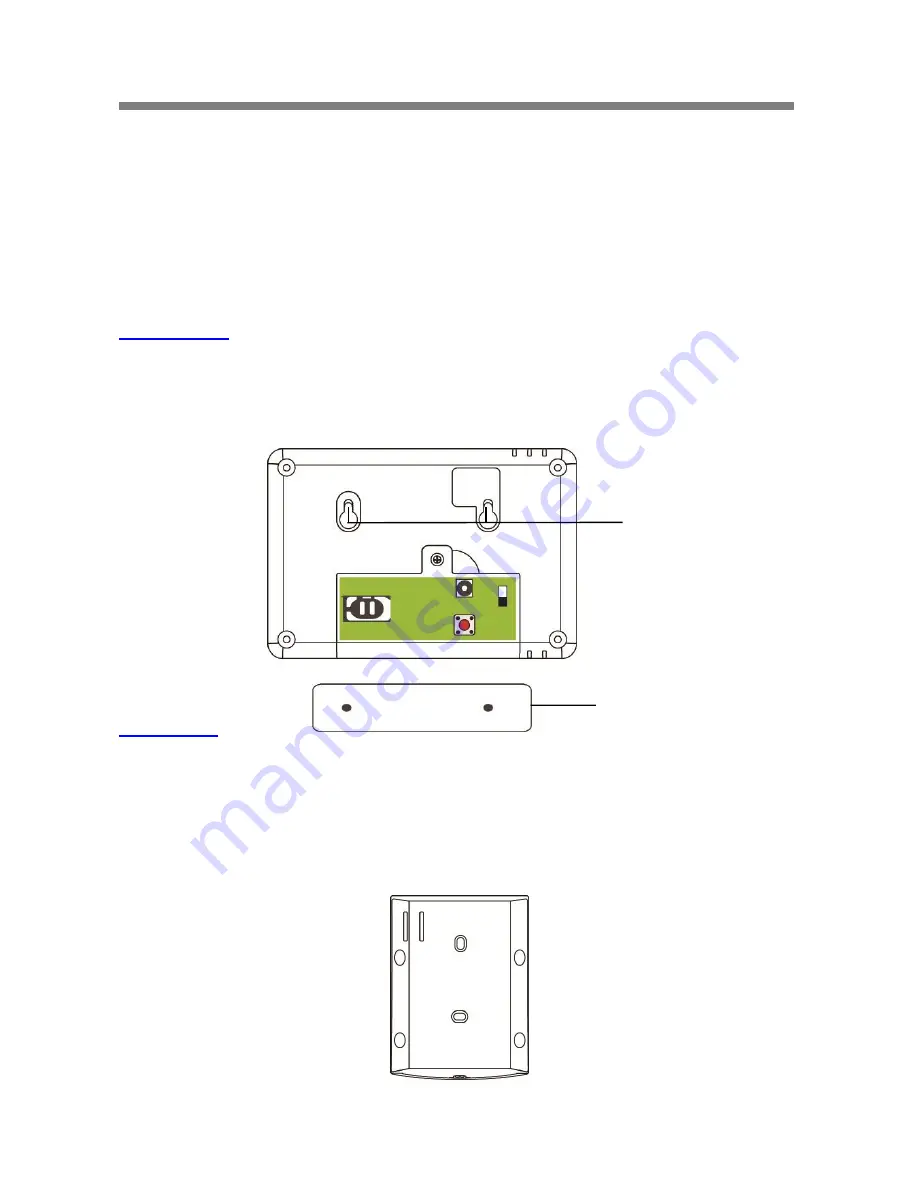
Control Panel
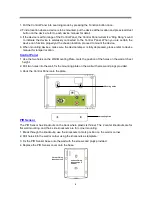
1. Use the two holes on the Wall-Mounting Plate, mark the position of the holes on the wall at chest
height.
2. Drill two holes into the wall, fix the mounting plate on the wall with screw and plugs provided.
3. Hook the Control Panel onto the plate.
PIR Sensor
The PIR Sensor has knockouts on the back where plastic is thinner. The 2 center knockouts are for
flat wall mounting, and the 4 side knockouts are for corner mounting.
1. Break through the knockouts, use the knockouts to mark position on the wall or corner.
2. Drill holes into the wall or corner using the knockouts as template.
3. Fix the PIR Sensor base onto the wall with the screws and plugs provided.
4. Replace the PIR Sensor cover onto the base.
Mounting Plate
Mounting Holes
Corner Fixing
Knockouts x 4
Surface Fixing
Knockouts x 2
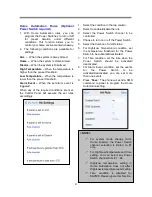
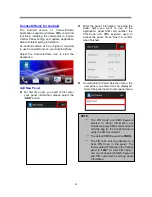
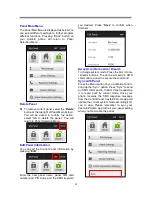
(Inside)
Summary of Contents for SA 2500
Page 1: ...SA 2500 Kit User Manual ...

