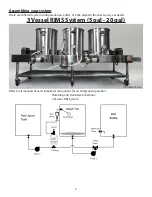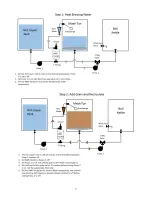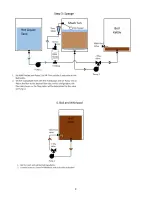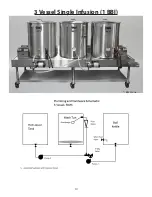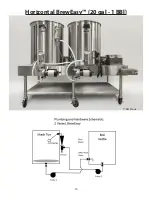
Familiarize yourself with the function of the brewhouse. At-
tach QuickConnectors where needed. Install the hardware
and accessories as shown in the picture of your particular
system. Your kit will come with 20 feet of hose. Attach the
hose to the QuickConnectors, stretch to the desired length,
and cut. Once you are satisfied with the length and loca-
tion of the hoses, crimp the hoses with a crimping tool.
(Fig. 12)
Your parts kit will come with zip ties to label your hose.
Installing Hose
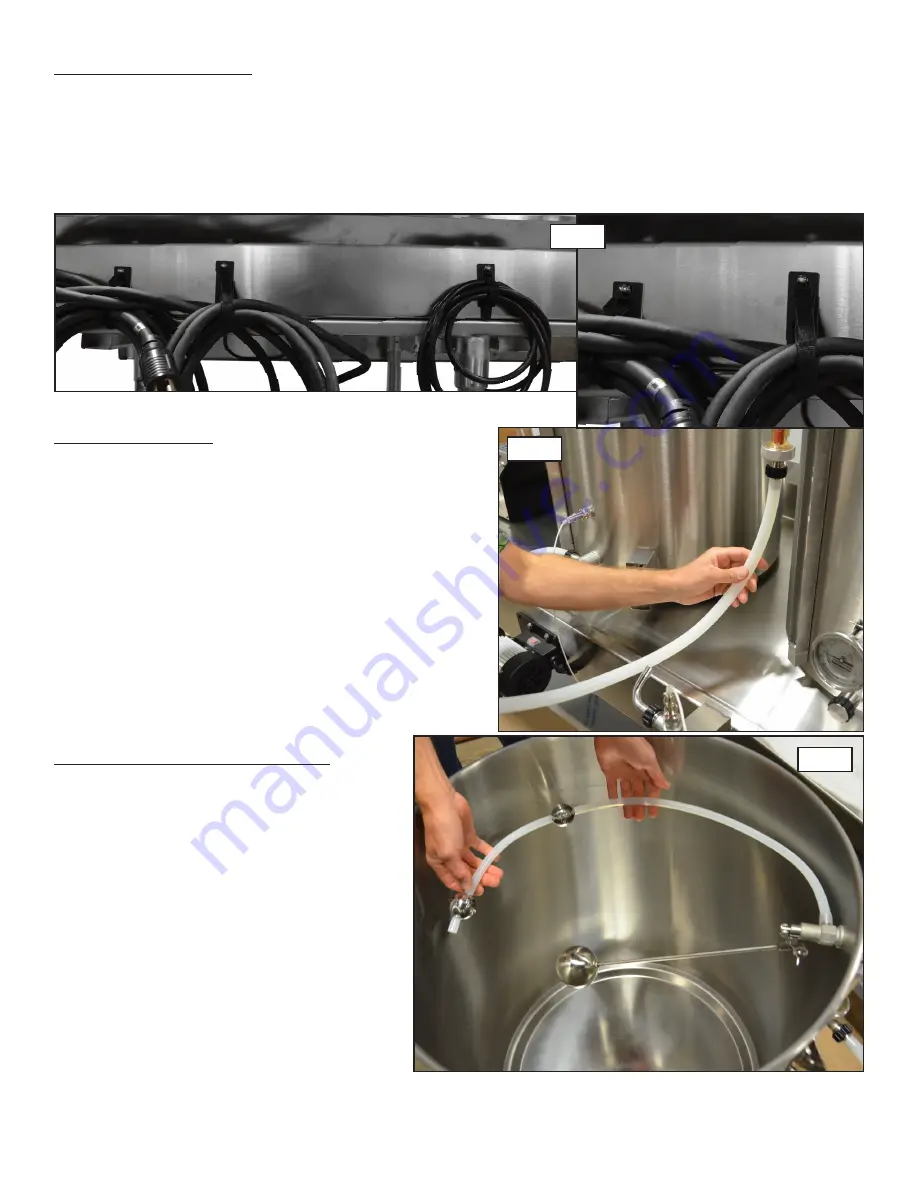
Cord Management
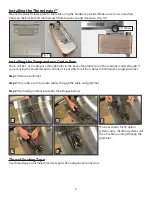
Your parts kit will contain Velcro straps with adhesive. Use the small straps underneath the table to hold the
RipTide™ pump wires. Use the large velcro straps to mount to the back of the table. Your table will have 3
or 5 studs on the back to mount your large velcro straps to. Attach the large Velcro straps to the back of the
table with the adhesive and use the acorn nut to lock them in place. This will add extra reinforcement to the
straps. The stud in the center of the table is for the RipTide™ cord and the 2 studs closest to the cable hole
and grommet is for the BoilCoil™ cables. (Fig. 11)
Fig. 11
AutoSparge™ Upgrade Kit
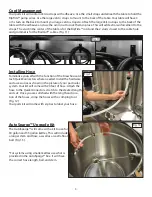
The AutoSparge™ will come with a kit to use for
30 gallon and 55 gallon kettles. This will include
a longer stem and hose, as well as an extra float
ball. (Fig. 13)
5
Fig. 12
Fig. 13
*For systems using smaller kettles use what is
provided in the AutoSparge™ box. It will have
the correct hose length, ball, and stem.

