5.
Operation
14
117127
● 07/2011
Lowering
An alarmsounds during lowering in the danger
area < 500mm.
1.
Check that the vehicle is secure.
2.
Ensure that no objects are left under the vehi-
cle.
3.
Press Down
button. Lower the vehicle.
4.
Synchronous operation ends automatically after
all lifting cylinders are free of load.
5.
Press Down
button. Lower cross members to
lowest position.
5.11 Drive vehicle off the lift
1.
Secure vehicle against inadvertent rolling.
2.
Ensure that all cross members are in lowest
position.
3.
Remove pick-up equipment.
4.
Drive the vehicle off the lift. Do not drive over lift
components or covers.
5.12 Switch off equipment
1.
Switch off controls. Press Off button (
Illustra-
tion 13, pos. 3).
All control panels are deactivated.
2. Switch off power supply with main switch
(
Illustration 13, pos. 1) (“OFF” position) and
secure main switch with padlock.
5.13
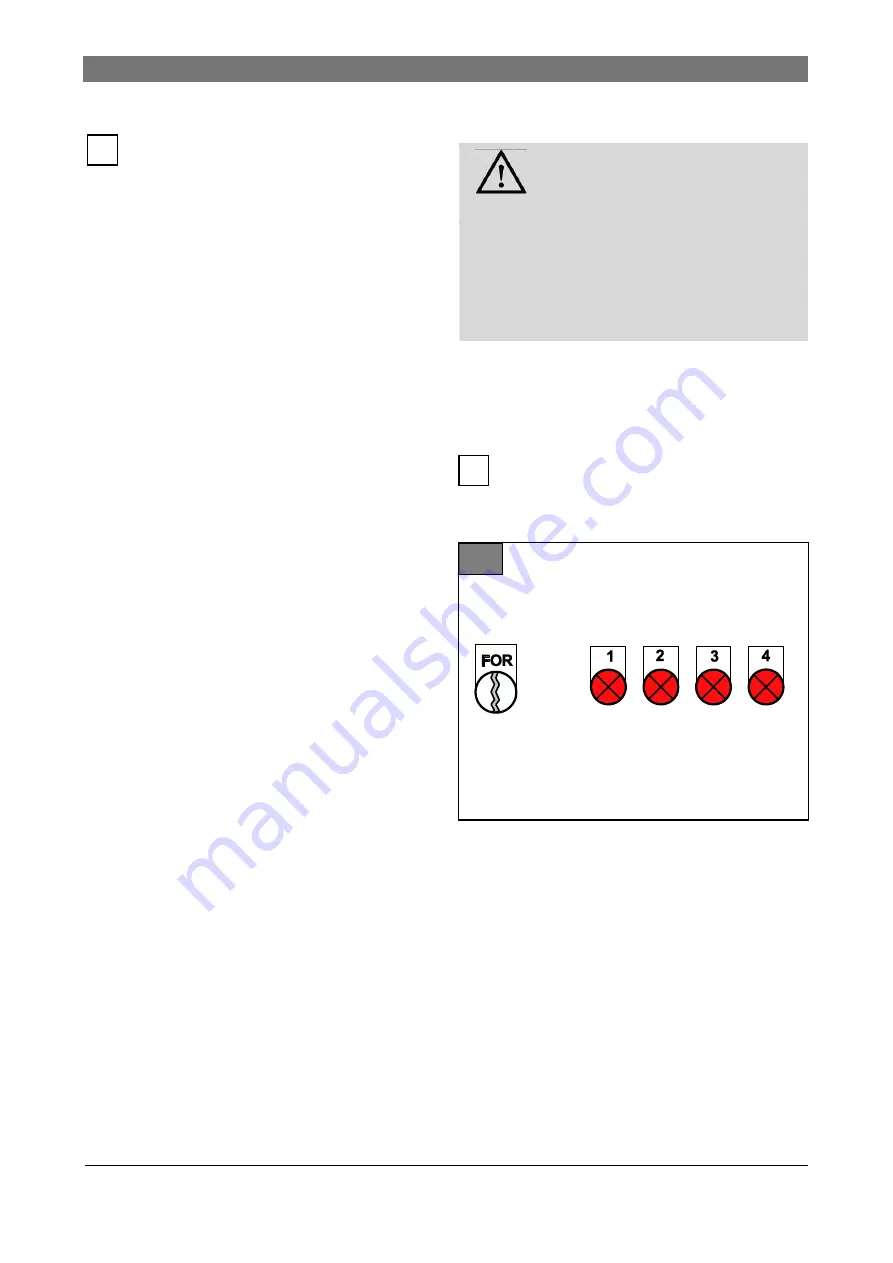
Operation without controls “FOR”
WARNING
Danger due to poorly defined re-
sponsibilities.
Inform all persons in the lift area that you are
manually adjusting the vehicle position.
All affected vehicles are to be lowered before
the adjustment if the lift is allocated to several
workplaces.
Always work together with a second person.
Automatic lift controls are switched off during
FOR function.
Control commands always apply to the activated
lifting cylinders.
Adjustment of vehicle position
by activa-
tion or deactivation of individual lifting cyl-
inders.
16
1. Person 1 = Competent person
:
Press and hold down “FOR” button.
2. Operator 2:
Activate the necessary lifting cylinders on the
control panel (respective switches to “1” posi-
tion). Set all other switches to “0” position.
2.
Bring vehicle with Up
or Down
buttons to
desired height.
i
i
Summary of Contents for DUPLEX S2
Page 2: ......
Page 4: ......
Page 14: ...3 The lift 8 117127 07 2011 ...


