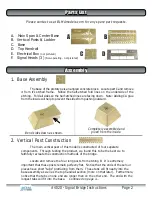
4. Top Handrail Assembly
The Top Handrail portion of this kit is etched in .010”
Stainless Steel for improved handrail durability over the
alternative (brass). Locate part D and remove it from it’s
etched frame. (Be careful when cutting the tie-bars for the
handrails as you do not want to bent or distort them.)
Bend all of the handrails perpendicular to the base.
Notice that the ends also have additional bend lines where
the handrails cross the width of the bridge (at the ends).
You may want to add a small dab of CA to the handrails
where they meet in order to ensure better durability.
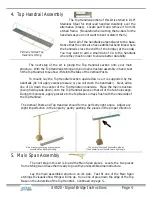
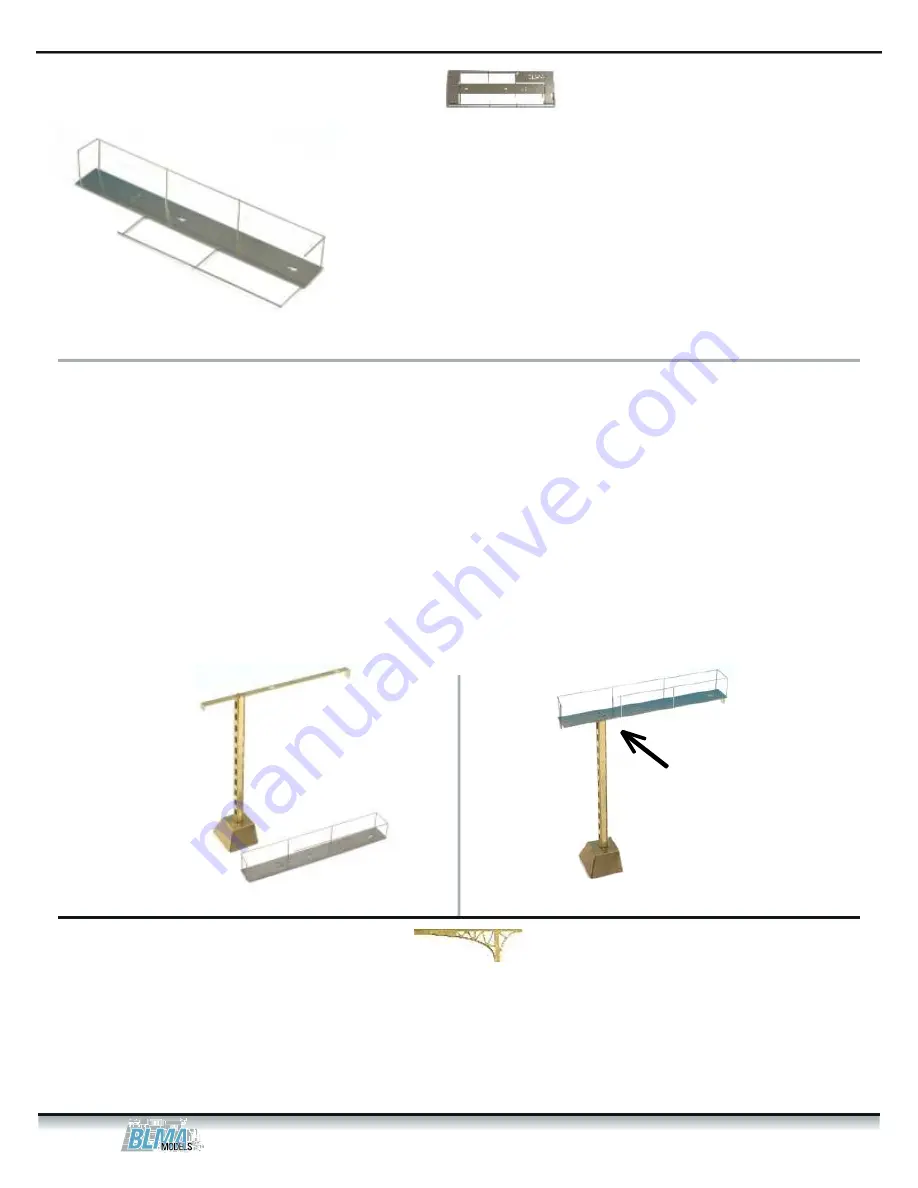
Main structure assembly and completely
assembled Top Handrail etching.
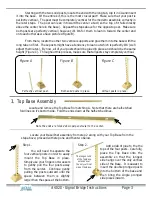
Partially formed Top
Handrail etching.
The next step of the kit is gluing the Top Handrail section onto your main
structure. With the Top Handrail etching and your main structure assembly in hand, test
fit the Top Handrail to see how it fits into the tabs of the Vertical Posts.
To mount, lay the Top Handrail section upside down so it is supported by the
handrails (do not apply excess pressure or you will crush the handrails!). Next, add a
line of CA down the center of the Top Handrail underside. Place the main structure
(being held upside down) onto the Top Handrail piece so that all of the tab holes align.
During this process, apply pressure to the Top Base so it lays flush with the underside of
the Top Handrail.
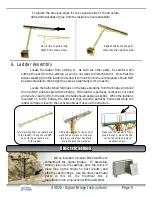
The Vertical Posts and Top Handrail should form a perfectly right angle. Adjust any
slight imperfection in the angle by gently pushing the pieces in the proper direction.
The Vertical Posts and horizontal walkway
(Top Handrail piece) should form a right angle.
5. Main Span Assembly
The next step in this kit is to add the Main Span pieces. Locate the two pieces
from etching A and have them ready to go with your assembled main structure.
Lay the main assembled structure on it’s side. Test fit one of the Main Span
etchings to visualize how things will line up. Run a line of glue down the edge of the Top
Base on the underside of the Top Handrail.
Continued on page 5...
#4020 - Signal Bridge Instructions Page 4


