Installation
12
Final Check and Adjustments
BEFORE SWITCHING THE APPLIANCE ON
Before applying power to the unit for the first time,
check for the following conditions:
j
The unit is level.
j
All electrical safety provisions have been ad-
hered to and the electrical connections are
correct.
j
Water is connected, turned on and all of the
connections are water tight.
j
Grease filters are in their proper positions
j
The transport cart is inserted into the cooking
cavity. When the cart is not inserted into the unit,
water can spill onto the floor causing it to be-
come slippery. If the door will not close properly,
use the following adjustment procedure.
j
Check gas fittings with leak detection solution.
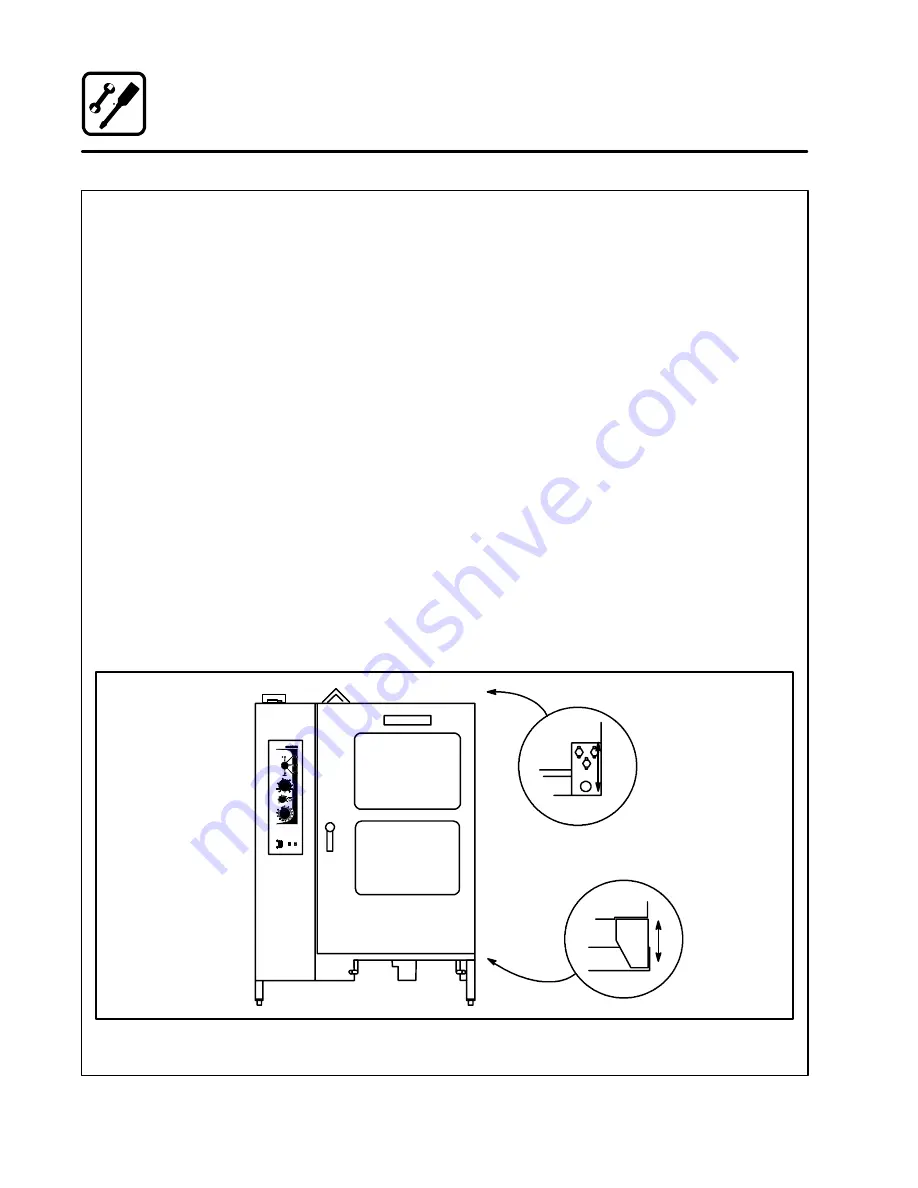
DOOR ADJUSTMENT
The hinges may be adjusted using the following
procedure:
1.
Adjust the top hinge plate by loosening the
three mounting bolts on the top right corner of
the unit.
2.
Adjust the bottom hinge pin by loosening the
mounting bolt located under the bottom hinge
plate on the lower right corner of the oven.
3.
Adjust the hinges so that the door back and
the unit face are parallel.
4.
Tighten the bolts so that there is no further
movement.
5.
The adjustment is correct when the door closes
firmly and no steam leaks from the gasket.
The hinges can also be adjusted as follows:
1.
Adjust the door catch by loosening the four
mounting screws located on the inside sur-
face of the oven door.
2.
The adjustment is correct when no steam
leaks from the gasket. DO NOT over com-
press the door gasket. When closed the door
should slightly compress the door gasket.
Oven
Door
Oven
Door
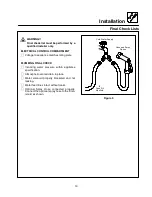
Figure 4


