CMTS Edge Series Universal Quick Start Guide
P a g e
|
5
1.
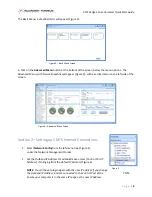
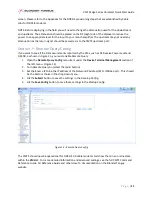
On the left menu, under the Network Management folder, click
Local-Provision Management.
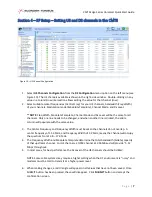
This opens a new tab for setting up the DHCP address pool and uploading a CM config file to be
sent to the CMs. (Figure 7)
2.
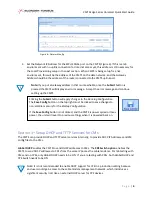
Set Global DHCP to ON for cable modems.
3.
Click
SUBMIT
button (to save to
Running Configuration
)
–
Accept confirmation screen
4.
Click
Save Config
button (to save to
Startup Configuration
)
–
Accept confirmation screen
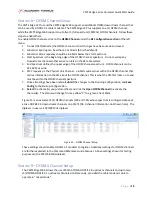
5.
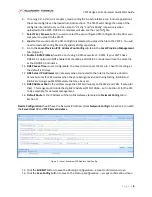
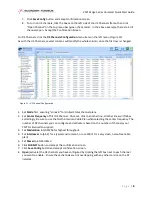
Click the
Load CM Config
button to open a dialog box for uploading pre-configured DOCSIS CM
configuration files to the CMTS.
CM Profile
allows selection of cm.cfg (for 2.0 CMs) or cm30.cfg
(for DOCSIS 3.0 CMs).
NOTE: CMTS does not ship with a default CM configuration file installed.
Figure 7
–
Local-Provision Management
3
4
5
6
Figure 8
–
Load CM Config Dialog Box


