2
1 866 907 0122 blubathworks.com
2018-01
®
Preparing the location:
1. Make sure the floor and the supporting surfaces are flat and leveled.
2. Drill a hole that is wide enough to contain the appropriate drainage kit needed for the drainage system.
The hole must be appropriately located while keeping the position and size of the shower base in mind.
Preparing the shower base:
1. Remove the shower base from the packaging, which should be disposed of in accordance with the local recycling regulations.
Install the drainage kit on the shower base as indicated by the Manufacturer. Fasten all the hydraulic connections of the
drainage system. Open the faucets and let the water run inside the shower base. Check all the connections for possible leaks.
2. Place the shower base on the floor and make sure it is perfectly flat. Seal the entire perimeter of the shower base with acetic
silicone. If the shower base is slightly above the floor, or semi-recessed, leave ¼
inch of space around the entire perimeter
(which must be sealed with acetic silicone); as to make room for the thermal expansion of the material. Let the silicone dry for at
least 24 hours before using the shower base (or before mounting any shower walls).
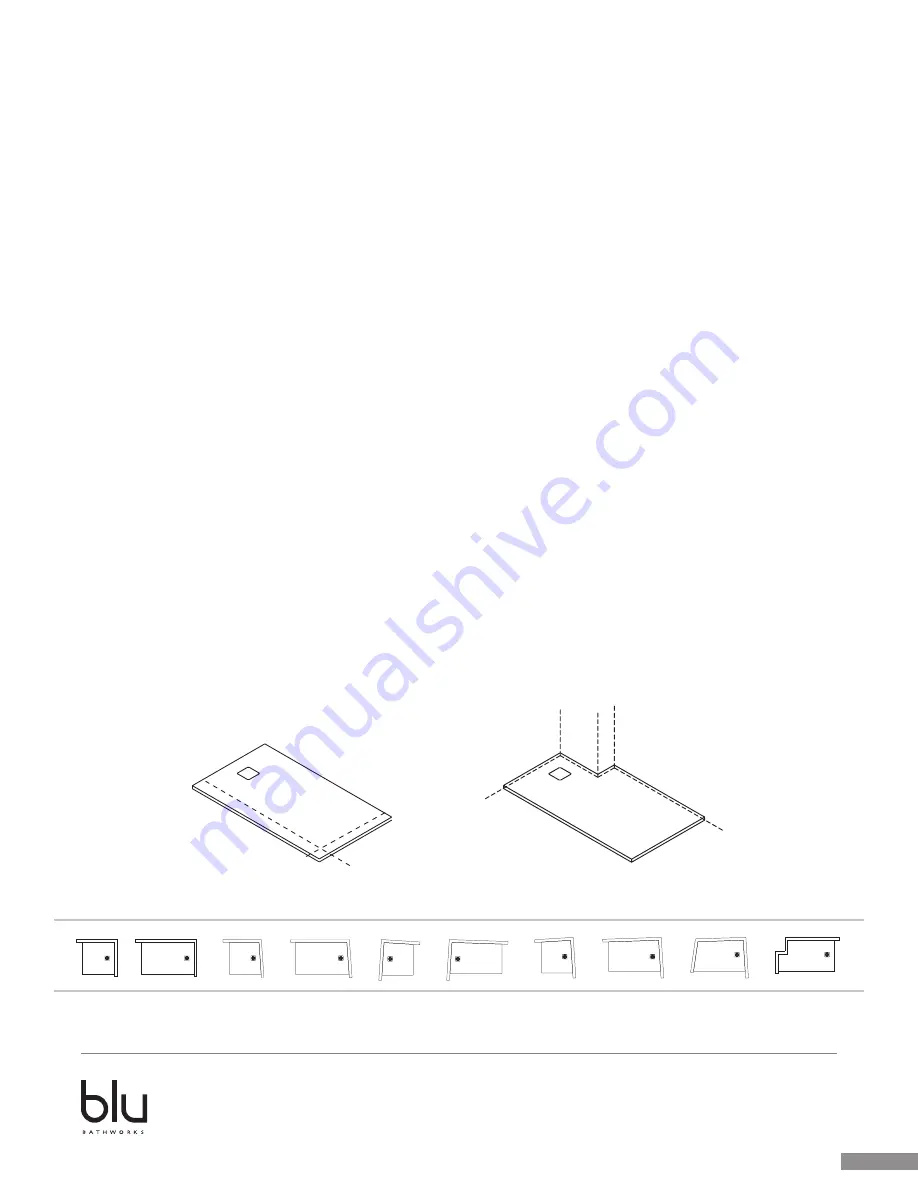
Cutting instructions for custom length fittings
1. Mark the shower base to indicate the position of the cut with a straight edge and a pencil according to the required length.
2. Cut through the cut-out line. A standard household skill saw or angle grinder needs to be upgraded with a diamond cutting
blade. These are available at major home improvement centres. To avoid chipping the edge of the stone, which is caused by
the blade's vibration, collars that act as big washers on both sides of the saw's blade reduce the vibration, allowing a cleaner
cut. When stone is cut dry, a considerable amount of dust is generated. Some installers will use a handheld diamond-bladed
radial saw with a vacuum attachment to help minimize the mess.
3. Place the shower base into position.
4.
Note:
Ensure the cut edge is installed against the wall to ensure the smooth edges are exposed.


