ProxySG 900 Series Maintenance & Upgrade Guide
63
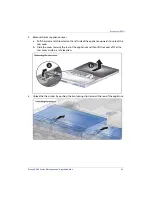
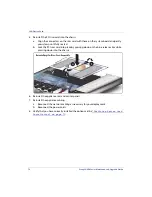
13. Remove the protective cover from the bottom of the new heat sink. Removing the film
exposes the thermal pad that fixes the heat sink to the new CPU.
Note:
The heatsink unit comes pre-applied with a thermal pad. Do not touch or apply
additional thermal materials onto the heatsink.
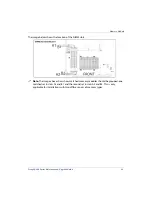
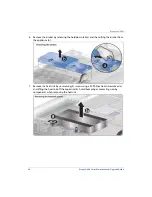
14. Set the heat sink into position by aligning the screw mount tabs on the heatsink with
those on the motherboard, and lowerthe heatsink vertically into place. Minimize any
movement of the heatsink after it has been set into place.
Important:
The extended section of the heatsink must point towards the center of the
appliance.
Summary of Contents for ProxySG SG900-10
Page 6: ...6 ProxySG 900 Series Maintenance Upgrade Guide...
Page 28: ...About This Guide 28 ProxySG 900 Series Maintenance Upgrade Guide...
Page 34: ...34 ProxySG 900 Series Maintenance Upgrade Guide Fan Assembly...
Page 56: ...56 ProxySG 900 Series Maintenance Upgrade Guide Memory Module...
Page 86: ...86 ProxySG 900 Series Maintenance Upgrade Guide BIOS Battery...
Page 103: ......
Page 104: ...www bluecoat com...

