36
ProxySG 900 Series Maintenance & Upgrade Guide
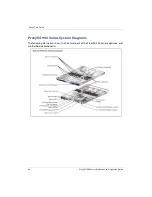
ProxySG 900 Upgrade Kit
Customers who purchased an upgrade kit for the ProxySG 900 appliance receive HDDs as part
of their upgrade package. Some upgrade kits require users to install additional HDD(s), while
others require drive replacement.
The table below lists the actions the user must take to install the upgrade drives:
Important:
Users upgrading the ProxySG 900-10 and -55 appliances must replace all
drives in the appliance. Blue Coat recommends users archive their configuration before
replacing the HDDs.
Upgrade Kit
HDD Upgrade Action
Link
900-10 to 900-20,
900-10 to 900-30
1. Remove existing HDDs from drive
bays one and two.
2. Install upgrade HDDs into drive
bays one and two.
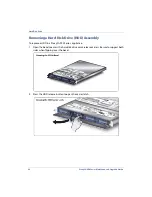
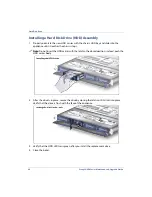
“Removing a Hard Disk Drive (HDD) Assembly” on page 38.
“Installing a Hard Disk Drive (HDD) Assembly” on page 40.
900-10B to 900-30,
900-20 to 900-30
Install a single upgrade HDD into
drive bay three.
“Installing a Hard Disk Drive (HDD) Assembly” on page 40.
900-20 to 900-45
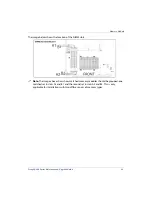
Install two upgrade HDDs into drive
bays three and four.
“Installing a Hard Disk Drive (HDD) Assembly” on page 40.
900-30 to 900-45
Install a single upgrade HDD into
drive bay four.
“Installing a Hard Disk Drive (HDD) Assembly” on page 40.
900-30 to 900-55,
900-45 to 900-55
1. Remove existing HDDs.
2. Install upgrade HDDs into drive
bays one, two, three, and four.
Summary of Contents for ProxySG SG900-10
Page 6: ...6 ProxySG 900 Series Maintenance Upgrade Guide...
Page 28: ...About This Guide 28 ProxySG 900 Series Maintenance Upgrade Guide...
Page 34: ...34 ProxySG 900 Series Maintenance Upgrade Guide Fan Assembly...
Page 56: ...56 ProxySG 900 Series Maintenance Upgrade Guide Memory Module...
Page 86: ...86 ProxySG 900 Series Maintenance Upgrade Guide BIOS Battery...
Page 103: ......
Page 104: ...www bluecoat com...


