40
ProxySG 900 Series Maintenance & Upgrade Guide
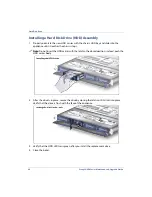
Installing a Hard Disk Drive (HDD) Assembly
1.
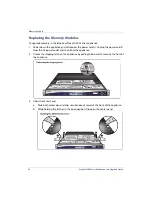
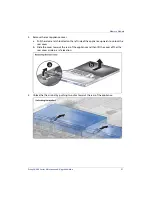
Properly orientate the new HDD carrier with the chassis HDD bay and slide into the
appliance until it reaches the chassis stops.
Note:
Do not insert the HDD carrier with the latch in the closed position; instead, push the
HDD carrier body.
2.
After the drive is in place, secure the drive by closing the latch until it clicks into place.
Verify that the drive is flush with the face of the appliance.
3.
Verify that the HDD LED turns green after you install the replacement drive.
4.
Close the bezel.
Summary of Contents for ProxySG SG900-10
Page 6: ...6 ProxySG 900 Series Maintenance Upgrade Guide...
Page 28: ...About This Guide 28 ProxySG 900 Series Maintenance Upgrade Guide...
Page 34: ...34 ProxySG 900 Series Maintenance Upgrade Guide Fan Assembly...
Page 56: ...56 ProxySG 900 Series Maintenance Upgrade Guide Memory Module...
Page 86: ...86 ProxySG 900 Series Maintenance Upgrade Guide BIOS Battery...
Page 103: ......
Page 104: ...www bluecoat com...

