21
o
11) After the glue has completely cured, trial
fit each of the halves together. Make any adjust-
ments necessary to get each half to fit as close as
possible. When satisfied with the fit, glue the
halves together using Kwik Bond Thin C/A.
Work one tab at a time, holding the halves tightly
together and applying one drop of glue until each
part is completely glued together.
o
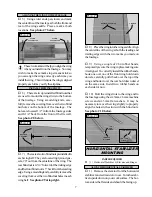
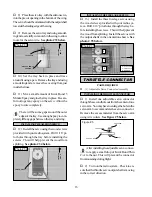
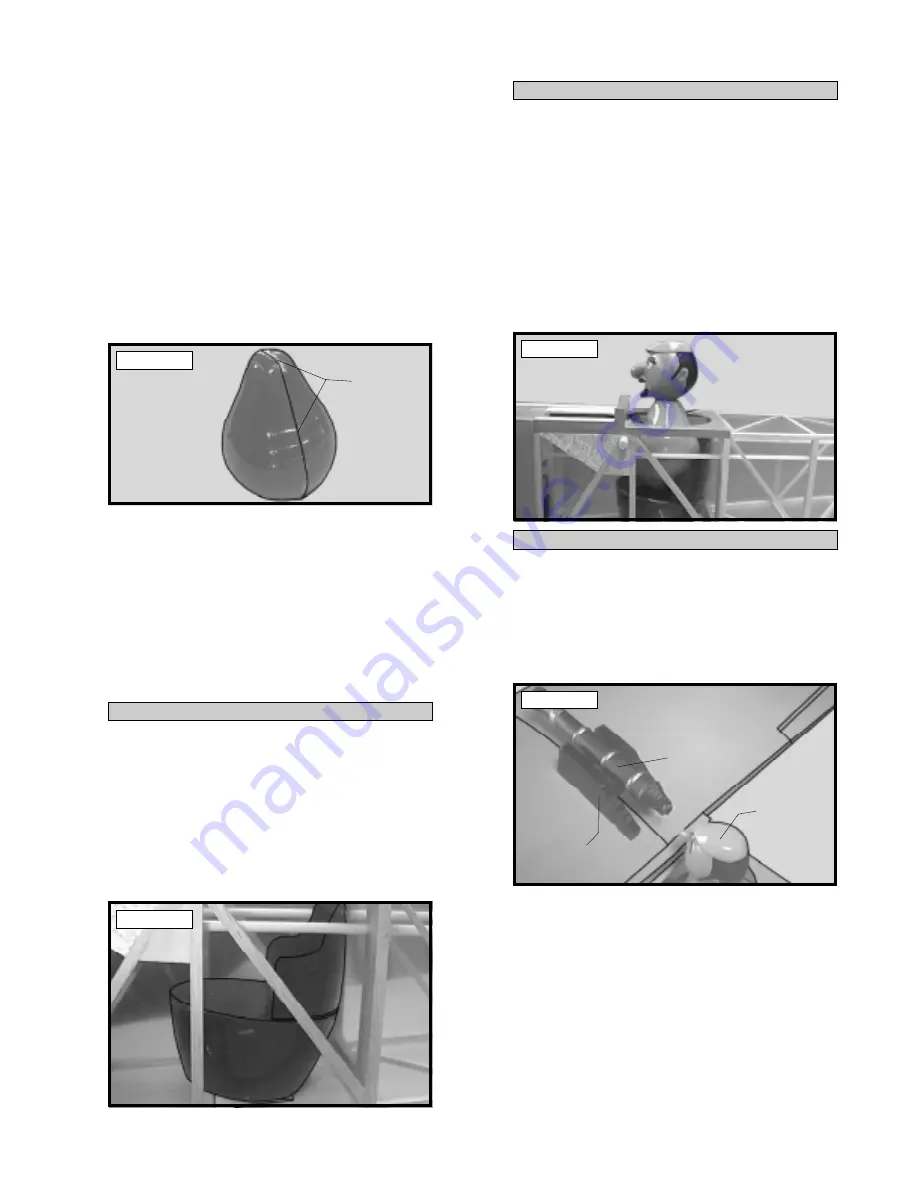
12) After the glue has completely cured, use
220 grit sandpaper and lightly sand the seams
of each part. If any gaps are present they can
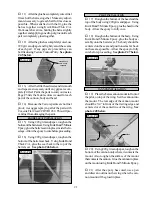
be filled using Testors Contour Putty. See photo
# 45 below.
Photo # 45
o
13) After the filler has dried, sand it smooth
and repeat as necessary until any gaps are com-
pletely filled. Paint the parts to suit your tastes.
Page # 3 lists the Testors colors we used for each
part of the cannon, body and head.
o
14) Because the Testors paints are not fuel
proof, we suggest spraying all of the parts with
Coverite Flat Clear # COVR1280. This will pre-
vent fuel from damaging the paint.
BARREL SEAT INSTALLATION
o
15) Using 220 grit sandpaper, roughen the
bottom of the barrel seat. Using Kwik Bond 5 Minute
Epoxy, glue the barrel seat into place inside the fu-
selage. Allow the epoxy to cure before proceeding.
o
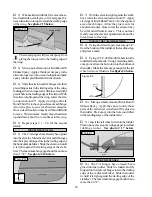
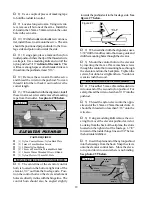
16) Using 220 grit sandpaper, roughen the
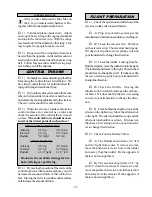
bottom of the barrel seat back. Using Kwik Bond
Thick C/A, glue the seat back to the top of the
barrel seat. See photo # 46 below.
Photo # 46
o
17) Roughen the bottom of the head and the
top of the body using 220 grit sandpaper. Using
Kwik Bond 5 Minute Epoxy, glue the head to the
body. Allow the epoxy to fully cure.
o
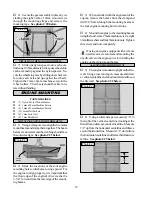
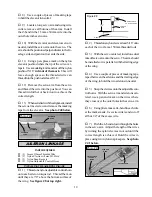
18) Roughen the bottom of the body. Using
Kwik Bond 5 Minute Epoxy, glue the body as-
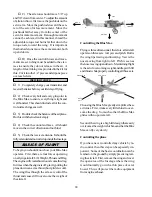
sembly onto the barrel seat. The body should be
centered on the seat and positioned as far back
on the seat as possible. Allow the epoxy to fully
cure before proceeding. See photo # 47 below.
Photo # 47
PILOT INSTALLATION
CANNON INSTALLATION
o
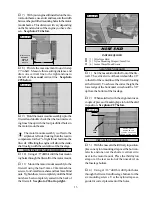
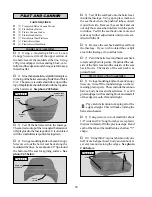
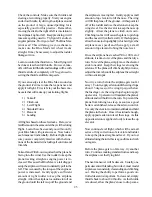
19) Place the balsa cannon mount in front of
the pilot, on top of the wing. Set the cannon into
the mount. The rear edge of the cannon mount
should be 3/4” in front of the trailing edge and
centered over the centerline of the wing. See
photo # 48 below.
Photo # 48
o
20) Using 220 grit sandpaper, roughen the
bottom of the cannon only where it contacts the
mount. Also roughen the surface of the mount
that contacts the cannon. Glue the cannon in place
on the mount using Kwik Bond 5 Minute Epoxy.
o
21) After the epoxy has cured, use a pen
and draw an outline on the wing where the can-
non mount will be glued in place.
FILL SEAMS
AND SAND
SMOOTH
PILOT
CANNON
CANNON
MOUNT

