23
LATERAL BALANCE
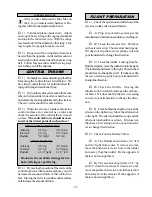
After you have balanced the Blue Max on
the C.G. you must laterally balance it. Do-
ing this will help the airplane track better.
o
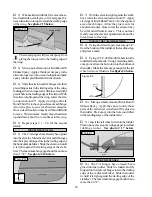
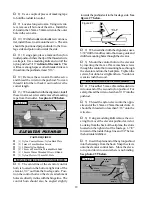
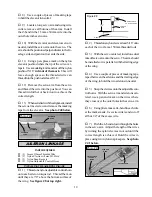
1) Turn the airplane upside down. Attach
one loop of heavy string to the engine crankshaft
and one to the tail wheel wire. With the wings
level carefully lift the airplane by the string. This
may require two people to make it easier.
o
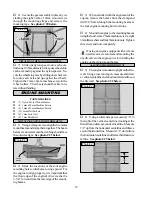
2) If one side of the wing falls, that side is
heavier than the opposite. Add small amounts of
lead weight to the bottom side of the heavier wing
half. Follow this procedure until the wing stays
level when you lift the airplane.
o
1) We highly recommend setting up the Blue
Max using the control throws listed below. We
have listed control throws for both initial test fly-
ing/sport flying and aerobatic flying.
o
2) Turn on the radio system and with the trim
tabs on the transmitter in neutral, center the con-
trol surfaces by making adjustments to the clevises.
The servo arms should be centered also.
o
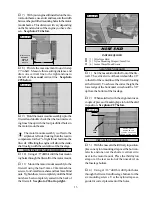
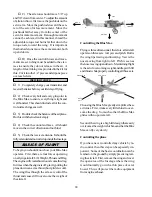
3) When the elevator, rudder and aileron
control surfaces are centered, use a ruler and
check the amount of the control throw in each
surface. The control throws should be mea-
sured at the widest point of each surface!
Ailerons:
3/8” up
3/8” down
Elevator:
1/2” up
1/2” down
Rudder:
3/4” right
3/4” left
AEROBATIC FLYING
Ailerons:
3/4” up
3/4” down
Elevator:
3/4” up
3/4” down
Rudder:
1-1/4” right
1-1/4” left
Do not use the aerobatic settings for ini-
tial test flying or sport flying.
INITIAL FLYING/SPORT FLYING
CONTROL THROWS
o
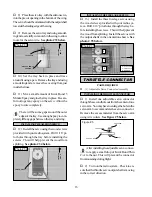
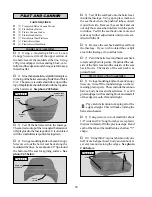
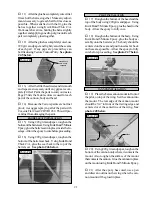
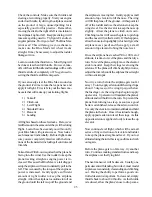
4) By moving the position of the clevis at the
control horn toward the outermost hole, you will
decrease the amount of throw of that control sur-
face. Moving the clevis toward the control surface
will increase the amount of throw.
FLIGHT PREPARATION
o
1) Check the operation and direction of the
elevator, rudder, ailerons and throttle.
o
A) Plug in your radio system per the
manufacturer's instructions and turn everything on.
o
B) Check the elevator first. Pull back
on the elevator stick. The elevator should go up.
If it does not, flip the servo reversing switch on
your transmitter to change the direction.
o
C) Check the rudder. Looking from be-
hind the airplane, move the rudder stick to the right.
The rudder should move to the right. The tail wheel
should move to the right as well. If it does not, flip
the servo reversing switch on your transmitter to
change the direction.
o
D) Check the throttle. Moving the
throttle stick forward should open the carbure-
tor barrel. If it does not, flip the servo reversing
switch on your transmitter to change the direc-
tion.
o
E) From behind the airplane, look at the
aileron on the right wing. Move the aileron stick
to the right. The aileron should move up and the
other aileron should move down. If it does not,
flip the servo reversing switch on your transmit-
ter to change the direction.
o
2) Check Control Surface Throw.
o
A) The Rudder should move 3/4” left
and 3/4” right from center. If it moves too far,
move the pushrod clevis to a hole in the rudder
horn away from the rudder. Do the opposite if
there is not enough throw.
o
B) The elevator should move 1/2” up
and 1/2” down from center. If it moves too far,
move the pushrod clevis to a hole in the elevator
horn away from the elevator. Do the opposite if
there is not enough throw.


