background image

Contact 1.800.762.1142 for assistance. Do not return to place of purchase.

page no.

Assembly Instructions

DO NOT RETURN PRODUCT TO STORE.


For assistance call 

1.800.762.1142

 toll free. Please have your owner’s manual and serial 

number available for reference.


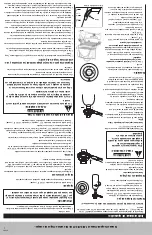
•  Clear an area large enough to layout all components and hardware.
•  When applicable, tighten all hardware connections by hand first. Once the step is completed, 

go back and fully tighten all hardware.

•  Follow all steps in order to properly assemble your product.

Estimated assembly time: 20 to 30 minutes

3

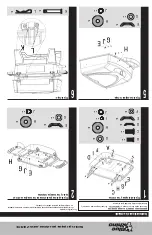
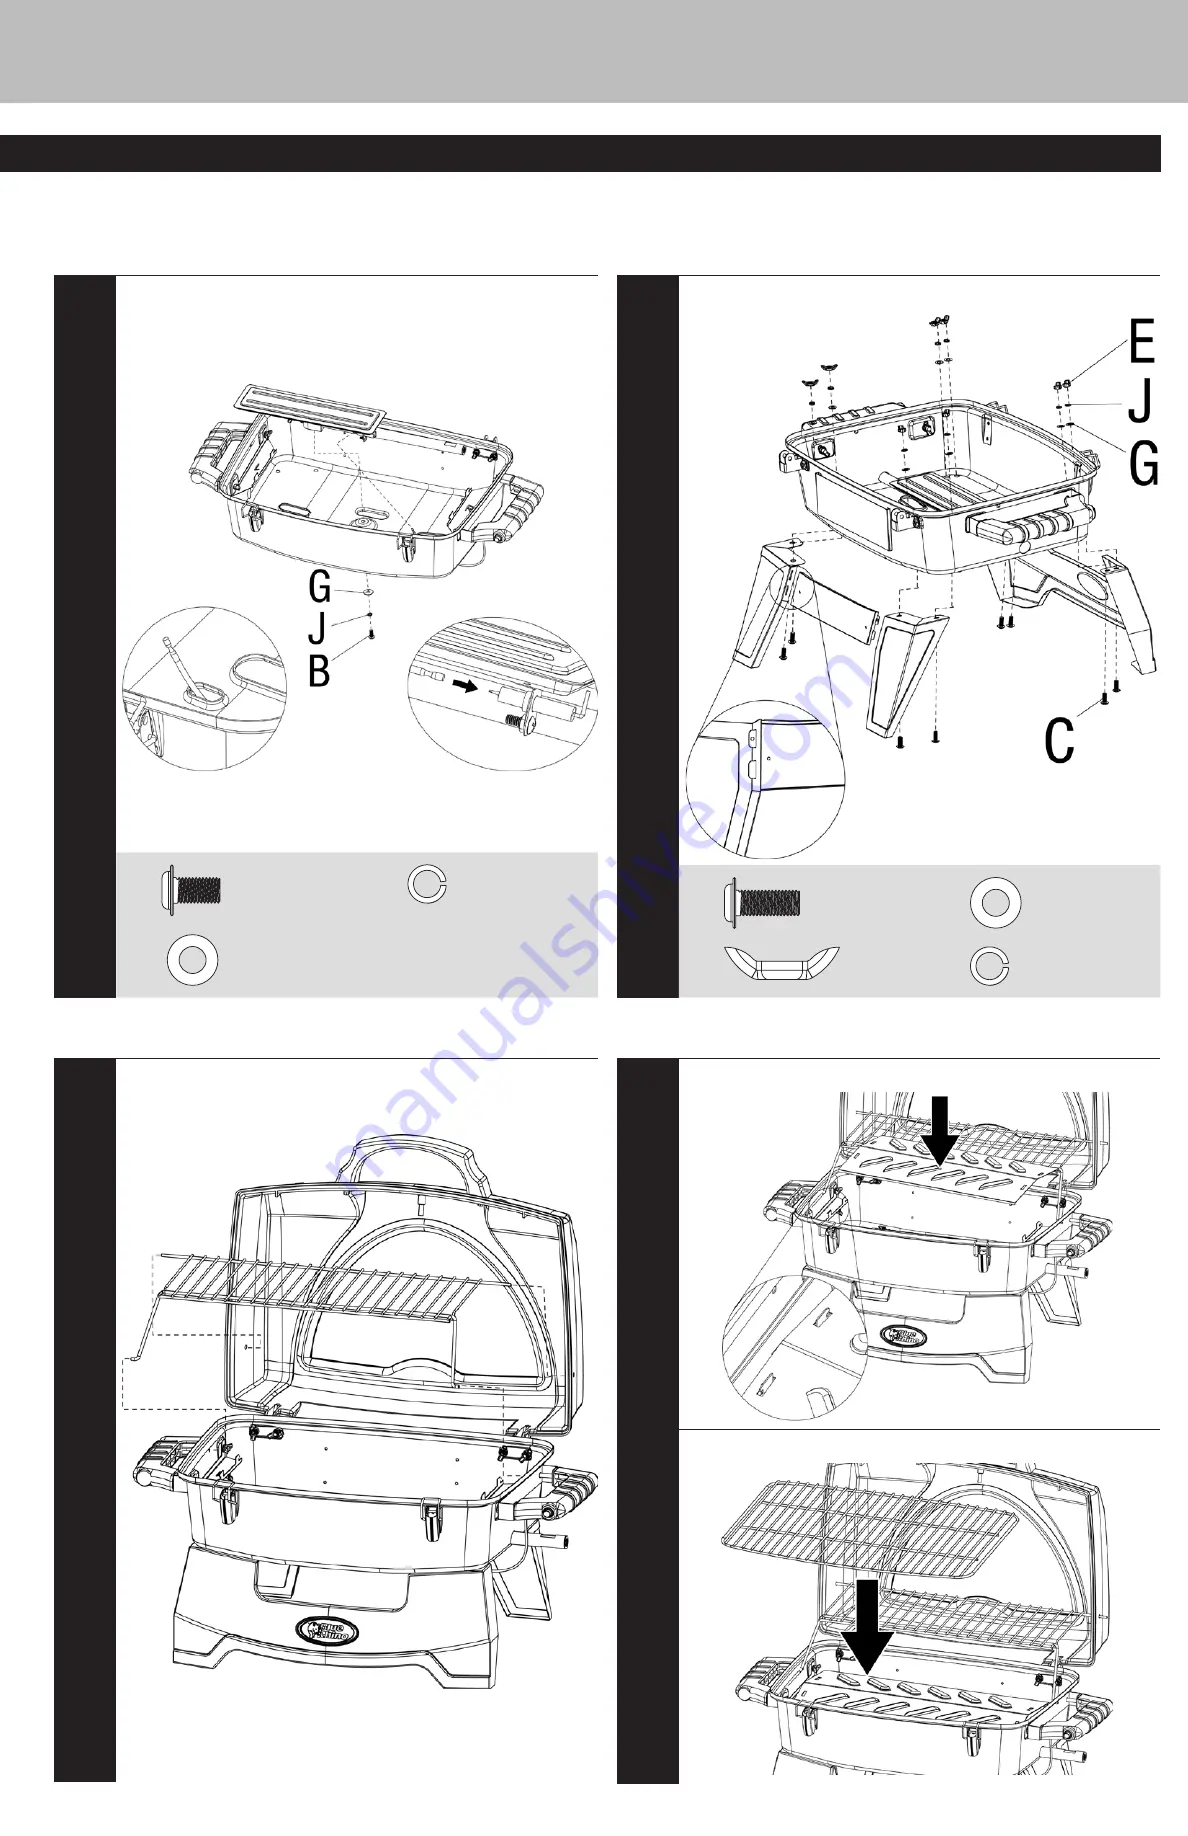
Attach Burner and Igniter Wire

B

x 1

G

x 1

J

x 1

4

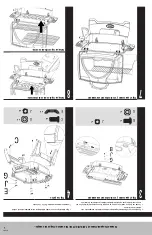
Attach Legs

C

x 8

E

x 8

G

x 8

J

x 8

7

Insert Warming Rack

8

Insert Heat Plate

Insert Cooking Grid

Summary of Contents for GBT611B

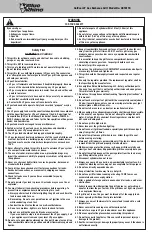
Page 1: ...position 65 Chemicals known to the State of California to cause cancer birth defects or other reproductive harm are created by the combustion of propane Save these instructions for future reference If you are assembling this unit for someone else give this manual to him or her to read and save for future reference WARNING FOR YOUR SAFETY For Outdoor Use Only outside any enclosure Table of Contents...

Page 2: ...p the grill s valve compartment burners and circulating air passages clean Inspect grill before each use 22 Do not alter grill in any manner 23 Do not use the grill unless it is COMPLETELY assembled and all parts are securely fastened and tightened 24 This grill should be thoroughly cleaned and inspected on a regular basis 25 Use only the regulator provided The replacement regulator shall be that ...

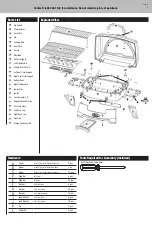
Page 3: ...ce 21 Left Back Leg 22 Right Back Leg 23 Front Leg 24 Grease Tray Assembly Hardware A Screw M4x12 Zinc Plated Phillips Truss Head 4 pcs B Screw M6x8 Zinc Plated Phillips Truss Head 1 pc C Screw M6x12 Zinc Plated Phillips Truss Head 12 pcs D Wing Nut M4 Steel 4 pcs E Wing Nut M6 Steel 18 pcs F Washer ø4 Zinc Plated 4 pcs G Washer ø6 4 Zinc Plated 19 pcs H Washer ø6 4 Heat Resistant 10 pcs I Lock Wa...

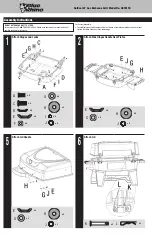
Page 4: ...er available for reference For Easiest Assembly To avoid losing any small components or hardware assemble your product on a hard level surface that does not have cracks or openings 5 Attach Lid Handle E x 2 G x 2 H x 2 J x 2 2 Attach Side Hinges Handle Heat Plates E x 4 G x 4 H x 4 J x 4 6 Attach Lid K x 2 L x 2 1 Attach Hinges and Locks A x 4 C x 4 D x 4 E x 4 F x 4 G x 4 H x 4 I x 4 J x 4 ...

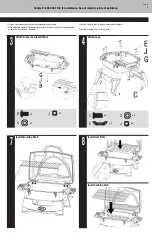
Page 5: ...tighten all hardware connections by hand first Once the step is completed go back and fully tighten all hardware Follow all steps in order to properly assemble your product Estimated assembly time 20 to 30 minutes 3 Attach Burner and Igniter Wire B x 1 G x 1 J x 1 4 Attach Legs C x 8 E x 8 G x 8 J x 8 7 Insert Warming Rack 8 Insert Heat Plate Insert Cooking Grid ...

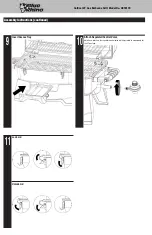
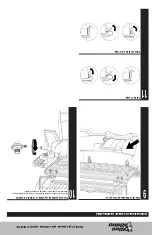
Page 6: ...ll Model No GBT611B Assembly Instructions continued 11 Lock Lid Unlock Lid 9 Insert Grease Tray 10 Attach Regulator Control Valve Note Once attached the regulator control valve will freely rotate to accomodate for the LP gas tank ...

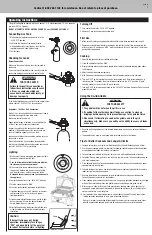
Page 7: ...Cooking 1 Open lid and ignite burner per lighting instructions 2 Close lid and preheat grill on HIGH 3 Wear protective gloves and use long handle tongs to place food onto cooking grids above the lit burners 4 Adjust controls to desired temperature 5 With lid open or closed cook until desired internal food temperatures are achieved 6 Turn grill OFF by first closing the valve on the propane tank Bur...

Page 8: ...rrants to the original retail purchaser of this product and to no other person that if this product is assembled and operated in accordance with the printed instructions accompanying it then for a period of one 1 year from the date of purchase all parts in such product shall be free from defects in material and workmanship Vendor may require reasonable proof of your date of purchase Therefore you ...

Page 9: ...illo pequeño de limpiar botellas o con chorro de aire comprimido 7 R emueva de la superficie del quemador todo residuo de comida o suciedad 8 L impie cualquier puerto que encuentre tapado con un alambre rígido tal como un sujetapapeles abierto 9 E xamine el quemador para detectar daños como rajaduras o huecos Si encuentra algún daño reemplace el quemador 10 V uelva a instalar el quemador Vuelva a ...

Page 10: ... disipen Cocción 1 A bra la tapa y encienda el quemador siguiendo las instrucciones de encendido 2 C ierre la tapa y haga un calentamiento previo de la parrilla en la graduación HIGH alto 3 U se guantes de protección y tenacillas de mango largo para colocar los alimentos en las parrillas de cocción sobre los quemadores encendidos 4 A juste los controles a la temperatura deseada 5 C on la tapa abie...

Page 11: ... continuación 9 Inserte la bandeja para la grasa 10 Fije el conjunto de regulador y válvula de control Nota Una vez fijado el conjunto de regulador y válvula de control puede girar libremente para acomodar el tanque de gas propano líquido 11 Cierre la tapa Abra el cierre de la tapa ...

Page 12: ...es de ferretería Una vez que ha terminado el paso apriete completamente todos los elementos de ferretería S iga todos los pasos en el orden indicado para armar debidamente esta unidad Tiempo de armado aproximado De 20 a 30 minutos 3 Fije el quemador y el alambre del encendedor B x 1 G x 1 J x 1 4 Fije las patas C x 8 E x 8 G x 8 J x 8 7 Fije el quemador y el alambre del encendedor 8 Coloque la pla...

Page 13: ...referencia Para facilitar el armado E vite la pérdida de componentes pequeños o elementos de ferretería armando el producto en un lugar de piso plano sin aberturas ni hendijas 5 Fije la manija de la tapa E x 2 G x 2 H x 2 J x 2 2 Fije las placas protectoras de las manijas contra el calor y las manijas laterales E x 4 G x 4 H x 4 J x 4 6 Fije la tapa K x 2 L x 2 1 Fije las bisagras y los cierres A ...

Page 14: ...patas traseras 21 Pata trasera izquierda 22 Pata trasera derecha 23 Pata delantera 24 Conjunto de la bandeja para la grasa Elementos de ferretería A Tornillo Phillips de cabeza abombada galvanizado M4x12 4 pzs B Tornillo Phillips de cabeza abombada galvanizado M6x8 1 pz C Tornillo Phillips de cabeza abombada galvanizado M6x12 12 pzs D Tuerca de mariposa Acero M4 4 pzs E Tuerca de mariposa Acero M6...

Page 15: ...tes de cada uso 22 N o altere la parrilla de ninguna forma 23 N o utilice la parrilla a menos que esté COMPLETAMENTE montada y que todas las piezas estén bien fijadas y apretadas 24 E sta parrilla debe limpiarse y verificarse completamente de manera regular 25 U tilice únicamente el regulador incluido El conjunto de manguera de repuesto será el especificado por el fabricante 26 U se únicamente pie...

Page 16: ...normas siguientes Código Nacional para Gas y Combustibles ANSI Z223 1 NFPA 54 CAN CGA B149 1 Código de Instalación de Propano y Gas Natural MANUAL DEL USUARIO ADVERTENCIA PARA SU SEGURIDAD 1 U na instalación ajuste alteración reparación o mantenimiento inadecuados pueden causar lesiones o daños a la propiedad 2 L ea atentamente las instrucciones de instalación funcionamiento y mantenimiento del eq...

Reviews: