6
Service Procedures
22
Blue Seal Evolution Series GT45 / GT46 / GT60
©
Moffat Ltd, January 2007
Revision 1/
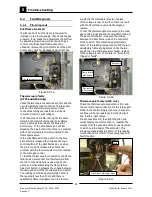
Figure 6.1.1b
6.1.1 Control
panel
6.1 Access
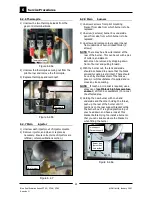
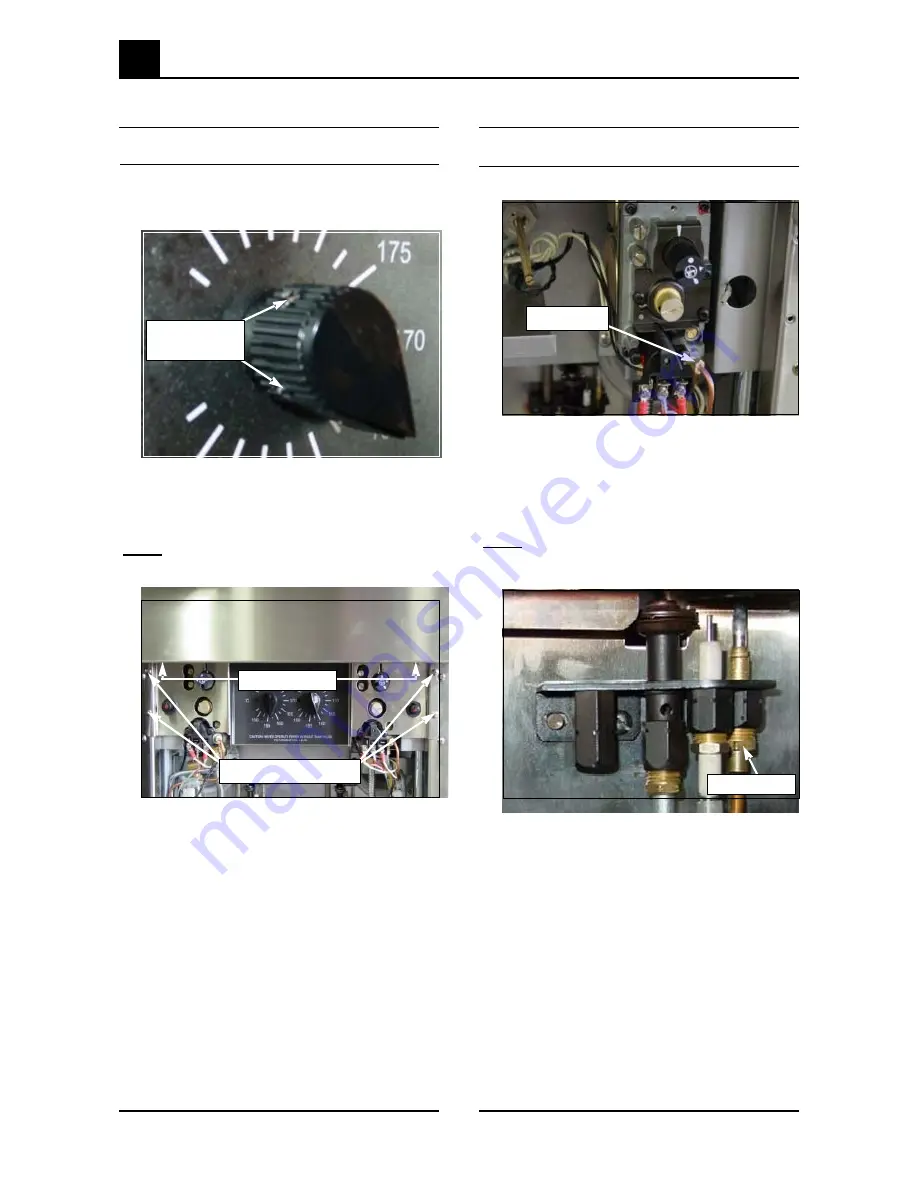
1) Remove two screws from the underside of
facia panel. Panel should now drop down and
be removed.
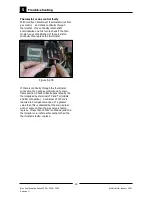
2) Remove thermostat control knob (2 slot
screws or 2 socket head screws).
Note:
Note position of knob, so that it can be
returned to the same position when reassem-
bling.
Figure 6.2.1a
6.2 Replacement
6.2.1
Thermocouple (gas control)
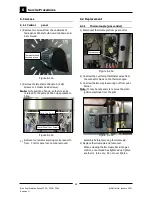
Figure 6.2.1b
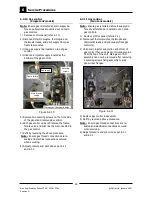
1) Disconnect thermocouple from gas control.
2) Unscrew the overtemp thermostat wires from
the connector block on the thermocouple.
3) Unscrew thermocouple securing nut from pilot
burner.
Note:
It may be necessary to remove the piezo
ignition electrode from the pilot
assembly before removing thermocouple.
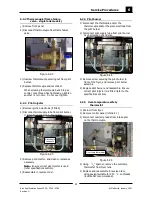
4) Replace thermocouple and reconnect.
When screwing thermocouple back into gas
control, once thread has tightened up tighten
another ¼ turn only. Do not over tighten.
Thermocouple
Thermostat Knob
Securing screws
Figure 6.1.1a
Thermocouple
3)
Remove four screws securing control panel to
fryer. Control panel can now be removed.
Control Panel Four Screws
Facia Two Screws


