25
English
3.10 BlueChimney with manual speed controller
NOTE: Do NOT connect a cabled speed controller and a remote control to your BlueChimney at the
same time.
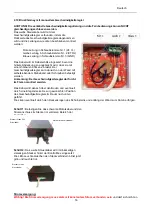
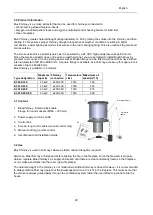
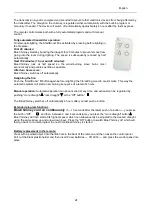
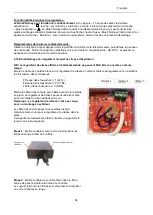
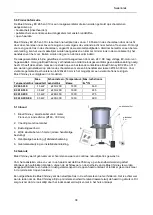
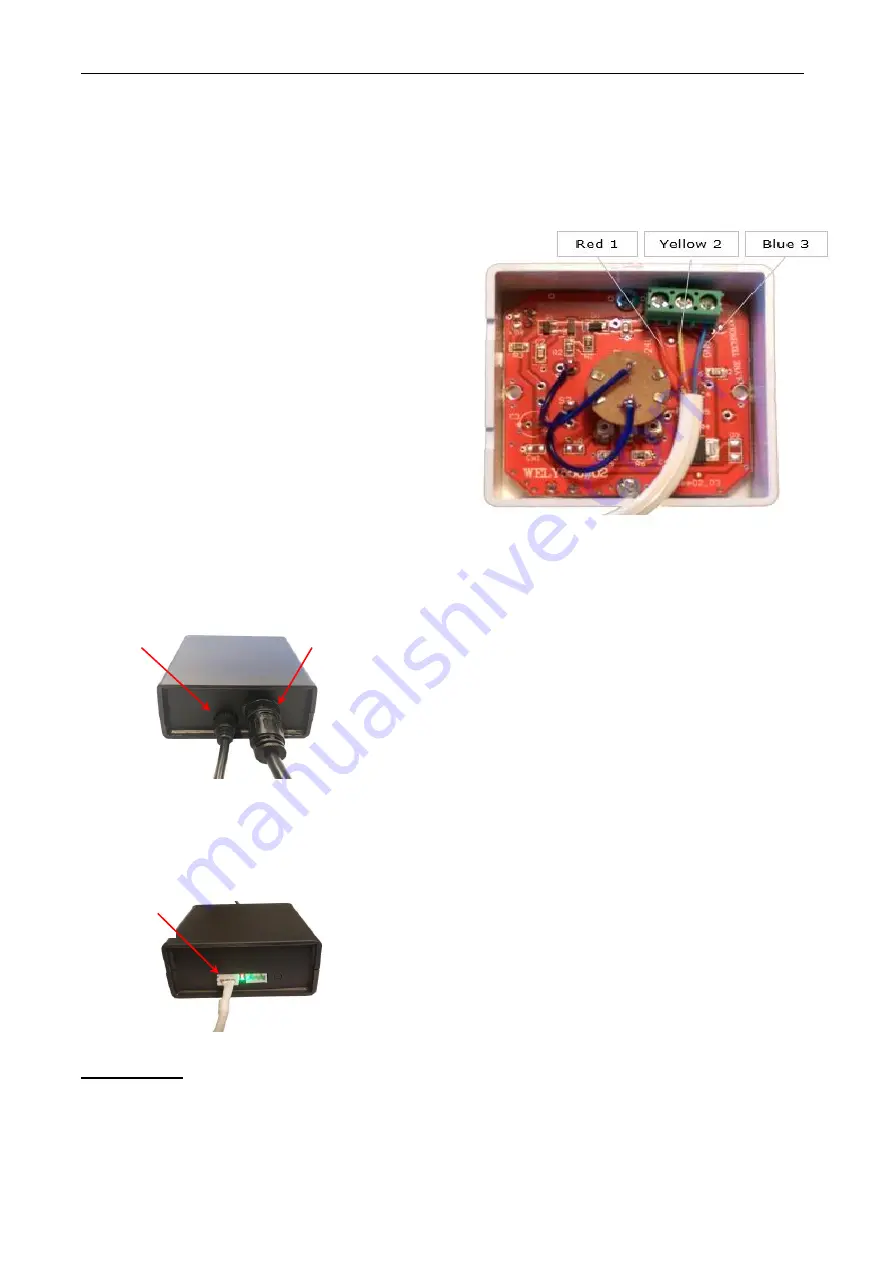
Fit the white control cable to the speed controller by removing the back of the speed controller and fitting the
wires in the manner described below:
-
Red wire to screw terminal no. 1 (24V+);
-
Yellow wire to screw terminal no. 2 (CTRL);
-
Blue wire to screw terminal no. 3 (GND).
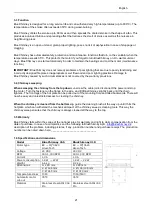
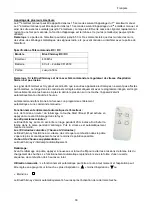
Insert the cable into the cable slot and then click the
back back into place. The speed controller can
subsequently be mounted to the wall with self-adhesive
tape or screws.
Note: The speed controller is not designed for
outdoor installation
Guide the cable down through the ceiling and storey
partition, if any, to the position where the speed
controller is required to be in the room.
You can possibly go through the chimney’s ceiling collar
and down along the wall to the wood-burning stove.
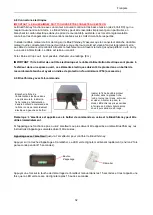
Power supply:
Important: The power supply must always be connected to a source of constant current
. Do not place it
in environments exposed to water, splashes, moisture or temperatures above 50°C. Ensure proper ventilation.
In the event of outdoor installation, the power supply and the control box must be placed in shadow, in a
watertight installation box with protection class of at least IP 54.
3.11 Maintenance and Troubleshooting
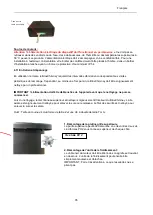
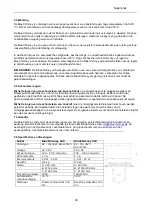
Step 1:
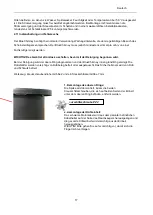
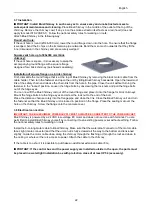
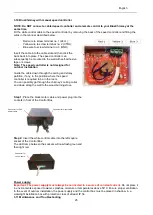
Place the black motor cable and power plug into the
sockets in front of the Control Box.
Connector for motor cable
Connector for 24V
power cable
Connector for
control cable
Step 2:
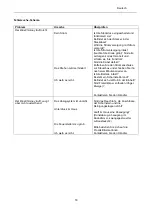
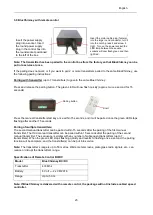
Insert the white control cable into the left square
socket of the Control Box.
The LED lamp between the sockets will now flash green and
then light red.
Your BlueChimney unit is ready for use.


