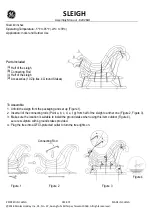

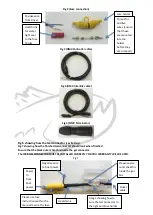

Fig 2
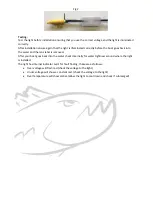
Fig 3
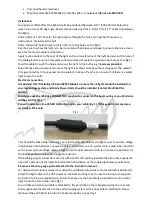
Installation:
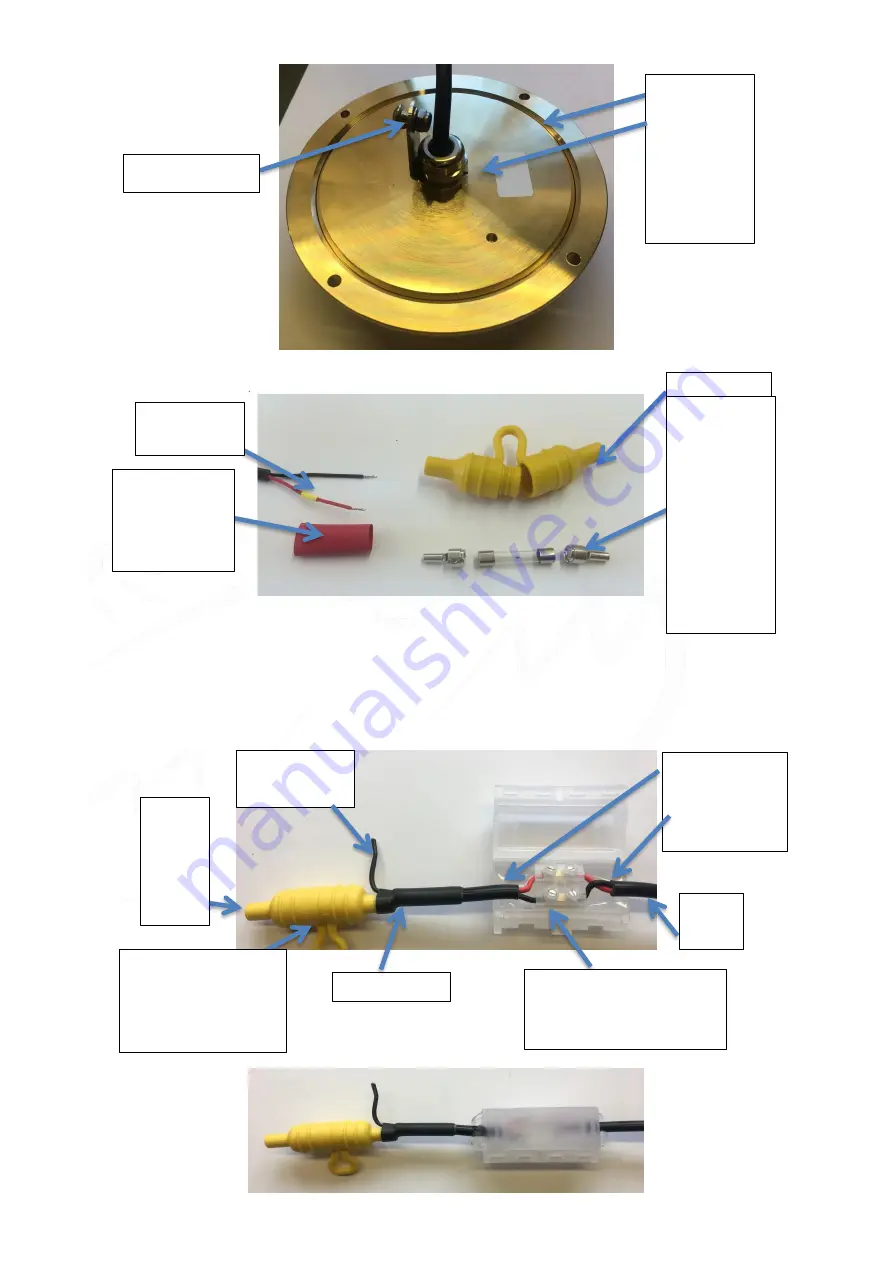
Fig 4 showing how the Gel connector is wired up.
Fig 5 showing how the finished Gel connector should look when finished.
Ensure that the black outer sheath is inside the gel connector.
The IP68 GEL CONNECTOR MUST BE INSTALLED CORRECTLY OR YOU WARRANTY WILL BE VOID.
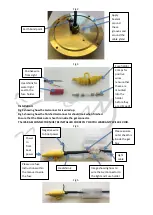
Fig 4
Fig 5
Please use fuse
instructions within
the manual to wire
the fuse
Power
In
from
boat
power
Apply
Sealant
around
these
grooves and
around the
cable gland
Earth bond point
Light
cable
Fuse holder
Crimps for
positive
wires
(ensure that
these are
mounted
into the
holder
before they
are crimped)
Positive wire
from Light
Heatshrink for
water tight
seal to the
fuse holder
Image showing how to
wire the Gel Connector to
the light and Fuse holder
Heatshrink
Negative wire
to boat power
in
Please ensure
outer sheath is
inside the gel
box