3
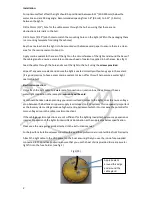
Fig 2
Testing:
Test the light before installation ensuring that you use the correct voltage and the light is illuminated
correctly.
After installation ensure again that the light is illuminated correctly before the boat goes back into
the water and the lens label is removed.
After you boat goes back into the water check internally for water ingress around where the light is
installed.
Note:
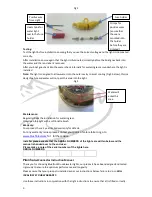
The light is designed to allow water into the outer cavity to assist cooling (Fig 3 below), this is a
design feature and water will not pass this area into the light.
Fig 3
Maintenance:
Regularly check the installation for water ingress.
Only clean the light with a soft bristle brush.
Warranty:
Your product has a 2 year limited warranty for defects.
For any warranty issues please contact your point of sale retailer or go to
www.bluefinled.com
for further advice.
Installer please ensure that the SERIAL NUMBERS of the lights are written below and the
manual is handed over to the end user.
Please make a note of the serial numbers of the lights here.
SERIAL NUMBERS
Piranha
Gel Connector Instruction Manual.
Thank you for choosing Bluefin LED underwater lights, our products have been designed and tested
rigorously to ensure the optimum performance and longevity.
Please ensure that your product is installed as per our instructions below, failure to do so
WILL
INVALIDATE YOUR WARRANTY.
Use these instructions in conjunction with the light instructions to ensure that all is fitted correctly.
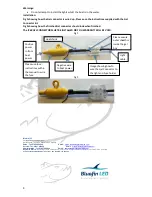
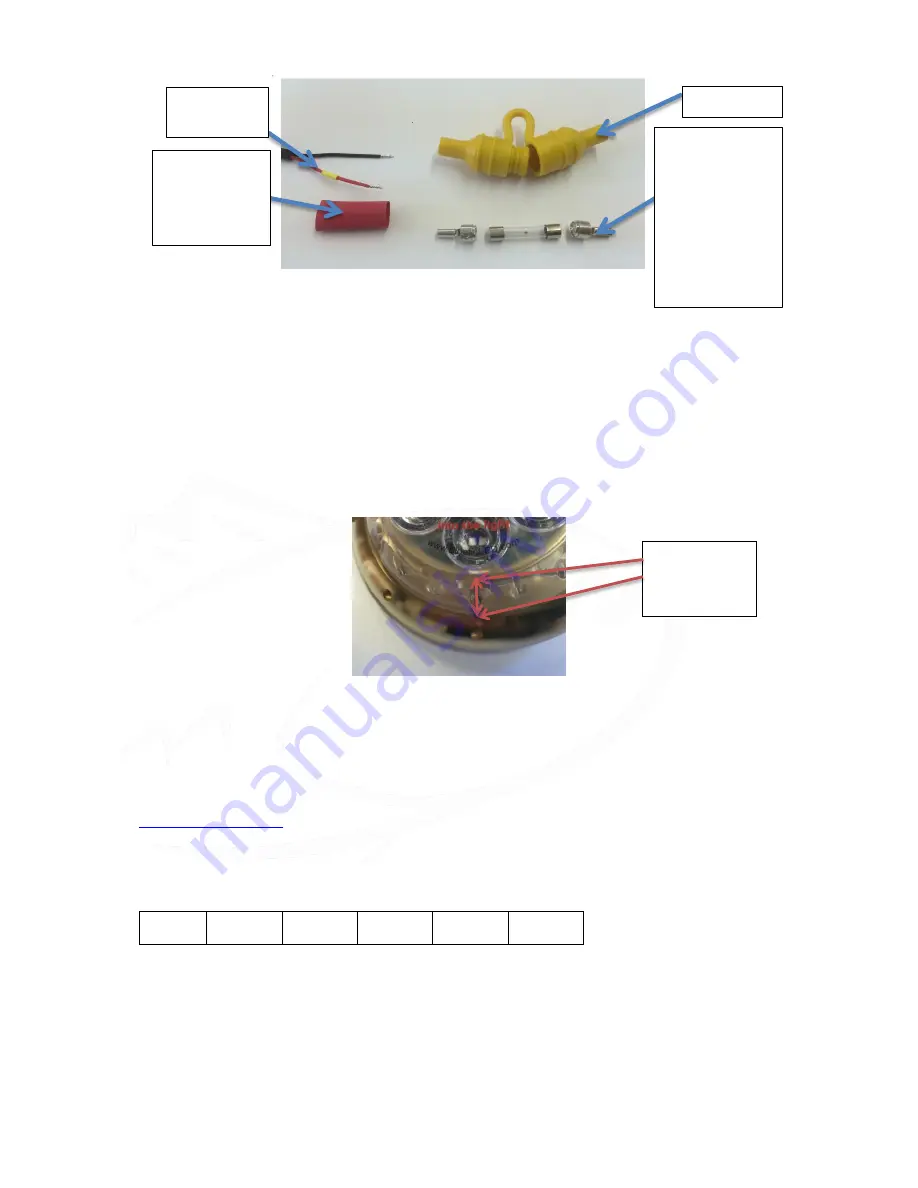
Fuse holder
Crimps for
positive wires
(ensure that
these are
mounted into
the holder
before they are
crimped)
Positive wire
from Light
Heat shrink for
water tight
seal to the fuse
holder
Water will
enter this
area.
Summary of Contents for Piranha P3
Page 5: ...5...

