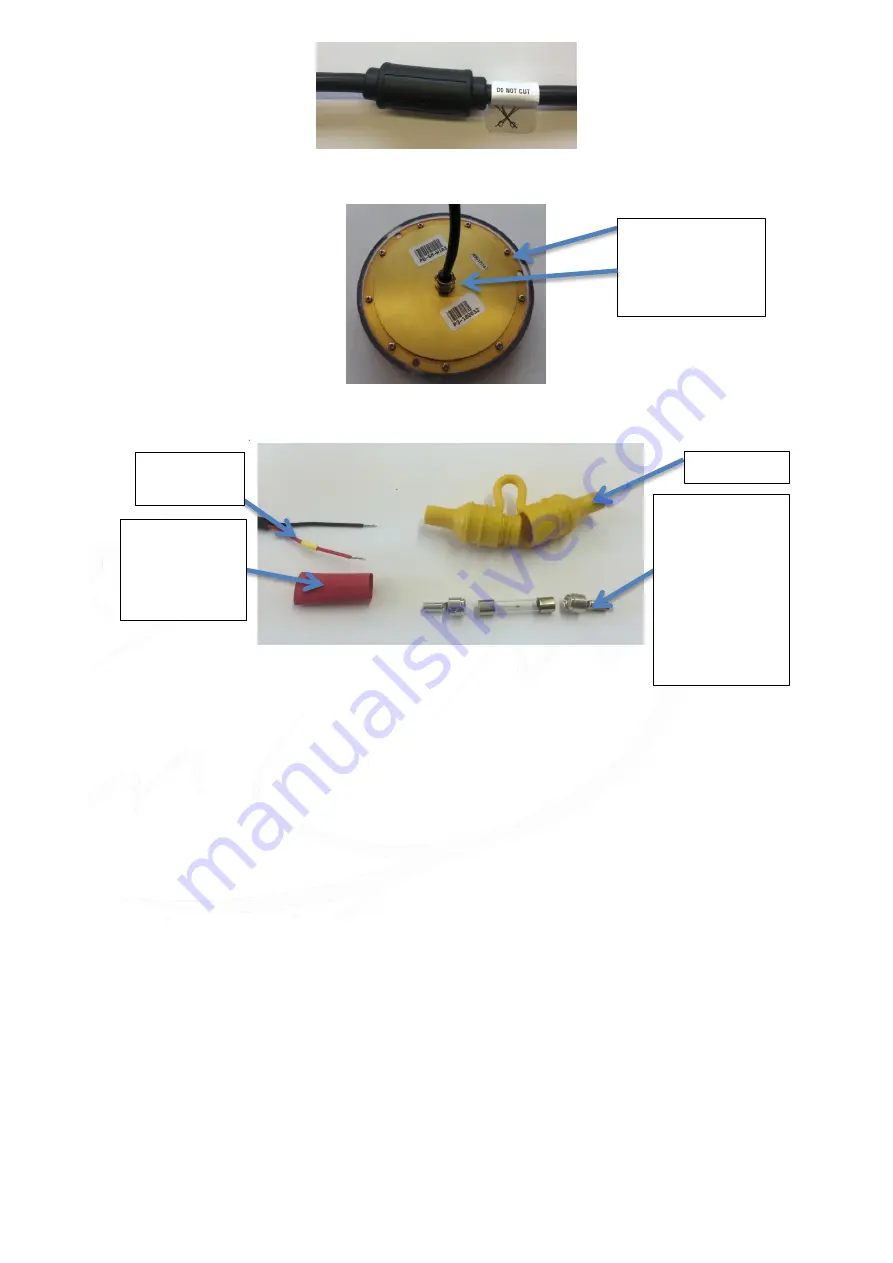
3
Fig 2(P6)
Fig 3
Testing:
Test the light before installation ensuring that you use the correct voltage and the light is illuminated
correctly.
After installation ensure again that the light is illuminated correctly before the boat goes back into
the water and the lens label is removed.
After you boat goes back into the water check internally for water ingress around where the light is
installed.
P6N (Nitro) Operation
1.
When first turned on the light will start up in standard power mode, if you turn the light off
and on again quickly it will then go to Nitro power mode. If you turn the light off and on
again quickly it will return to standard power mode.
2.
When the light is turned off for more than 5 secs it will return to standard mode.
3.
Nitro power mode increases the lighting power by up to 40% which will stay at this power
until the temperature of the light hits a certain level at which time the light will dim back to
standard power mode. The length of time this takes is dependent on the surrounding
temperature conditions.
4.
As a guide the light should be able to stay in Nitro mode for around ten minutes up
wards(THIS IS ONLY A GUIDE DEPENDANT ON THE CONDITIONS THE LIGHT IS EXPEREINCING)
The light has internal indicator LED’s for fault finding, these are as follows:
Over voltage will flash red.(check the voltage to the light)
Under voltage will show a constant red. (check the voltage to the light)
Over temperature will show amber.(allow the light to cool down and check if submerged)
Apply Sealant
around this edge
and around the
cable gland
Fuse holder
Crimps for
positive wires
(ensure that
these are
mounted into
the holder
before they are
crimped)
Positive wire
from Light
Heat shrink for
water tight
seal to the fuse
holder
Summary of Contents for Piranha P6N
Page 6: ...6...


