3
GB
Safety
1. Read carefully before usage.
2. The Internal Skimmer 200 is only suitable for indoor use.
3. Ensure voltage shown on the label match to the mains supply voltage.
4. Ensure that water cannot reach the socket.
5. Never let the pump run dry, keep it submerged at all times.
6. Disconnect skimmer from mains before any maintenance on your aquarium.
7. If the cables of pump or controller is damaged, do not use the skimmer, recycle the damaged
item and order a new pump or controller at your dealer.
8. This appliance is not intended for use by persons (including children) with reduced
physical, sensory or mental capabilities, or lack of experience and knowledge,
unless they have been given supervision or instruction concerning use of the
appliance by a person responsible for their safety. Special care should be taken
with the use of electrical equipment by or near children.
Installation Internal skimmer 200
1. Connect the air venturi (10) to the Air Flow adjusting valve (1) by using the supplied air hose (5).
2. Now connect the skimmer ballast to the power outlet.
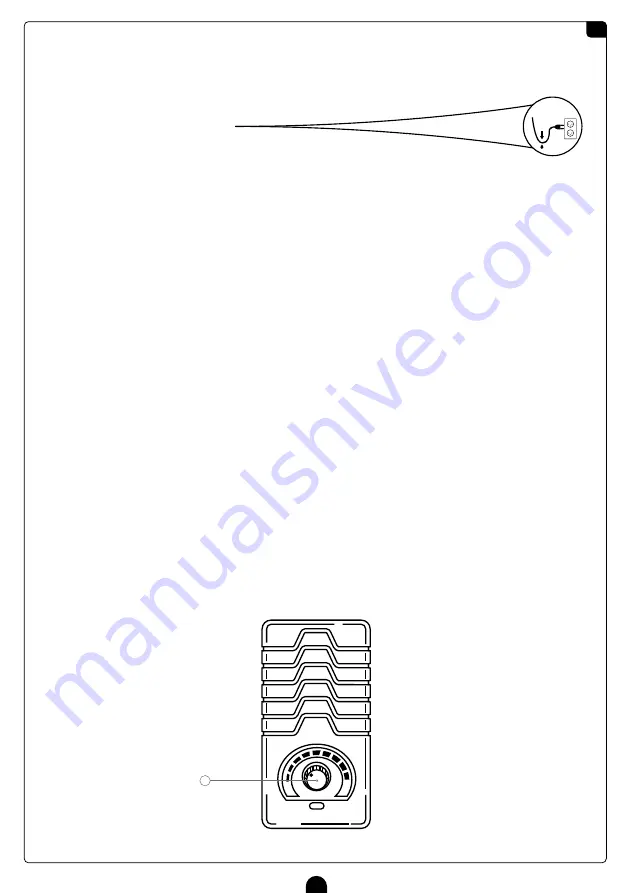
3. Adjust the pump power by using the controller (16) and adjust the water level with the adjusting knob (6).
4. Be careful using the skimmer just after you have filled your tank with freshly mixed salt as this can cause
extreme foaming and overflow.
5. The controller has to be in a dry place, the controller is not water proof (damage due to water damage is no warranty!)
Maintenance
1. To operate efficiently, the Blue Marine skimmer must be 24 hours a day in use
2. Check daily if your skimmer is functioning properly and produces the desired foam
3. Check daily if the collection cup is full and clean it completely when needed.
4. Check and clean pump regularly to ensure it does not become clogged, dirty pumps may break down, not
maintained pumps are not covered by warranty.
5. For easy maintenance you can connect the waste hose with valve (15) to the collection cup for external collection into a bucket.
Operation
Change the running speed of the pump, to adjust the flow
by turning the knob (a) to the right or left.
1V
LOW
POWER CONTROL
HGH
24V
A
Drip
loop


