P T K - 3 0 0 P I P E T H R E A D I N G K I T
7
o
Ø
Pipe threading operations
o
Check to insure the cutter and reamer are to the rear of the carriage
o
Ensure pipe is securely fastened in the chuck.
o
Always install the correct dies for the die assembly.
o
Set die head to proper size.
o
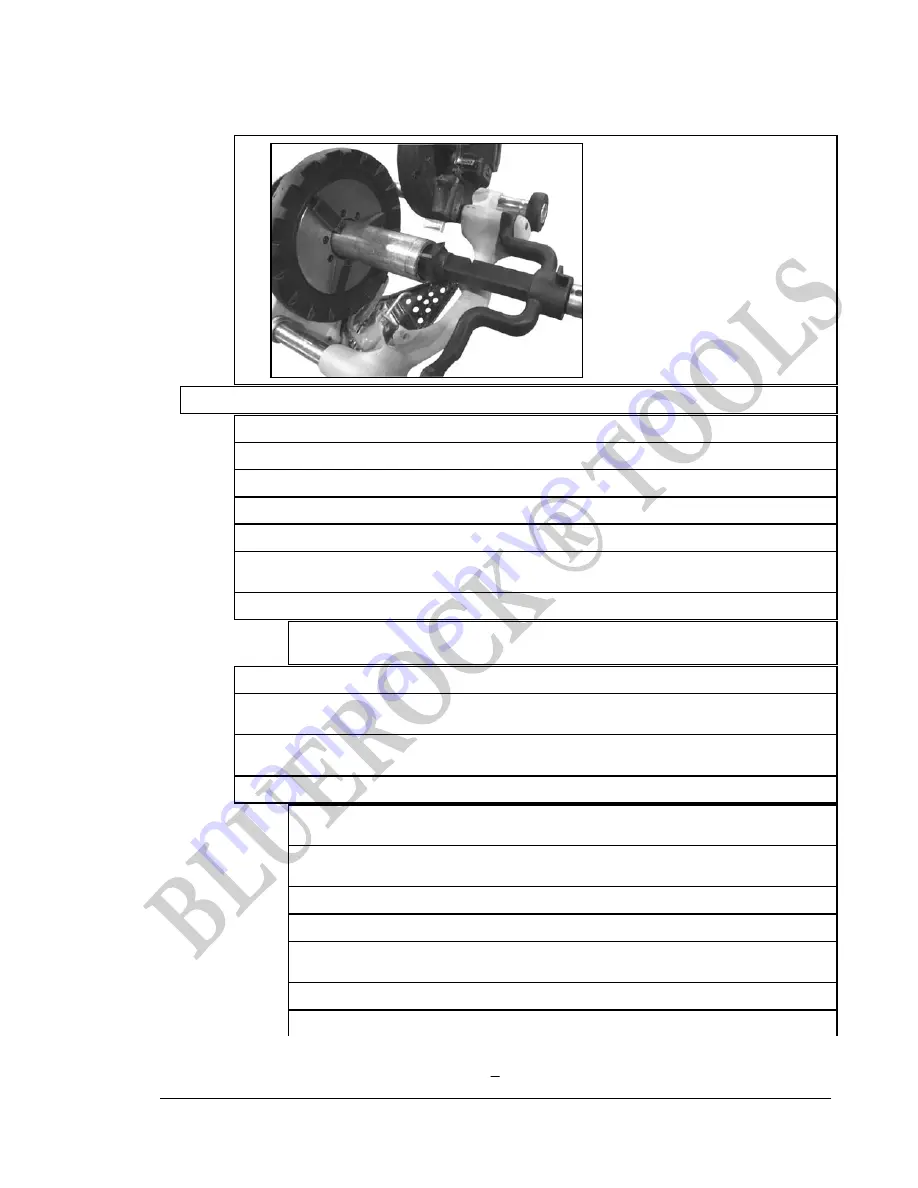
Lower die head into threading position.
o
Rotate throwout lever to the CLOSED position. Push throwout lever down until the release trigger
cocks.
o
Apply Thread Cutting Oil to end of the pipe.
§
NOTE: Apply plenty of thread cutting oil to the dies during threading. Cutting oil is a
necessary part of pipe threading. T
o
Assume the correct operating posture.
o
Check directional switch to insure it is in the FOR (Forward) position. Depress and hold the foot
switch down with the left foot.
o
CAUTION: To avoid serious injury from rotating parts, allow adequate clearance between your
hand and rotating parts when oiling.
o
Feed the diehead into contact with the pipe.
§
Apply pressure to the diehead assembly arm until the dies are engaged and start
threading.
§
When thread is completed, raise throwout lever to open position, retracting dies. When
die head trigger contacts end of pipe, throwout lever automatically opens.
§
Release foot switch and remove your foot from the housing.
§
Turn the main on/off switch to the “off” position.
§
Manually push the spanner forward on top of the diehead assembly to release the dies
from the threads.
§
Move carriage lever away from pipe end and return die head to the UP position.
§
Check the thread for length and depth.


