BlueVary UPDATING MANUAL
Rev 200504 002
6
EN
3.2.2 Power up
1. Make your choice of the corresponding
blade B (fig. 1) necessary in your country to
plug in the supplied power supply A (fig. 1).
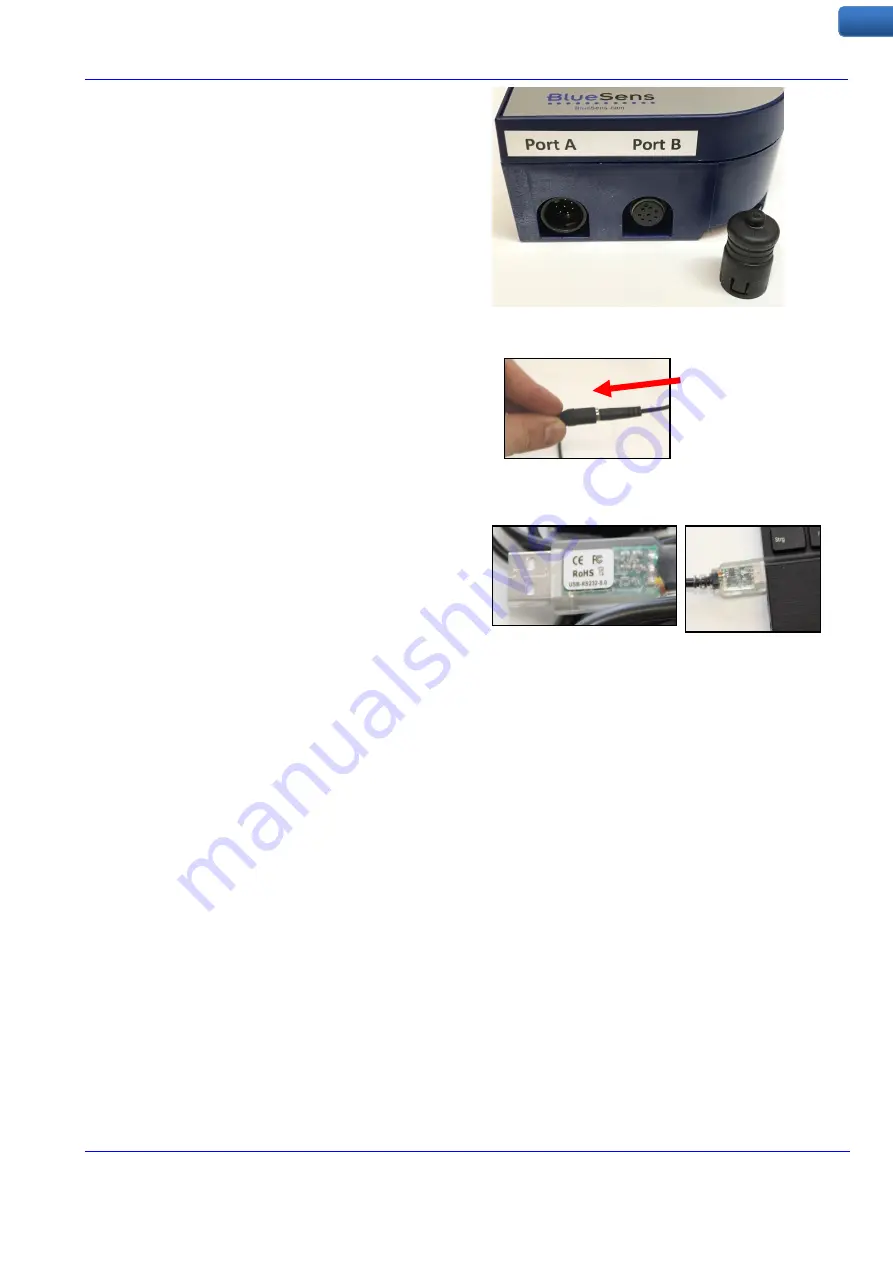
2. Connect cable E (fig.1) to port A (fig. 2).
3. Connect cable E (fig. 1) and cable C (fig. 1)
(use connector with the two wires)
4. Attach power supply to cable C (fig.3)
3.2.3 Connection via RS232/USB
The following items will be needed for the electrical
connection RS232 to USB (fig. 4):
1. Connect cable D to the corresponding
connector of cable C
2. Plug in the USB adapter into a free USB port
of your computer. Be aware that the USB
adapter does not replace the power supply!
3. After switching on the computer a COM port
should be automatically created in Windows.
Some Windows versions require a driver.
Check the USB flash drive (if BlueVis is
purchased) or visit the FTDI website for the
latest RS232 driver.
Fig. 2: Port A: Power in, RS232, ModBus RTU
Port B: 3 x Analogue outputs
Fig. 4: RS232-sticker on USB adapter of
cable D
Fig. 3: Connection of power supply A to connector
of cable C


