- 25 -
OVEN BURNER AIR SHUTTER ADJUSTMENT
Before attempting to adjust the oven burner air shutter, assure the following has been reviewed and is correct:
1. Gas:
a. Proper Type (must match serial plate)
b. Proper regulator setting (utilizing a manometer)
2. Orifice:
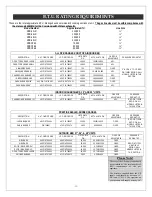
a. Proper size (see orifice size chart)
b. Properly parallel with the oven burner tube.
3. General:
a. Allow oven to be preheated for approximately 10-15 minutes before trying to adjust.
b. Inspect oven burner flame with convection oven fan off.
After verifying all the above issues, and the oven burner flame is yellow, lifting, or not a sharp pointed cone, proceed to
adjust air shutter, as follows:
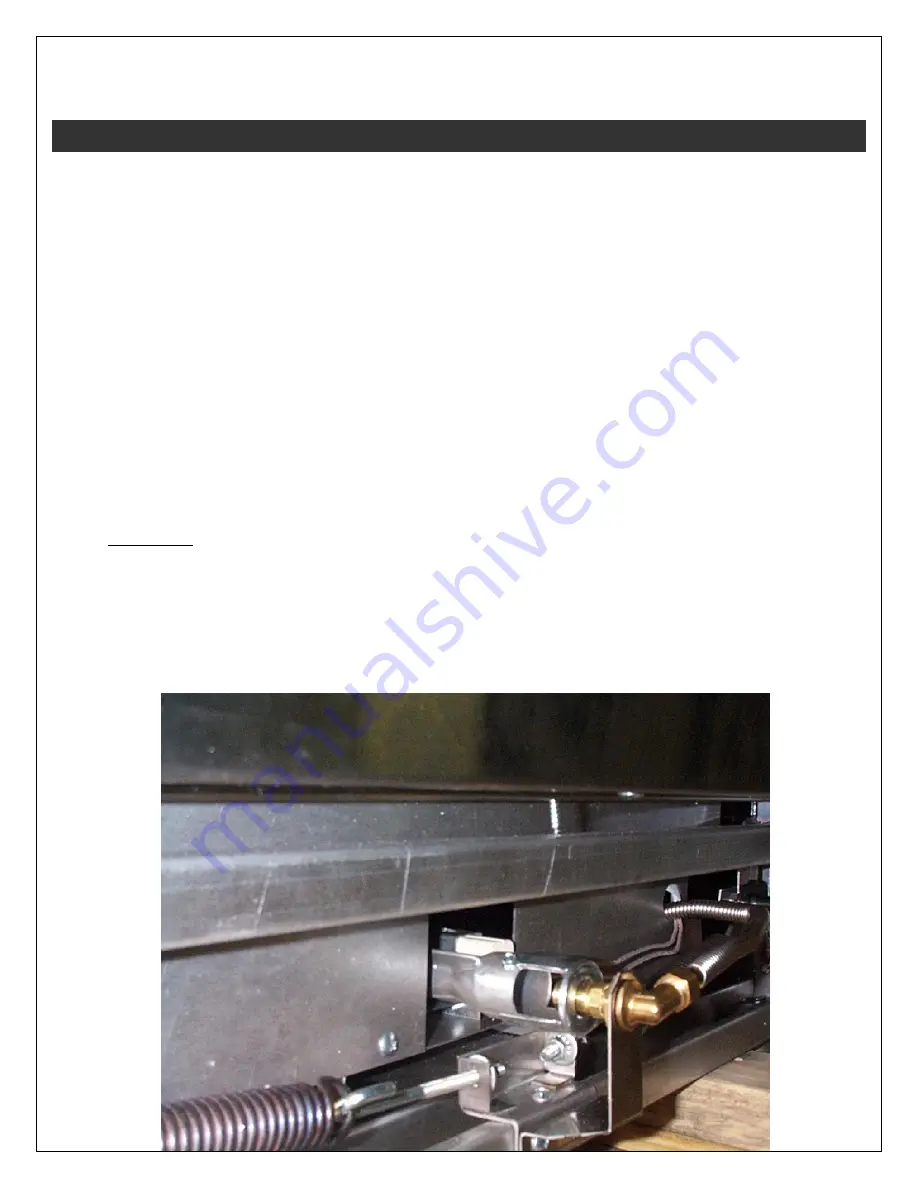
1. Remove the lower kick panel from the range, by removing (2) top securing screw and loosen the (2) lower
securing screws positioned at the lower outside edge of the inner kick panel.
2. Utilizing a straight stubby screwdriver, or a 3/16 “ open-end box wrench, loose the screw which is securing the
air shutter to the burner.
3. Holding the burner in the one hand, and utilizing your other hand, adjust the air shutter opening by turning the
air shutter counter clockwise, to close and clockwise to open the gap.
Please Note
: Opening the air shutter gap will eliminate the yellow tipping on the burner. Closing the air shutter
gap will prevent a noisy flame that lifts off the burner ports.
IMPORTANT NOTE: Conditions that cause hazardous pungent odors from your range.
1. Floating flames that are lazy looking and do not have a well-defined inner cone. They are long ill defined,
quiet flames that sometimes lift completely off the ports of the burner.
2. A lifting flame that is well defined and noisy.
3. An orifice that is out of line with the burner venturi.

