- 31 -
OVEN LIGHT & FAN SWITCH REMOVAL
The following procedure is required to test the operation of the oven light switch and to properly replace if required.
1. Shut off power to the unit.
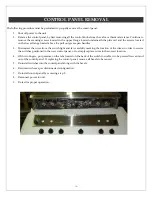
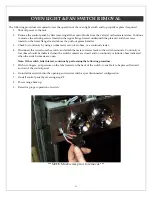
2. Remove the control panel, by first removing all the control knobs from the valve(s) or thermostat stems. Continue
to remove the securing screws located in the upper flange located underneath the plate rail and the screws
located on the lower flange located above the pull out grease handles.
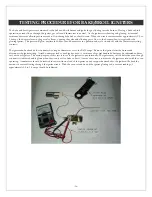
3. Check for continuity by using an ohmmeter set on low ohms, or a continuity tester.
4. Disconnect the wires from the switch, and attach the meter or tester leads to the switch terminals. Continuity or
low ohms should be indicated when the switch contacts are closed and no continuity or infinite ohms indicated
when the switch contacts are open.
Note: If the switch fails this test, continue by performing the following procedure.
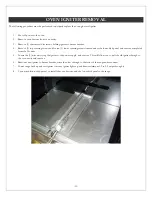
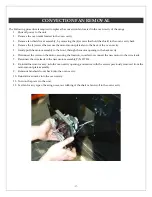
5. With two fingers, put pressure on the tabs located on the back of the switch, to enable it to be pressed forward
and out of the control panel.
6. Re-install new switch into the opening and rewire switch as per disconnected configuration.
7. Re-stall control panel by reversing step #2.
8. Power range back up.
9. Retest for proper operation of switch.
***NOTE: Mark wires prior to removal. ***


