39
DuraSweeper
®
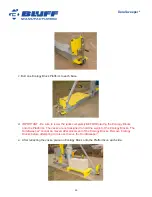
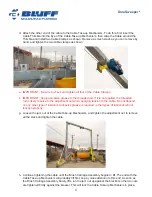
4. Attach the tow bars to the unit, and to a tow vehicle. Note - the tow bars should be attached to the
end opposite the trailing casters (see step 5 below)
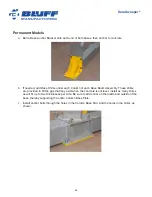
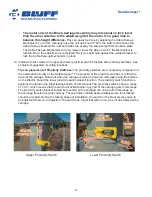
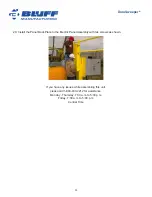
5. Make sure the two trailing casters are properly locked into the Jack Caster Shoe as shown. When
the caster wheel is positioning exactly as shown, it will effectively prevent the caster from swiveling.
6. Once the trailing casters are positioned as shown, crank all 4 jacks until the unit is free to move.
7. The unit can now be moved and set in the new location.
8. Installation involves reversing the steps above.
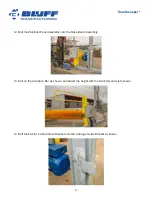
Notice: When the main power is re-connected, be sure to observe previous wire connections, so
the motor rotations will be correct.
9. If there’s any doubt that the electrical phasing is correct, do a brush motor rotation test. If the brush
motor turns the wrong direction, switch the main power wiring to reverse motor direction. The unit
should now be wired with the same phasing as the previous (original) installation. This is very
important.
10. Perform the Upper Proximity Test, the Lower Proximity Test, and both Automation Tests as
described previously in this manual.
The DuraSweeper
®
will now be ready for Standard Operation.
Routine Maintenance
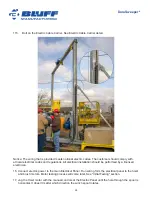
1. Lower the Brush to the bottom limit.
2. Turn off the POWER DISCONNECT Switch. Place Lockout on Electric Box. Disconnect and place
lockout on breaker for the power source.
3. Set up safety barriers, warnings, flags or signs depending upon the type of maintenance being
done. All electric installation should be done by a licensed electrician.
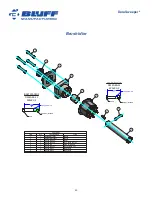
4. Check the bearings for the brush monthly for shifting, cracks, debris, bolt tightness and walking on
both ends of the brush assembly. Note: Persistent squealing of bearings indicates eminent bearing
failure.
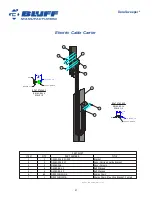
5. Check lifting cables for any damage, corrosion, kinking, broken or cut strands, etc. Replace if any
damage is found.

