


18
EN
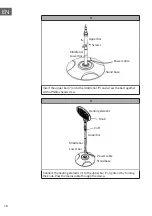
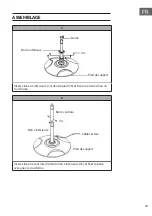
3
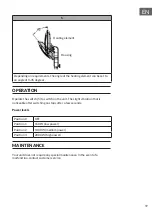
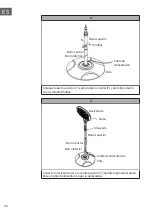
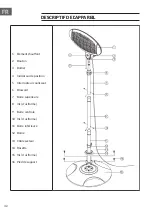
Insert the upper bar (7) onto the middle bar (9) and screw the bar together
with a Phillips head screw.
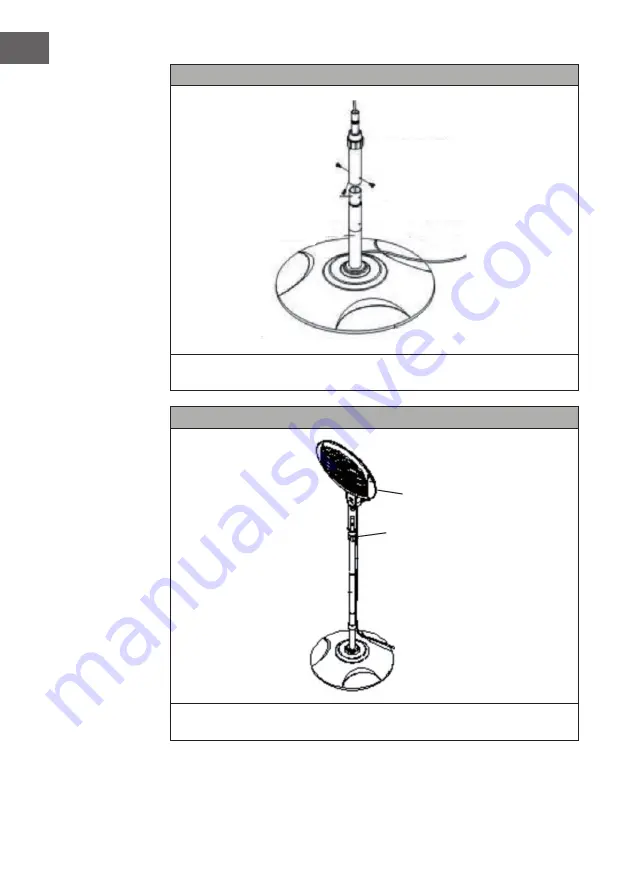
4
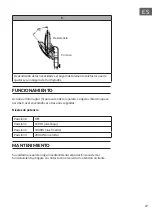
Connect the heating element (1) to the upper bar (7), tighten it by turning
the knob. Pass the mains cable through the clamp.
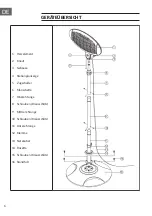
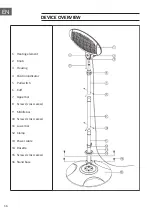
Middle bar
Lower bar
Upper bar
Screws
Power cable
Stand base
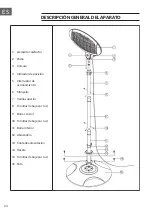
Heating element
Knob
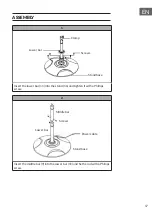
Cuff
Upper bar
Power cable
Stand base
Middle bar
Lower bar


