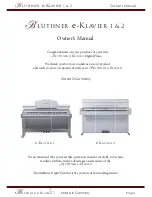


Owner’s Manual
Made in Germany
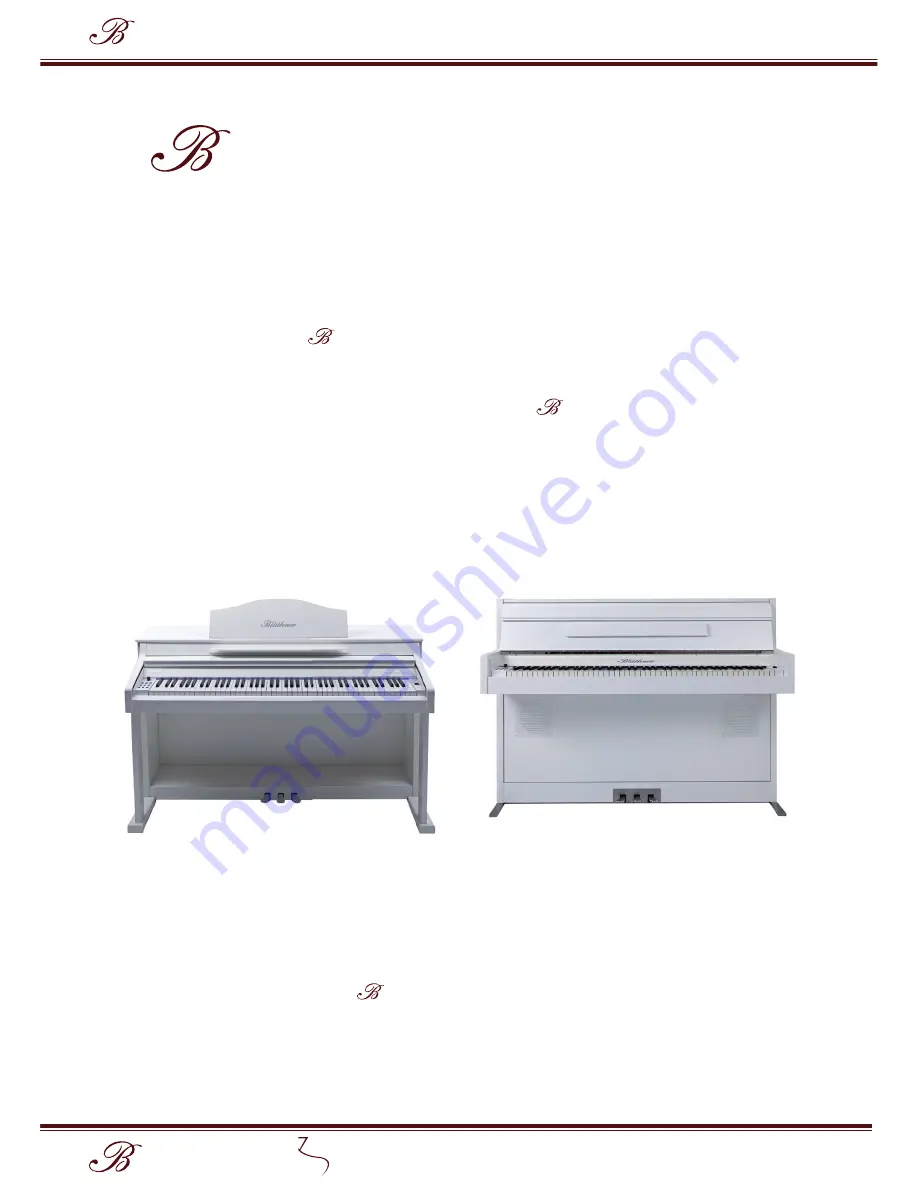
Congratulations on your purchase of your new
lüthner
e
-K
lavier
Digital Piano.
We thank you for your confi dence in our product
and wish you lots of enjoyment with your
lüthner
e
-K
lavier.
lüthner
e
-
K
lavier 1
lüthner
e
-
K
lavier 1
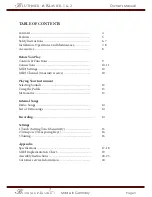
We recommend that you read this operation manual carefully to become
familiar with the many advantages and features of the
lüthner
e
-K
lavier
.
lüthner
e
-
K
lavier 1
T
he Blüthner Digital Team wishes you lots of fun making music!
lüthner
e
-
K
lavier 1
1 & 2
lüthner
e
-
K
lavier
Owner’s Manual
Made in Germany
Page 1
lüthner
e
-
K
lavier 1
1 & 2
e
-
K
lavier 1
e
-
K
lavier 2


