6
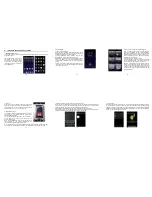
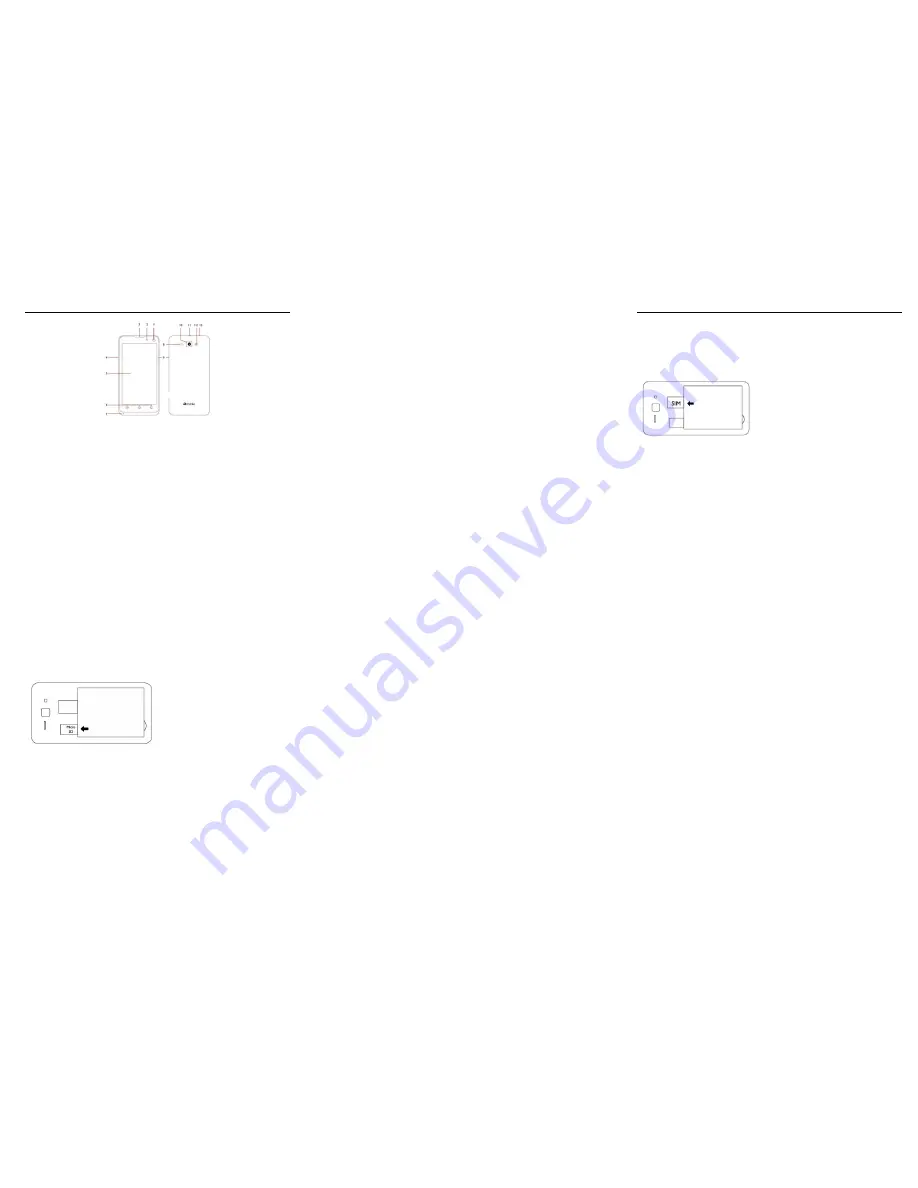
2. Getting know your phone
7
1
)
Front Camera
2) Proximity Sensor
3) Earpiece
4) Volume Button
5) LCD Display
6) Settings – Home – Back Buttons
7) Microphone
8) Loudspeaker
9) Turn on / off Button
10) Back Camera
11) USB / Charger Connector
12) Flash
13) Headphones Connector (Jack 3.5)
8
3. Starting your device
•Make sure your device is turned off.
•Firmly hold the device with the front panel facing down.
•Slide your finger into the groove at the top of the phone and gently pull open the back cover.
To install the SIM card
•Remove the battery if it is installed.
•Locate the SIM card slot, and then insert the SIM card with its gold contacts facing down and
its cut-off corner facing out of the card slot as shown in the diagram.
•Slide the SIM card completely into the slot.
9
Note: The phone can support two SIM cards. The cardwill support 2G card.
To install a memory card
To have additional storage for your images, videos, music and files, you can purchase a
memory card and install it in your device.
Locate the memory card slot on the panel as shown on the image.
Insert the memory card into the slot with its gold contacts facing down until it clicks into place
10
To install the battery
1. Align the battery’s exposed copper contacts with the battery connectors at the bottom part
of the battery compartment.
2. Insert the contacts side of the battery first and then gently push the battery into place.
Replace the back cover.
Charging the Battery
New batteries are shipped partially charged. Before you start using your device, it is
recommended that you install and charge the battery. Some batteries perform best after
several full charge/discharge cycles.
Note: Only the AC adapter and USB sync cable provided with your device must be used to
charge the device.
Connect the USB connector of the AC adapter to the sync connector on your device, and then
plug in the AC adapter to an electrical outlet to start charging the battery.
As the battery is being charged while the device is on, a charging icon appears in the title bar
of the Home screen. After the battery has been fully charged, a full battery icon appears in the
title bar of the Home screen.
11
Warning:
• Do not remove the battery from the device while you are charging it using the AC or car
adapter.
• As a safety precaution, the battery stops charging before it overheats.
Power on/off
To power off your phone, press & hold POWER. On release, the Phone options menu opens.
Select ‘Power off’ and confirm.
To power on again, press & hold power


