TAA-101/TAA-101S Antenna Actuator Manual | Doc. No. 605169301 Rev. M
Broadcast Microwave Services, Inc.
25
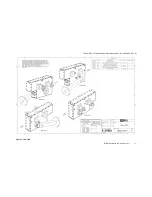
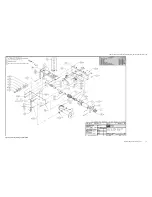
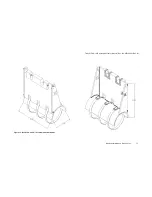
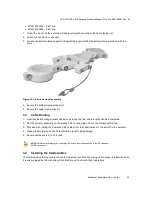
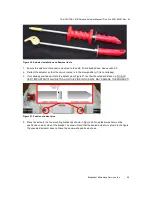
Figure 20. Actuator Installation and Removal tools
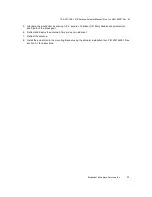
1. Ensure the skid mount bracket is mounted to the skid, if not already done. See section 3.2.
2. Retract the actuator so that the omni antenna is in the stow position (if it is not already).
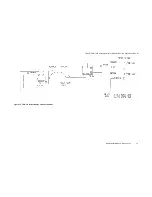
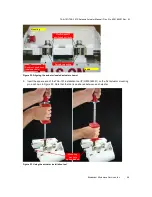
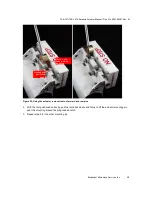
3. If not already positioned, rotate the detent pins (Figure 21) so their beveled ends face up. THIS IS
VERY IMPORTANT! FAILURE TO ALIGN THE PINS IN THIS WAY MAY DAMAGE THE PRODUCT!
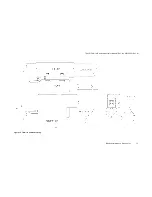
Figure 21. Position of detent pins
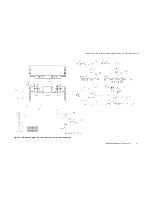
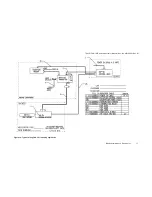
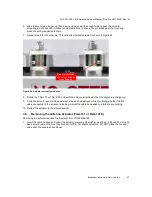
4. Place the actuator on the mounting bracket as shown in Figure 22. One plastic washer must be
positioned on each side of the bracket, as shown. Note that the sealed actuator is shown in the figure;
the unsealed actuator does not have the square-shaped boss, shown.

