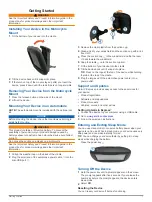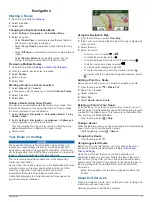
Gas
Food
Lodging
Restrooms
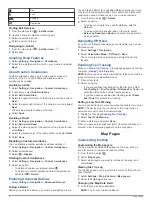
Finding Exit Services
1
From the map, select >
Exit Services
.
2
Use the arrows to select an upcoming exit.
3
Select an exit service tab.
4
Select a point of interest.
Navigating to an Exit
1
From the map, select >
Exit Services
> .
2
Select
Go!
.
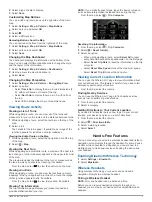
Avoiding Road Features
1
Select
Settings
>
Navigation
>
Avoidances
.
2
Select the road features to avoid on your routes, and select
Save
.
About Custom Avoidances
Custom avoidances allow you to avoid specific areas and
sections of road. You can enable and disable custom
avoidances as needed.
Avoiding an Area
1
Select
Settings
>
Navigation
>
Custom Avoidances
.
2
If necessary, select
Add Avoidance
.
3
Select
Add Avoid Area
.
4
Select the upper-left corner of the area to avoid, and select
Next
.
5
Select the lower-right corner of the area to avoid, and select
Next
.
The selected area is shaded on the map.
6
Select
Done
.
Avoiding a Road
1
Select
Settings
>
Navigation
>
Custom Avoidances
.
2
Select
Add Avoid Road
.
3
Select the starting point of the section of road to avoid, and
select
Next
.
4
Select the ending point of the road section, and select
Next
.
5
Select
Done
.
Disabling a Custom Avoidance
You can disable a custom avoidance without deleting it.
1
Select
Settings
>
Navigation
>
Custom Avoidances
.
2
Select an avoidance.
3
Select >
Disable
.
Deleting Custom Avoidances
1
Select
Settings
>
Navigation
>
Custom Avoidances
.
2
Select an option:
• To delete all custom avoidances, select .
• To delete one custom avoidance, select the avoidance,
and select >
Delete
.
Enabling Advanced Detours
Select
Settings
>
Navigation
>
Advanced Detours
.
Taking a Detour
Before you can take a detour, you must be navigating a route.
You can take a detour for a specified distance along your route
or detour around specific roads. This is useful if you encounter
construction zones, closed roads, or poor road conditions.
1
From the map, select >
Detour
.
2
Select an option.
• To detour your route for a specific distance, select a
distance.
• To detour around a specific road on the route, select
Detour by Road(s) on Route
, and select a road around
which to detour.
Navigating Off Road
If you are not following roadways as you navigate, you can use
Off Road mode.
1
Select
Settings
>
Navigation
.
2
Select
Calculation Mode
>
Off Road
>
Save
.
The next route will be calculated as a straight line to the
location.
Enabling Fuel Tracking
When you enable fuel tracking, a fuel gauge appears on the trip
NOTE:
Before you can enable fuel tracking, the device must be
in the motorcycle or automobile mount.
1
Fill your fuel tank.
2
Select an option:
• If you are enabling fuel tracking for the first time, select
Fuel Settings
>
Fuel Tracking
>
Distance Per Tank
, and
enter the distance the vehicle travels per tank.
• If you have already enabled fuel tracking, select
Reset
Fuel Tank
for accurate fuel tracking.
Setting a Low Fuel Warning
You can set the device to warn you when the tank is low on fuel.
NOTE:
The device must be connected to the motorcycle or
automotive mount to give low fuel warnings.
1
).
2
Select
Fuel Tank Warning
.
3
Enter a distance, and select
Done
.
When you have only enough fuel left to travel the distance you
entered, a low fuel warning appears on the map page.
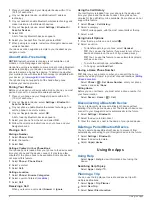
Map Pages
Customizing the Map
Customizing the Map Layers
You can customize which data appear on the map, such as
icons for points of interest and road conditions.
1
From the map, select .
2
Select
Map Layers
.
3
Select which layers you want to include on the map, and
select
Save
.
Viewing the Trip Log
Your device keeps a trip log, which is a record of the path you
have traveled.
1
Select
Settings
>
Map & Vehicle
>
Map Layers
.
2
Select the
Trip Log
check box.
Changing the Map Data Field
1
From the map, select a data field.
NOTE:
You cannot customize Speed.
6
Map Pages


