ADJUSTMENT HANDLE
Every 3 months the handles need
cleaning and grease to protect the
parts from sweat, dust, dirt and
water.
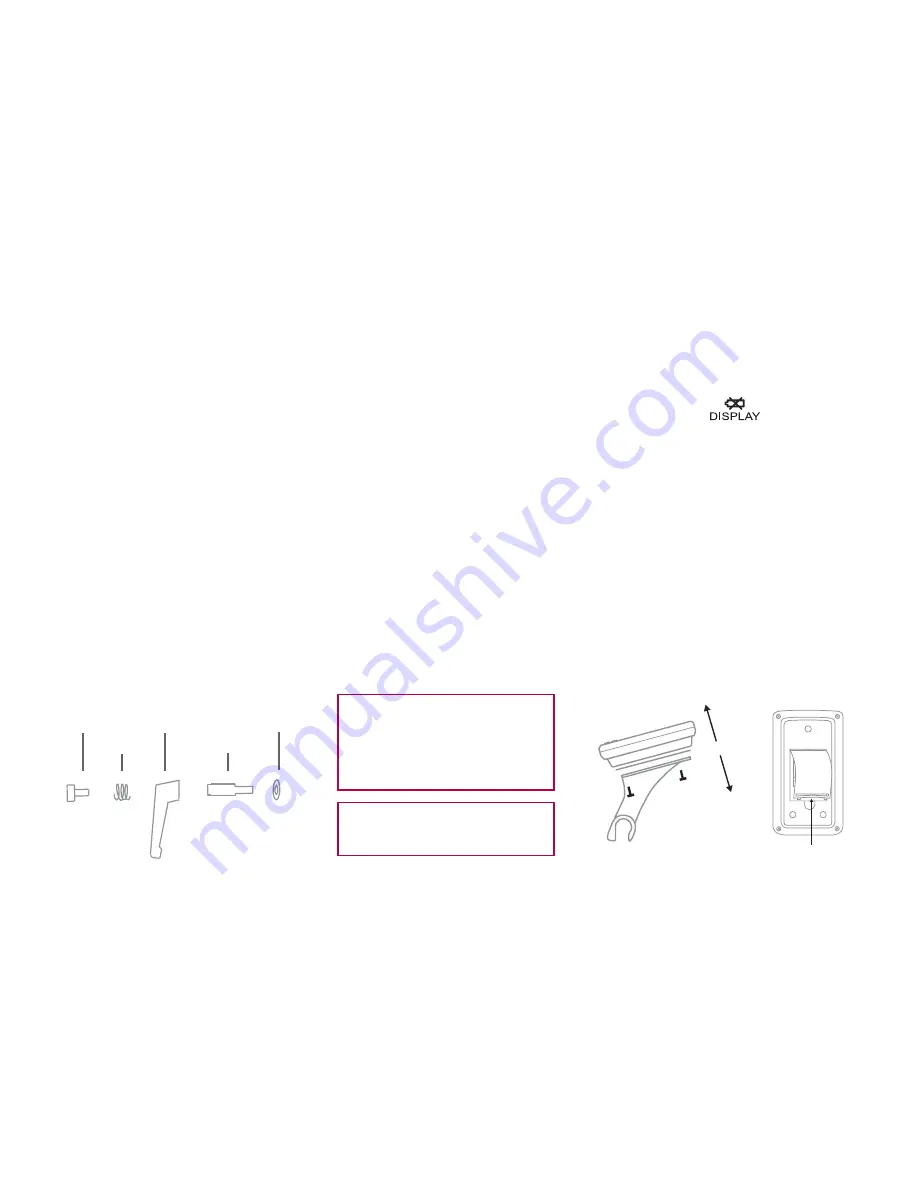
1: Remove the adjustment handle
and disassemble the handle
completely into a screw, a spring, a
handgrip, a main screw and a brass
washer, see fi gure 19.
2: Clean all the parts thoroughly
one by one using a steel brush.
If the residue is extreme, a sharp
object can be used, for example a
screwdriver.
Figure 19
WASHER
MAIN SCREW
HANDGRIP
SPRING
SCREW
3: Lubricate the internal parts with
grease before reassembling the
handle. Remember to lubricate
inside the handgrip as well.
4: Reassemble the handle by
inserting the main screw in the
handgrip.
5: The spring is inserted into the top
of the handle and fi xed in place with
the remaining screw.
6: Tighten with a 5mm Allen Key.
7: Add grease to the main screw
before mounting it on the cycle.
Please note
Never use a tool when
tightening the adjustment
handle on the cycle.
By pulling the handle it
can be turned freely.
REPLACE CONSOLE BATTERIES
An icon lights up on the console when
the display needs fresh batteries.
1: Dismount the console from the
handlebar mount by removing
the three screws on the back, see
fi gure 20. If the three screws are not
accessible, release the two screws
fi xing the mount to the handlebar and
adjust the angle of the mount to make
the screws easy to reach, see fi gure 7
and 8 on page 8.
2: Remove the battery hatch on the
back of the console, see fi gure 21
Figure 20
Figure 21
PRESS
AND
LIFT


