BRT5128 BRT5118
Page 3
Before Assembly
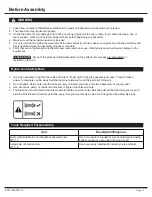
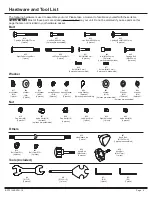
1. Take a few minutes to familiarize yourself with the parts and hardware included with your product.
2. The assembly may require two people.
3. Check the frame for any damage and check any wiring (if present) for rips or tears. If you detect damage, rips, or
tears, please contact our Customer Support Team before beginning any assembly.
4. Make sure all the hardware needed is included.
5. It is very important to follow the assembly instructions correctly and to make sure all parts are attached correctly and
firmly tightened when the assembly process is complete.
6. Parts that are not tightened correctly will seem loose and can cause irritating noises and will cause damage to the
equipment.
1.
It is only necessary to tighten the bolts and nuts to “finger tight” during the assembly process. This will make it
easier to complete certain steps by allowing more tolerance for all the parts to fit properly.
2. Do not tighten all the nuts onto the bolts securely until after you have completed assembly of your product.
3. Use wrenches, pliers, or ratchet and sockets to tighten the bolts and nuts.
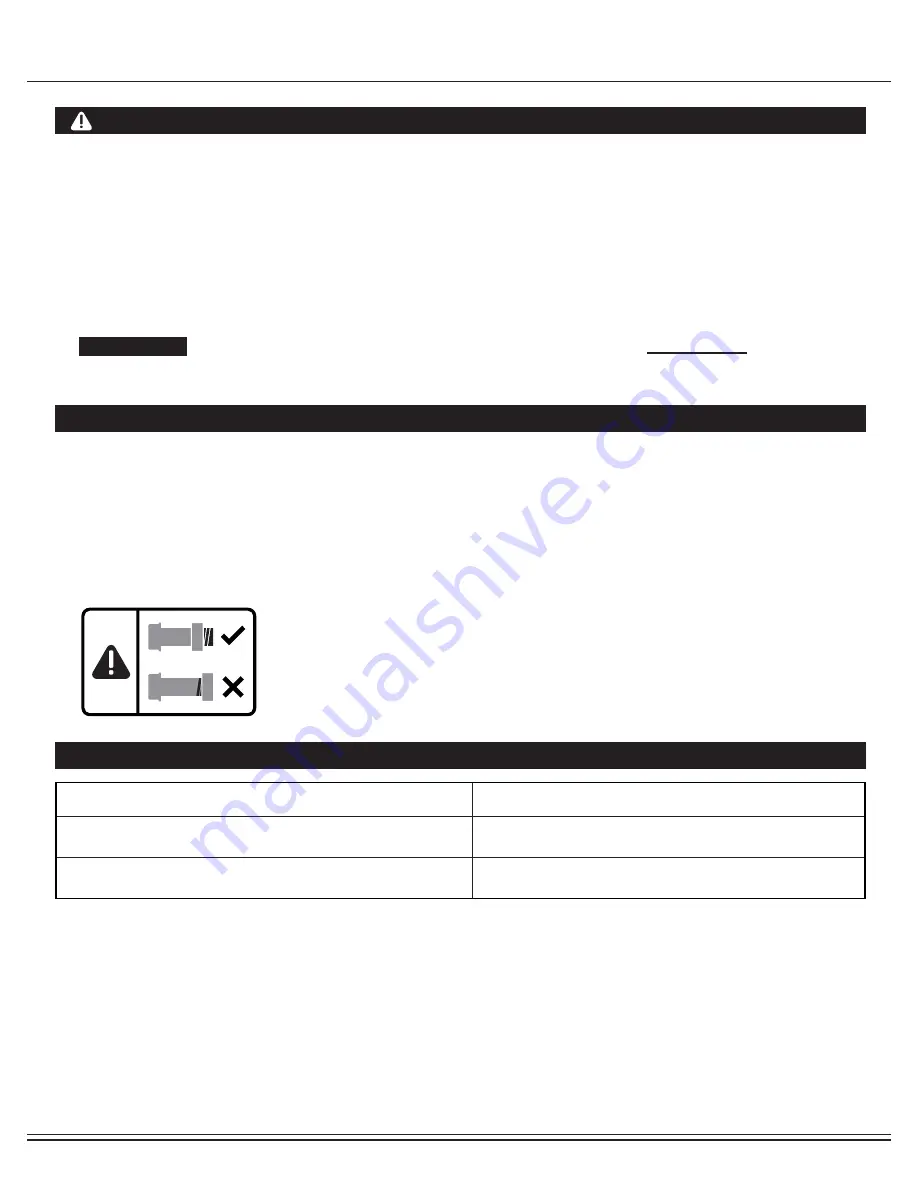
4. The Nylon Nut should thread onto the Hex Bolt until the end of the Hex Bolt has passed through the Nylon insert in-
side the Nut. Please follow this guideline every time you see this
Nylon Nut icon
throughout the assembly steps.
Nylon Lock Safety Nuts
Tools Required For Assembly
WARNING
PLEASE NOTE
: Many of the parts and hardwares listed on the parts list are already
pre-assembled
or
installed on the unit.
Tool
Description/Purpose
Ruler (with both Metric and English measurements)
QTY: 1
Use to measure the length or size of hardware including
bolts to ensure you are using the correct part.
Adjustable or flat wrenches
QTY: 2
Use to securely install parts including nuts and bolts.


