background image

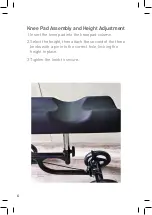
Knee Pad Assembly and Height Adjustment

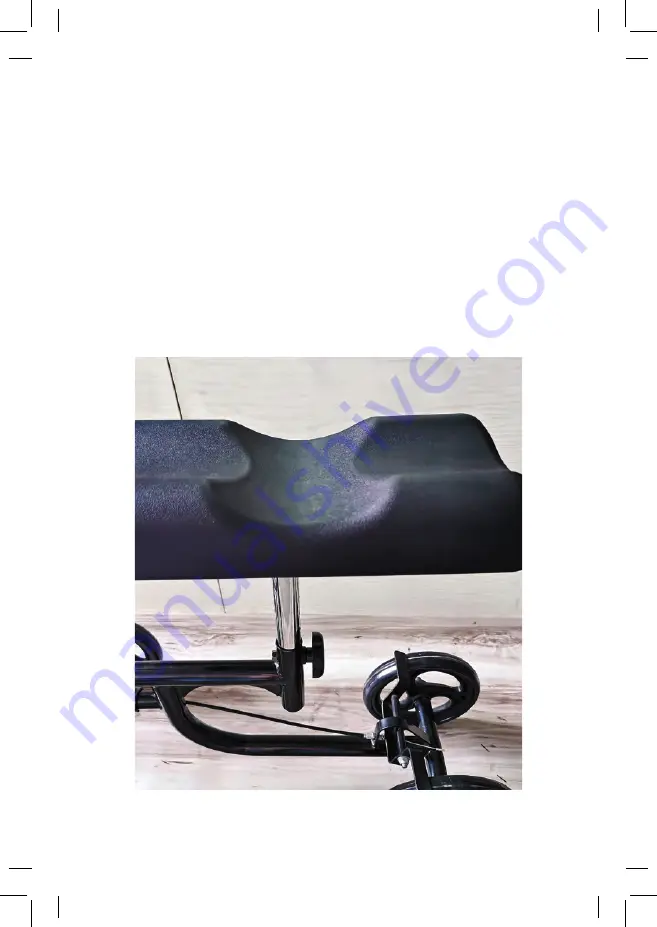
1.  Insert the knee pad into the knee pad column. 
2.  Select the height, then attach the second of the three 

knobs with a pin into the correct hole, locking the 

height in place. 

3. Tighten the knob to secure. 

6

Summary of Contents for ZZRWAL03E

Page 1: ...Knee Walker ZZRWAL03E Instruction Manual...

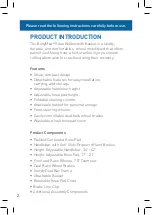
Page 2: ...knee pad height Foldable steering column Attachable basket for personal storage Front steering wheels Easily controllable dual back wheel brakes Washable plush knee pad cover Product Components Padde...

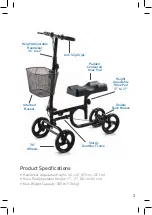
Page 3: ...Pad 17 to 21 Sturdy Dual Bar Frame Attached Basket 7 8 Wheels Height Adjustable Handlebar 34 to 42 Anti Slip Grips Product Specifications Handlebar Adjustable Height 34 42 87 cm 107 cm Knee Pad Adjus...

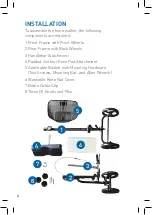
Page 4: ...Frame with Front Wheels 2 Rear Frame with Back Wheels 3 Handlebar Attachment 4 Padded Contour Knee Pad Attachment 5 Attachable Basket with Mounting Hardware Two Screws Mounting Bar and Allen Wrench 6...

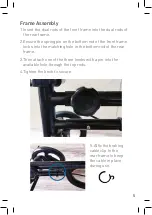
Page 5: ...in on the bottom rod of the front frame locks into the matching hole in the bottom rod of the rear frame 3 Then attach one of the three knobs with a pin into the available hole through the top rods 4...

Page 6: ...d Height Adjustment 1 Insert the knee pad into the knee pad column 2 Select the height then attach the second of the three knobs with a pin into the correct hole locking the height in place 3 Tighten...

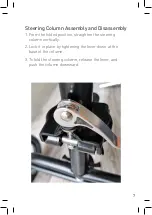
Page 7: ...sassembly 1 From the folded position straighten the steering column vertically 2 Lock it in place by tightening the lever down at the base of the column 3 To fold the steering column release the lever...

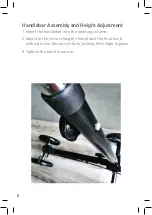
Page 8: ...and Height Adjustment 1 Insert the handlebar into the steering column 2 Adjust to the correct height then attach the final knob with a pin into the correct hole locking the height in place 3 Tighten t...

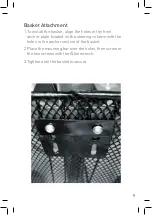
Page 9: ...the holes in the front anchor plate located on the steering column with the holes in the anchor section of the basket 2 Place the mounting bar over the holes then screw in the two screws with the Alle...

Page 10: ...ake levers on the handlebars tightly and test to ensure the brakes are working on the back wheels How To Use 1 Before use set the parking brake 2 Place your hands on the handlebars 3 Position the knee...

Page 11: ...se the knee walker to flip over 7 Ensure all connecting parts are not damaged before use 8 Do not operate near stairs 9 Do not operate when taking medication that may cause dizziness or unbalanced wal...

Page 12: ...TY OF MERCHANTABILITY OR FITNESS FOR A PARTICULAR PUPOSE ALL SUCH WARRANTIES BEING HEREBY EXPRESSLY EXCLUDED The warranty described above does not extend to the normal wear of the product or if the pr...

Reviews: