Quick Start
Basic Operation
This section will show you how to:
• Apply power to the unit
• Understand the Control Panel (See page 12 for full description)
• Select which channel the control panel affects
• Change volume
• Change Bass and Treble response
• Manually select an input or allow priority-based switching
• Adjust Aux Input Trim Controls
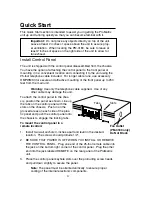
To Apply Power to the Unit
Important Note: For PM-3000, make sure any power amplifiers con-
nected to the unit are off when the unit is first plugged in.
Connect the AC supply cord to the unit and plug it into an outlet (the unit
will turn on and display the software part number for 2 seconds and then
the unit will shut down). To apply power, press the button labeled POWER
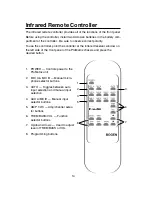
on the control panel or on the wireless infrared remote controller.
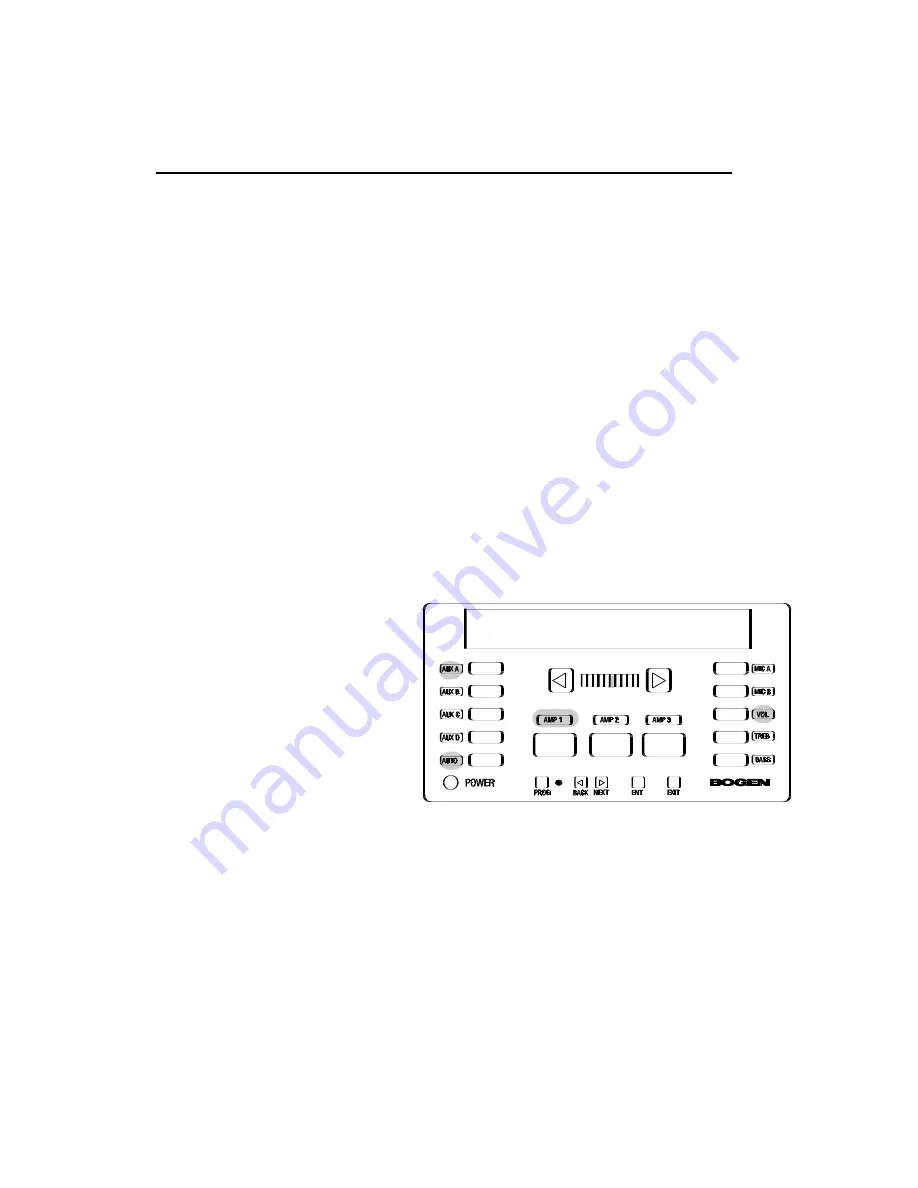
Understanding the Control Panel
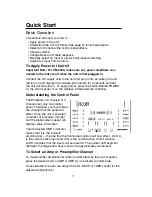
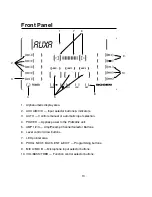
The ProMatrix unit consists of 3
channels but only one control
panel. Therefore, you must select
the channel that the panel will
effect. Once the unit is powered,
a number of indicators will light
and the alphanumeric panel will
display status information.
The illuminated AMP 1 indicator
means that it is the “current”
amp/channel — the one that the front panel controls will now effect. AUX A
is the current active input and VOL is the current active control function.
AUTO indicates that the inputs will auto switch. The pointer LED segment
(between the large arrow keys) shows the approximate volume level.
To Select an Amp or Preamplifier Channel
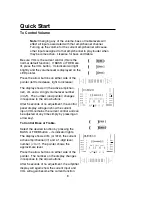
To make another amp/channel current (under effect by the control panel),
press the desired button (AMP 2, AMP 3); its indicator will illuminate.
Once selected, the user can adjust the VOL, BASS or TREB control for the
selected amp/channel.
7
AUXA

