Step 1: Install the SIM card, 3G card which supports WCDMA / EVDO / TD-CDMA, detailed installation please refer
to Chapter II, 2.2, and 2.7
Step 2: Enter into the system menu after starting up, firstly modify the host
s device number, System Menu -
General Settings - Vehicle Information - Device Number, device number range is from 00000 to 99999. Server
identifies the host according to the device number, so it is very important to modify the device number.
If the modified device number cannot be reported sometimes, please check the server device number has
been used or not.
Step 3: Modify the vehicle identification number; the vehicle information displayed on gServer platform is based on
vehicle identification number. If it is not modified, it will display 00000 in default. If all are in default, it would cause
inconvenience to find vehicles. So it is proposed to modify the vehicle identification number.
Step 4: Enter another menu settings, System Menu - General Settings - Network Settings, set the server IP and
control port, the server
can be self-built, and can be affiliated to the manufacturer
s server as well, enter the server IP and control
port, which is typically 6608, the save by end.
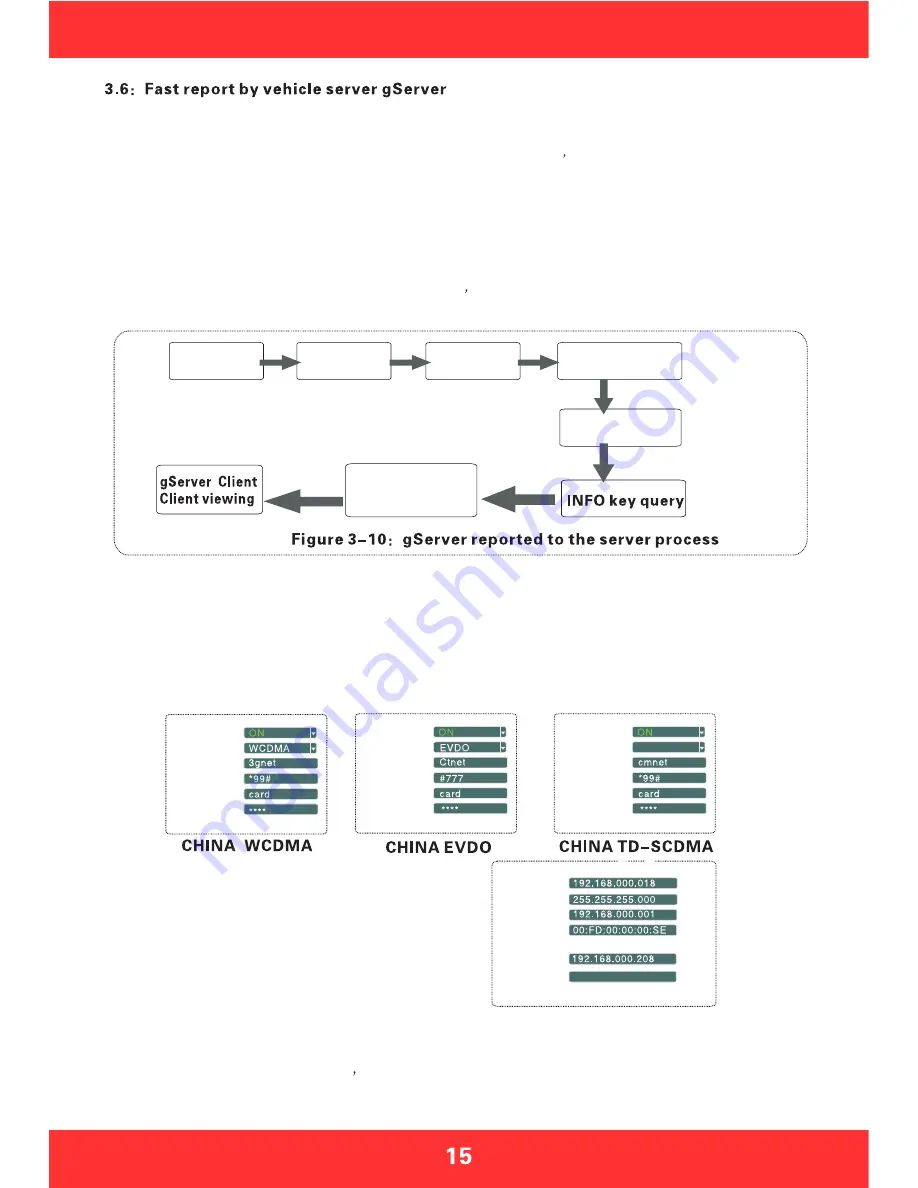
The main process of gServer quick reporting is as Figure 3-10 below.
Note: The following described iS invalid to the host which is without 3G module, it is not needed to report to gServer platform
I n s t a l l i n g
the SIM card
Modify the
device NO
Modify the
license plate
number
Setup the server
address and port
3G settings
gServer manage
User name assigned
add vehicles
Step 5: Enter the system menu - peripheral - wireless broadband, which is with wireless settings inside.
A:wireless 3G settings
Please pay attention to the supporting type of network during wireless 3G setting: WCDMA, EVDO and
TD-SCDMA. Also note the access point and the center number, The user name is in default in domestic
which is basically not needed to modify, however there is also in some domestic places he 3G card needs
to be entered by user name and password, and some foreign operators will need to enter user name and
password as well, the access point and the center number will need to be modified too, which is required
to input relevant information according to the local network data. You can press INFO key to query whether
dialing is successful or not after setting.
Step 6: Previous steps are the network connecting ways. When the network is connected, the next step is
the operation of software management on the PC gServer, which is divided into two steps. One step is the
gServer Manage username allocation and vehicle adding, if it is a self-built server, this work can be done
internally; if affiliated to manufacturer
s server, this will need assist from the technical staff to add. The
other step is to log in gServer Client by user name to review, which ultimately achieves gServer reporting,
please refer to the CD-ROM gServer technical documentation for client's detailed operation
C:local IP settings
Local IP setting is the setting after the RJ45 port access
the network cable, set the local IP and central server
number to make it be linked from local area network to
WAN through the network cable, which can also report to
gServer server platform.
ENABLE
TYPE
APN
CENTER NUM
USER NAME
PASSWORD
IP ADDA
NERMASK
GATEWAY
MAC ADDA
SERVER IP
CONTROL PORT
6608
TD-SCDMA
ENABLE
TYPE
APN
CENTER NUM
USER NAME
PASSWORD
ENABLE
TYPE
APN
CENTER NUM
USER NAME
PASSWORD


