E
W
WARNING
• Prior to installation, remove all internal packaging materials and
fasteners and discard properly.
• The Whale Pod is not a toy!
• NEVER leave child unattended when bathing.
• This product should ALWAYS be used ONLY under adult supervision.
• NEVER apply excessive force to or allow children to hang from the
Whale Pod.
• ALWAYS position the product on the lower portion of the bath wall.
W
CAUTION
• Adult assembly required. Tools required (not included): For
adhesive-mounting option — rubbing alcohol. For screw-mounting
option — drill, 5/32" (4 mm) drill bit, hammer, Phillips screwdriver.
• Screws and anchors are small parts and can be choking hazards.
• Screws may have sharp edges and sharp points.
• Keep screws and anchors out of the reach of children at all times.
Mounting instructions
Thank you for purchasing a Boon Whale Pod. In
order to hang your Whale Pod, you must first secure
the enclosed bracket to your bath wall. There are two
options for mounting the bracket:
1)
Adhesive strips
or
2)
Screws.
MOUNTING OpTION 1
Adhesive strips
The enclosed bracket includes four adhesive strips.
This durable adhesive is designed to withstand
moisture. This adhesive forms a semi-permanent
bond on most tile, glass, and fiberglass surfaces and
will hold up to 10 lbs (4.5 kg). The adhesive can be
removed without harming the wall surface. Adhesive
strips can only be used once. For replacement
adhesive strips or questions, please visit booninc.com.
iMportAnt!
FoLLoW instructions cAreFuLLY!
The adhesive strips
will NOT stick to the bath wall if you do not follow each
step of the instructions.
The adhesive strips will not stick to silicone-based tile
sealants. If you have tile with a silicone-based sealant, we
recommend using the screw-mounting option.
When using the adhesive strip mounting option, DO NOT
load the Whale Pod with more than 10 lbs (4.5 kg) of toys
and accessories.
NOTE:
When using the adhesive strips, it is very important
that you place the bracket onto the wall in its proper position
ONLY ONCE. After the adhesive strips are placed on the
wall, DO NOT try to remove and reposition the bracket as
this will prevent the adhesive strips from adhering to the wall.
To attach bracket to the bathtub/shower wall, select an
area where strips are touching the least amount of grout.
If adhesive strips cross grout lines, be sure to firmly press
adhesive into recessed areas.
It is important to maintain a wall surface temperature above
70°F (21°C) from the time you first place the adhesive strips
onto the wall and throughout the entire 24 hour period
before attaching the base. If you are mounting the adhesive
strips on an exterior wall during cold weather, it may be
necessary to increase the room temperature during this time.
When placing the bracket onto the cleaned wall surface, use
thumb to press firmly over each of the adhesive strips. Rub
while pressing to remove any air bubbles between adhesive
strips and wall surface.
steps:
1
17" min.
Select a mounting location on the
lower portion of the wall. Leave a
minimum of 17" (43 cm) between
the bottom of the bracket and any
edge or raised surface of the
bathtub.
2
THOROUGHLY clean dirt and
residue from mounting area. Be
certain that you clean the entire
area where the adhesive strips will
be attached.
3
Next, VIGOROUSLY wipe
area with rubbing alcohol
using a clean cloth.
4
10 Minutes
Let dry fully for AT LEAST
10 minutes.
5
Remove backing from all adhesive
strips. DO NOT TOUCH
ADHESIVE. Hold bracket by its
EDGES ONLY.
6
Make sure bracket position is level
and holes in bracket are positioned
at the bottom. Place bracket onto
the cleaned area for mounting and
be certain that ALL adhesive strips
are pressed firmly against the wall.
Press FIRMLY for 30 seconds.
7
Allow bracket to remain in place
for AT LEAST 24 HOURS before
attaching the base. It is important
to maintain a room temperature of
70°F (21°C) or above throughout
the entire 24 hour period. Also,
avoid moisture and the use of
cleaning chemicals near the wall
bracket during the 24 hour period.
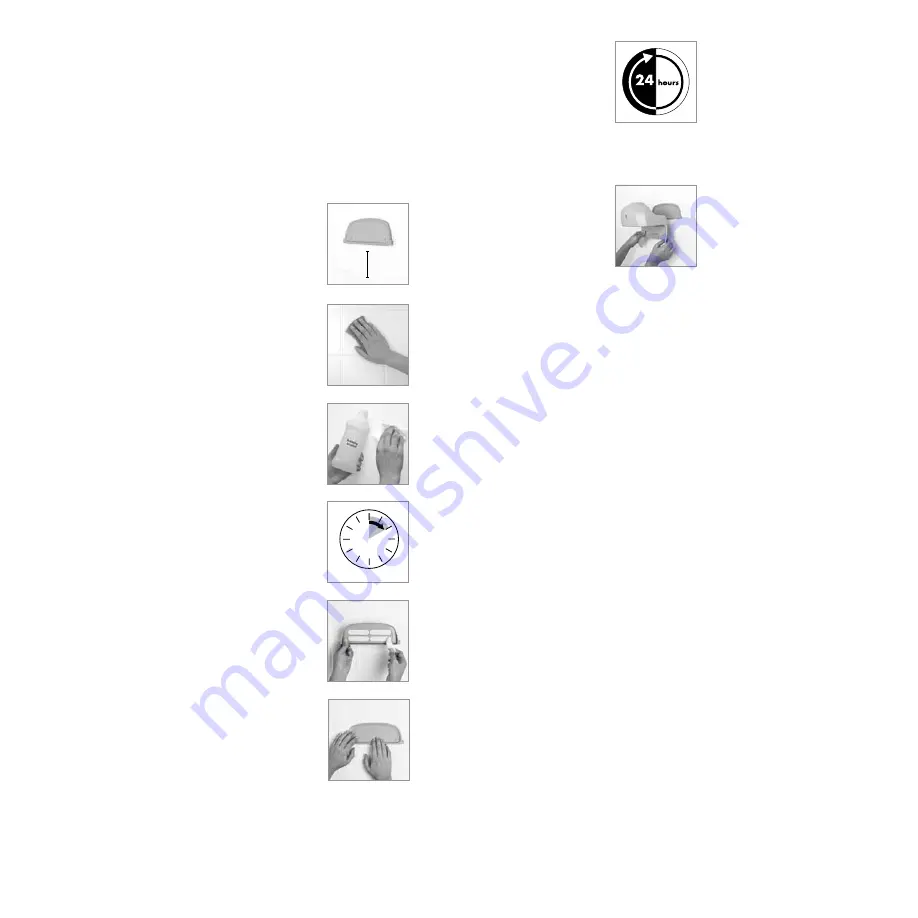
8
To attach base to bracket, fit slot
over bracket tabs and snap down
into place.
reMoving the Adhesive strip BrAcket
To remove the adhesive strip bracket, use a flat
object, such as a screwdriver or a butter knife
(covered with a soft cloth to avoid scratching the wall
surface) to pry up one of the adhesive strips. After
loosening the first strip, rotate the bracket to release
the remaining strips. Any adhesive residue remaining
on the wall can be pulled off easily.
MOUNTING OpTION 2
screWs
The wall bracket is also fitted with two holes that
can be used to screw-mount the bracket to the grout
lines of your tile wall. This is the most secure option
for mounting your Whale Pod and will hold up to
20 lbs (9 kg).
iMportAnt!
ALWAYS position the screw-mounting holes ON the grout
lines. DO NOT drill through tile.
When using the screw-mounting option, DO NOT load
the Whale Pod with more than 20 lbs (9 kg) of toys and
accessories.
Mounting hardware and tools needed: 2 screws and
2 wall anchors are included for this option; Tools required
(not included): drill, 5/32" (4 mm) drill bit, hammer,
Phillips screwdriver.
steps:
1.
Select a mounting location on the lower portion
of the wall. Leave a minimum of 17" (43 cm)
between the bottom of the bracket and any edge
or raised surface of the bathtub below.
2.
Align holes on wall bracket with horizontal grout
line on tile. Avoid drilling in an intersection of
grout lines. Mark location of holes on grout line.


