BORLA PERFORMANCE INDUSTRIES
500 Borla Drive
Johnson City TN, 37604-7523
805-986-8600
DOCUMENT PART NUMBER
A-35805 Rev. B
INSTALLATION INSTRUCTIONS
Volkswagen Golf GTI
PAGE
4 of 4
NOTE: When you first start your vehicle after the installation of your new Borla Performance Exhaust
System, there may be some smoke and fumes coming from the system. This is a protective oil based coat-
ing used in the manufacturing of mandrel bent performance exhaust tubing. This is not a problem and
will disappear within a very short period of time after the exhaust has reached normal operating temper-
atures.
WARNING: Use extreme caution during installation. Torque all fasteners according to manufactur-
er’s torque values and tightening sequence. DO NOT use air impact tools to tighten fasteners on
Borla Performance
Exhaust
Systems. Use of such tools may result in bent flanges or gasket contact
areas leading to exhaust leaks.
Borla Performance Cat-Back
Exhaust System Installation
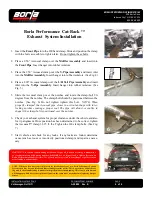
1. Insert the
Front Pipe
into the OE band clamp. Slide and position the clamp
with the bolts accessible to tighten later. Do not tighten these bolts.
2. Place a 2.50” Accuseal clamp over the
Muffler Assembly
and insert into
the
Front Pipe
. Insert hanger into rubber isolators.
3. Place the 2.50” Accuseal clamp over the
Y-Pipe Assembly
and insert inlet
into the
Muffler Assembly
. Insert hanger into rubber isolators. (See Fig. 4)
4. Place a 2.00” Accuseal clamp over the
L/H Tail Pipe Assembly
and insert
inlet into the
Y-Pipe Assembly
. Insert hanger into rubber isolators. (See
Fig. 5)
5. Slide the Accuseal clamp over the notches and rotate the clamp-bolt 90-
degress from the notches. The clamp-bolt should be positioned between the
notches. (See Fig. 6) Do not tighten tighten this bolt.
NOTE: When
properly clamped, the Accuseal pipe closes in a circular-shape with inter-
locking notches creating a proper seal. The pipe will distort or ovalize in
shape if the clamp-bolt is positioned over the notches.
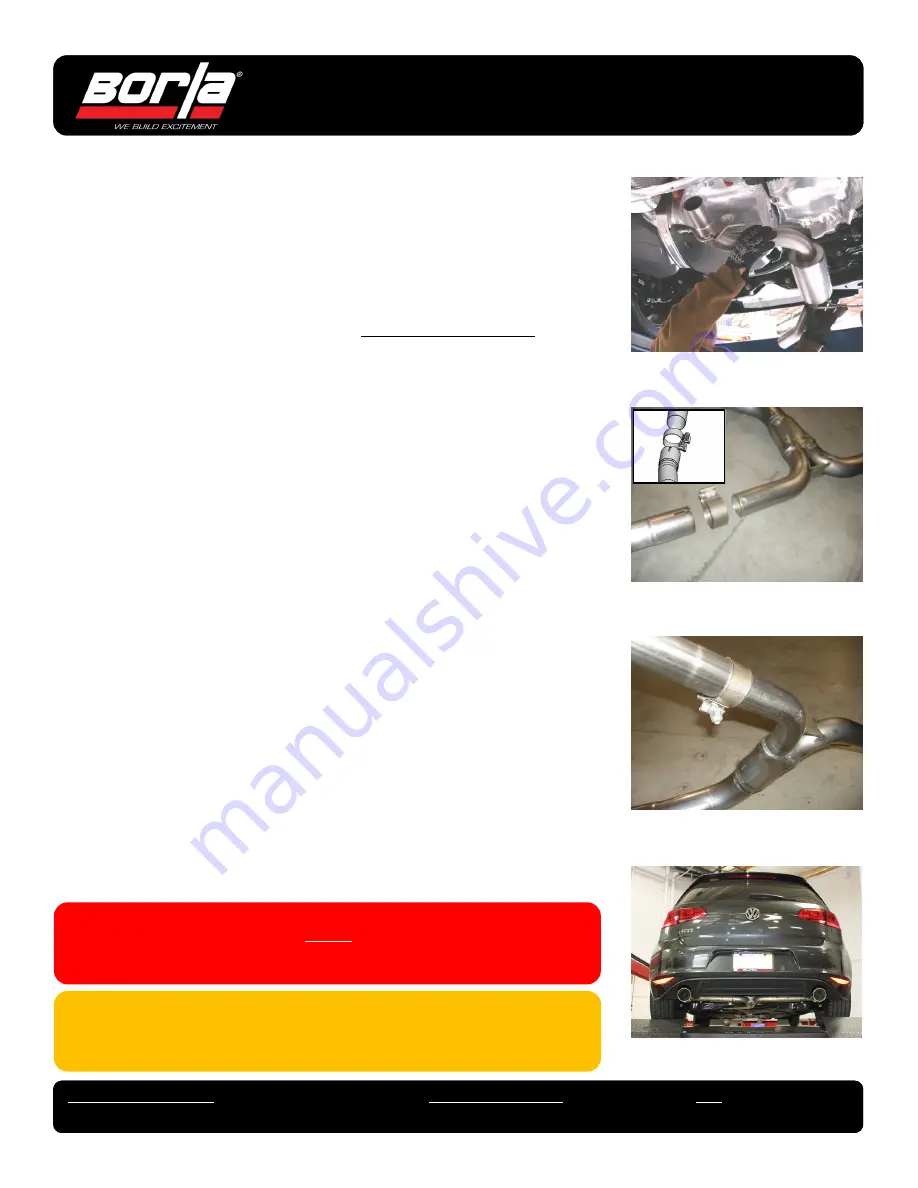
6. Check your exhaust system for proper clearance under the vehicle and also
for tip alignment. Once position has been determined to be correct, tighten
the Accuseal™ clamp 32-35 ft. lbs. Tighten the OE clamp bolts. (See Fig.
7)
7. Start vehicle and check for any leaks. If any leaks are found, determine
cause (such as loose or incorrectly positioned clamp) and repair as neces-
sary.
4
5
6
7


