3
BS-IPT4002LPR / BS-IPT4012LPR USER GUIDE
2.1 Setting the Camera over the LAN
Connecting the camera to a switch or a router is the most common connection method. The
camera must be assigned an IP address that is compatible with its LAN.
2.1.1 Connect the Camera to the PC Directly
In this method, only the computer connected to the camera will be able to view the camera. The
camera must be assigned a compatible IP address to the computer. Details are shown as the
following figure.
Figure 2-1-1 Connect the camera to the PC directly
2.1.2 Connect via a Switch or a Router
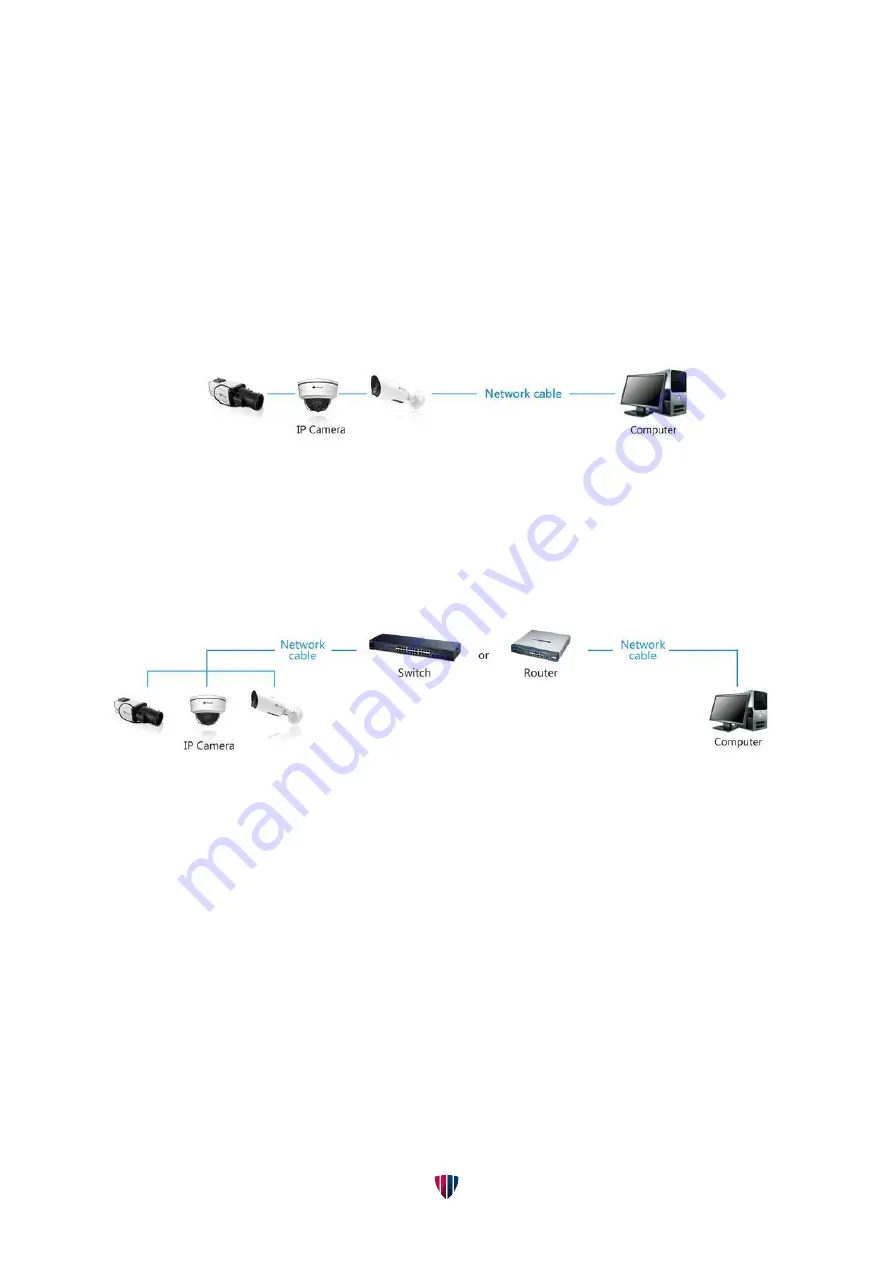
Refer to the following figure to set network camera over the LAN via the switch or router.
Figure 2-1-2 Connect via a switch or a Router
2.2 Dynamic IP Connection
◆
Connecting the network camera via a router
Step1: Connect the network camera to a router;
Step2: On the camera, assign a LAN IP address, the Subnet mask and the Gateway;
Step3: On the router, set port forwarding. E.g. 80, 8000 and 554 ports. The steps for port
forwarding vary depending on different routers. Please look up the router's user manual for
assistance with port forwarding;
Step4: Apply a domain name from a domain name provider;
Step5: Configure the DDNS settings in the setting interface of the router;
Step6: Visit the camera via the domain name.


