1 689 988 238
2012-11-06
|
Robert Bosch GmbH
90 | ACS 651/751 | Commissioning
en
6.
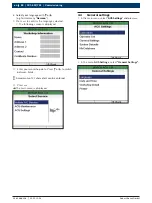
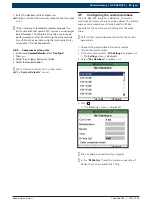
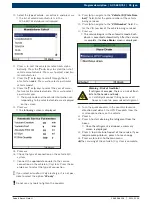
In the
"Manufacturer"
field, enter the name of the
vehicle manufacturer.
i
Except for the "
R134a Qty
" field, a maximum of 30
characters can be entered in each of the fields.
i
A maximum of 5 digits can be entered in the "
R134a
Qty
" field.
7.
In the
"Model"
field, enter the vehicle model.
8.
In the
"Year"
field, enter the year of manufacture of
the vehicle.
9.
In the
"R134a Qty"
field, enter the quantity of R134a
that needs to be refilled into the vehicle A/C system.
i
The quantity of R134a is specified in the vehicle
documentation.
10.
Press
E.
11.
Press
c
to return to the main menu.
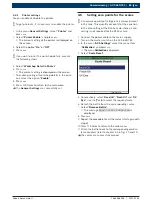
"
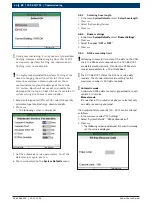
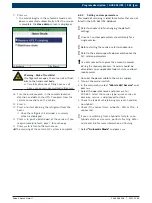
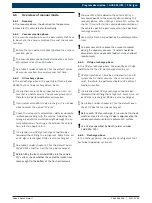
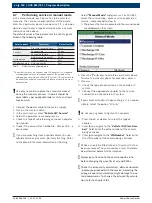
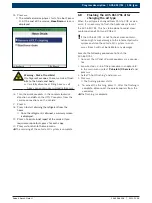
The vehicle details are added to the custom database
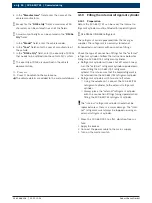
4.10 Filling the internal refrigerant cylinder
4.10.1 Preparation
Before the ACS 651/751 can be used, the internal re-
frigerant cylinder must be filled with liquid refrigerant.
i
Use R134a UN 3159 refrigerant.
The refrigerant can be procured from the local gas
supplier. The refrigerant is normally stored and
transported in cylinders with connection fittings.
Check the type of connection fittings for the "external"
refrigerant cylinder. Follow the instructions below for
filling the ACS 651/751 refrigerant cylinder:
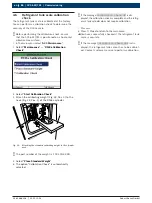
R
Refrigerant cylinder with one shut off valve: Always
turn the "external" refrigerant cylinder upside down
when filling the ACS 651/751 refrigerant
cylinder. This is to ensure that the liquid refrigerant is
transferred into the ACS 651/751 refrigerant cylinder.
R
Refrigerant cylinders with two shut off valves:
$
Using the adapter kit, connect the ACS 651/751
refrigerant cylinder to the external refrigerant
cylinder.
$
Always place the "external" refrigerant cylinder
with the connection fittings facing upward when
filling the ACS 651/751 refrigerant cylinder.
!
The "internal" refrigerant cylinder should not be
replaced unless there is a major damage. The "inter-
nal" refrigerant must always be topped up using an
external refrigerant cylinder.
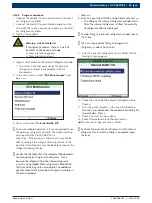
1.
Move the ACS 651/751 to a flat, vibration-free sur-
face.
2.
Apply the brakes.
3.
Connect the power cable to the mains supply.
4.
Turn on the master switch.

