A D00 A49 029
|
2017-06-09
Robert Bosch Engineering and Business Solutions Private Limited
|
4.4
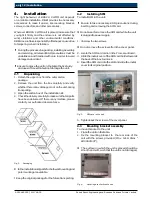
Pole mounting
To pole mount the unit:
1.
Insert the provided vibration-resistant worm-drive
clamps, to the mounting bracket slots.
2.
Wrap the clamps around the pole.
i
The pole mounting clamp provided in the installation
kit suits for “5 inch to 6 inch” diameter. If the pole
diameter is outside this limit, the installer or user
should take care of the mounting clamp.
Fig. 5:
Pole mounting
3.
Tighten the hexagonal bolt with respect to the pole.
i
Assemble worm-drive clamps to the mounting bracket
before assembling Sun shade and Splash guard.
i
Fix the unit on a flat wall, otherwise mounting of
splash guard could be difficult and RBEI will not be
responsible for the damage caused.
Fig. 6:
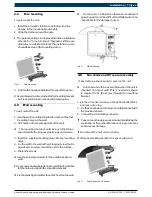
Wall mounting
4.6
Sun shade and UV sensor assembly
To assemble sun shade and UV sensor on the unit:
i
Sun shade has to be assembled when the unit is
mounted on pole or wall. This is needed as space
is required to fix the screw through the mounting
bracket.
1. Fix the UV sensor on the sun shade from bottom first,
4.5
Wall mounting
To wall mount the unit:
1.
Use the wall mounting template to mark out the four
mounting holes on the wall.
2.
Drill holes on the marked points of the wall.
i
The mounting holes should be such that it can
accommodate the proposed wall plugs and screws.
3.
Insert the supplied mounting plugs into the mounting
holes.
4.
Fix the unit to the wall with self-tapping screw that is
provided, to securely mount the unit to the surface.
5.
Fasten the screws.
i
Use the screws provided, for the unit to be safe on
wall.
i
Any screws and wall plug can be used that is suitable
for the hole provided in the mounting bracket.
i
Fix the splash guard, after the unit is fixed on the wall.
and lock nut on top.
2.
Fix the sun shade on to the top mounting bracket with
the provided screws.
3.
Connect the USB mating connector.
!
Take care not to apply excess load while installing the
sun shade, as the unit is not a load carrying component
and can cause damage.
!
Do not rest the unit on sun shade.
i
While assembling handle UV sensor with care.
Fig. 7:
Sun shade with UV sensor
Installation | 13
en


